During my time working for SGS I have produced numerous images for Philips, working on these as been the largest portion of my career to date, so this post is quite long. When I started on the account we were acting as more of an overflow agency for some of the other suppliers Philips worked with, but over the years SGS gained more of a share until we became the main supplier of CGI images for Philips. The images can be split into 5 main categories; Basic Assets, Packaging Renders, Photography Replacement, Lifestyle Renders and Technology Visualizations.
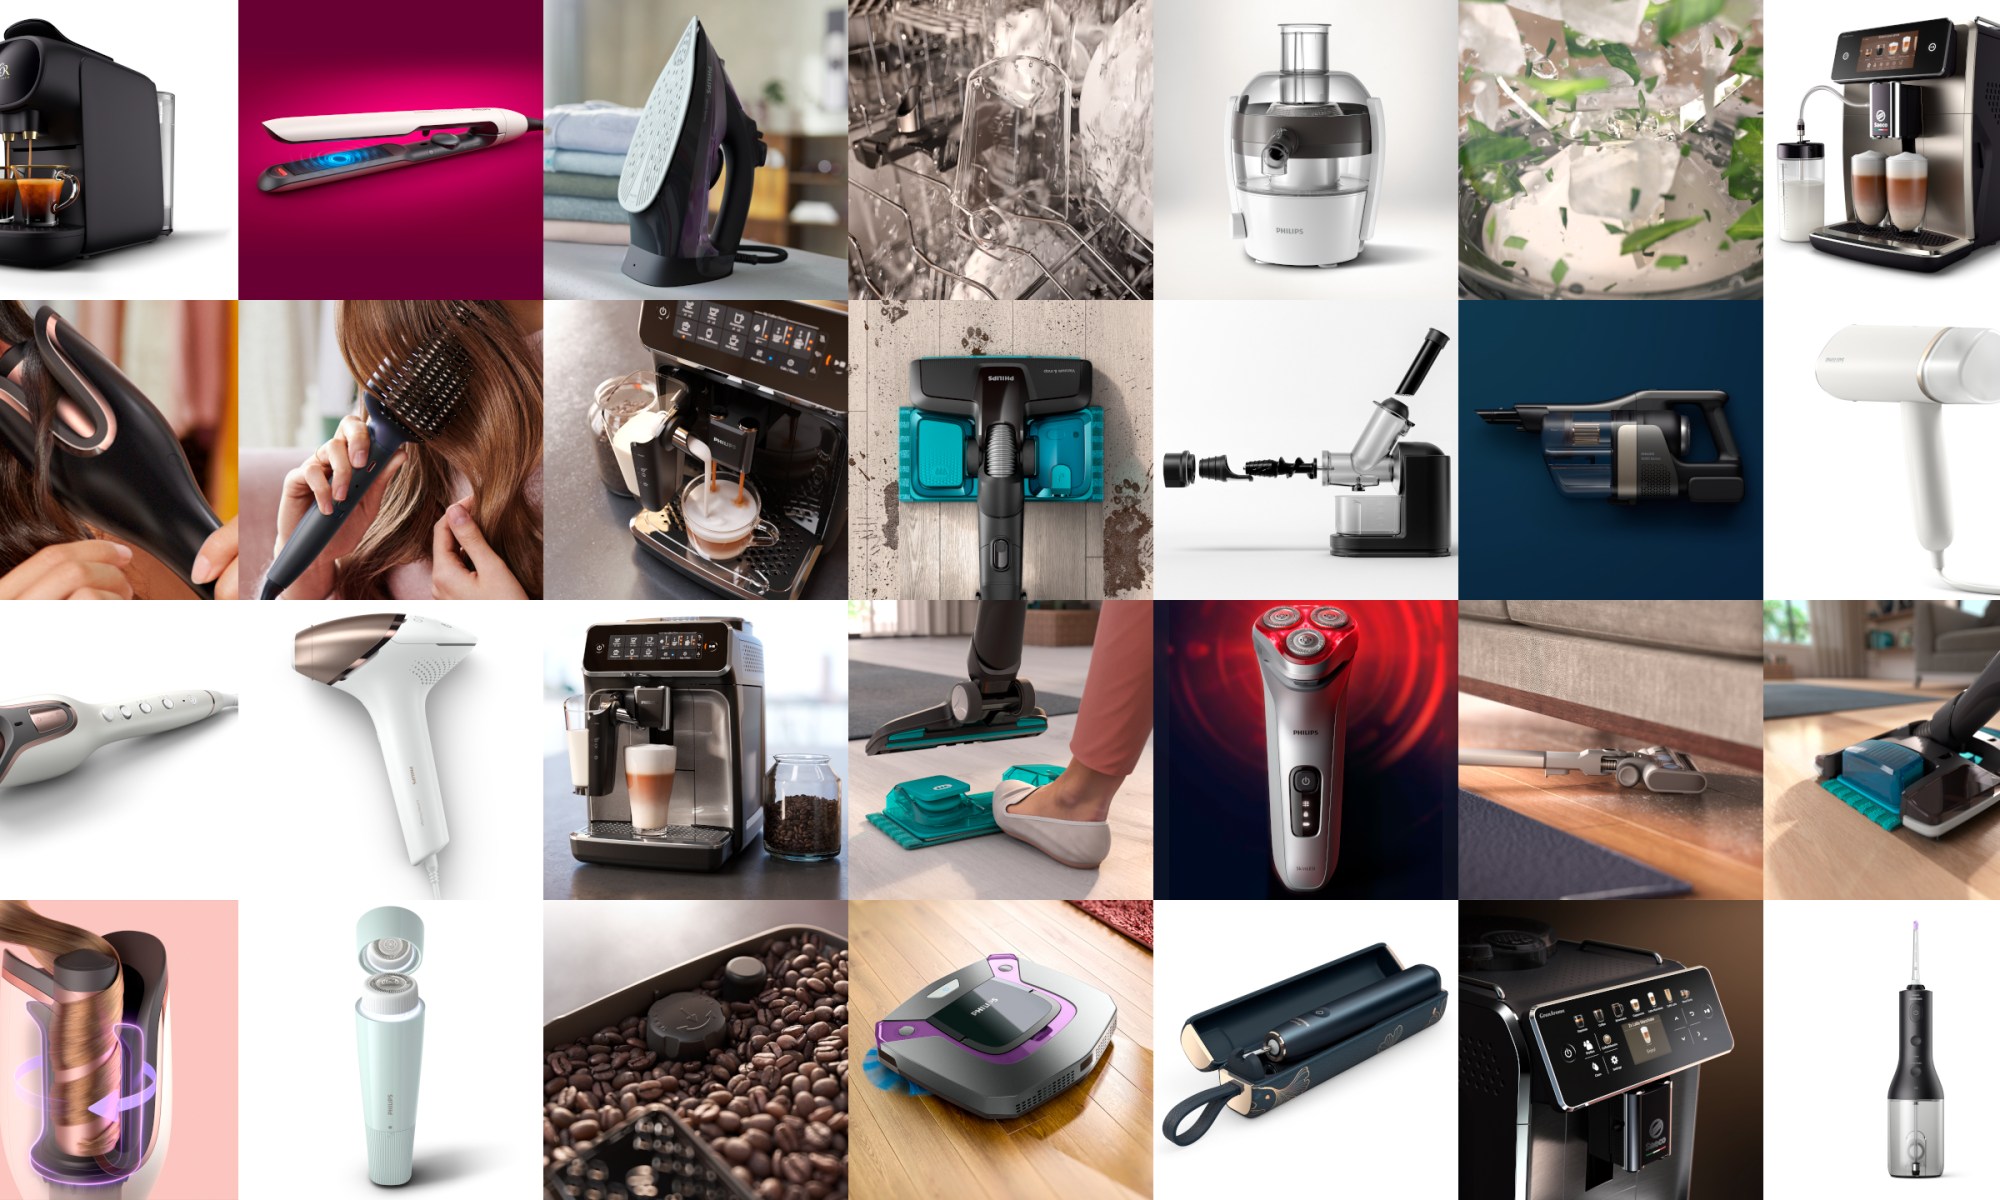
Basic Assets
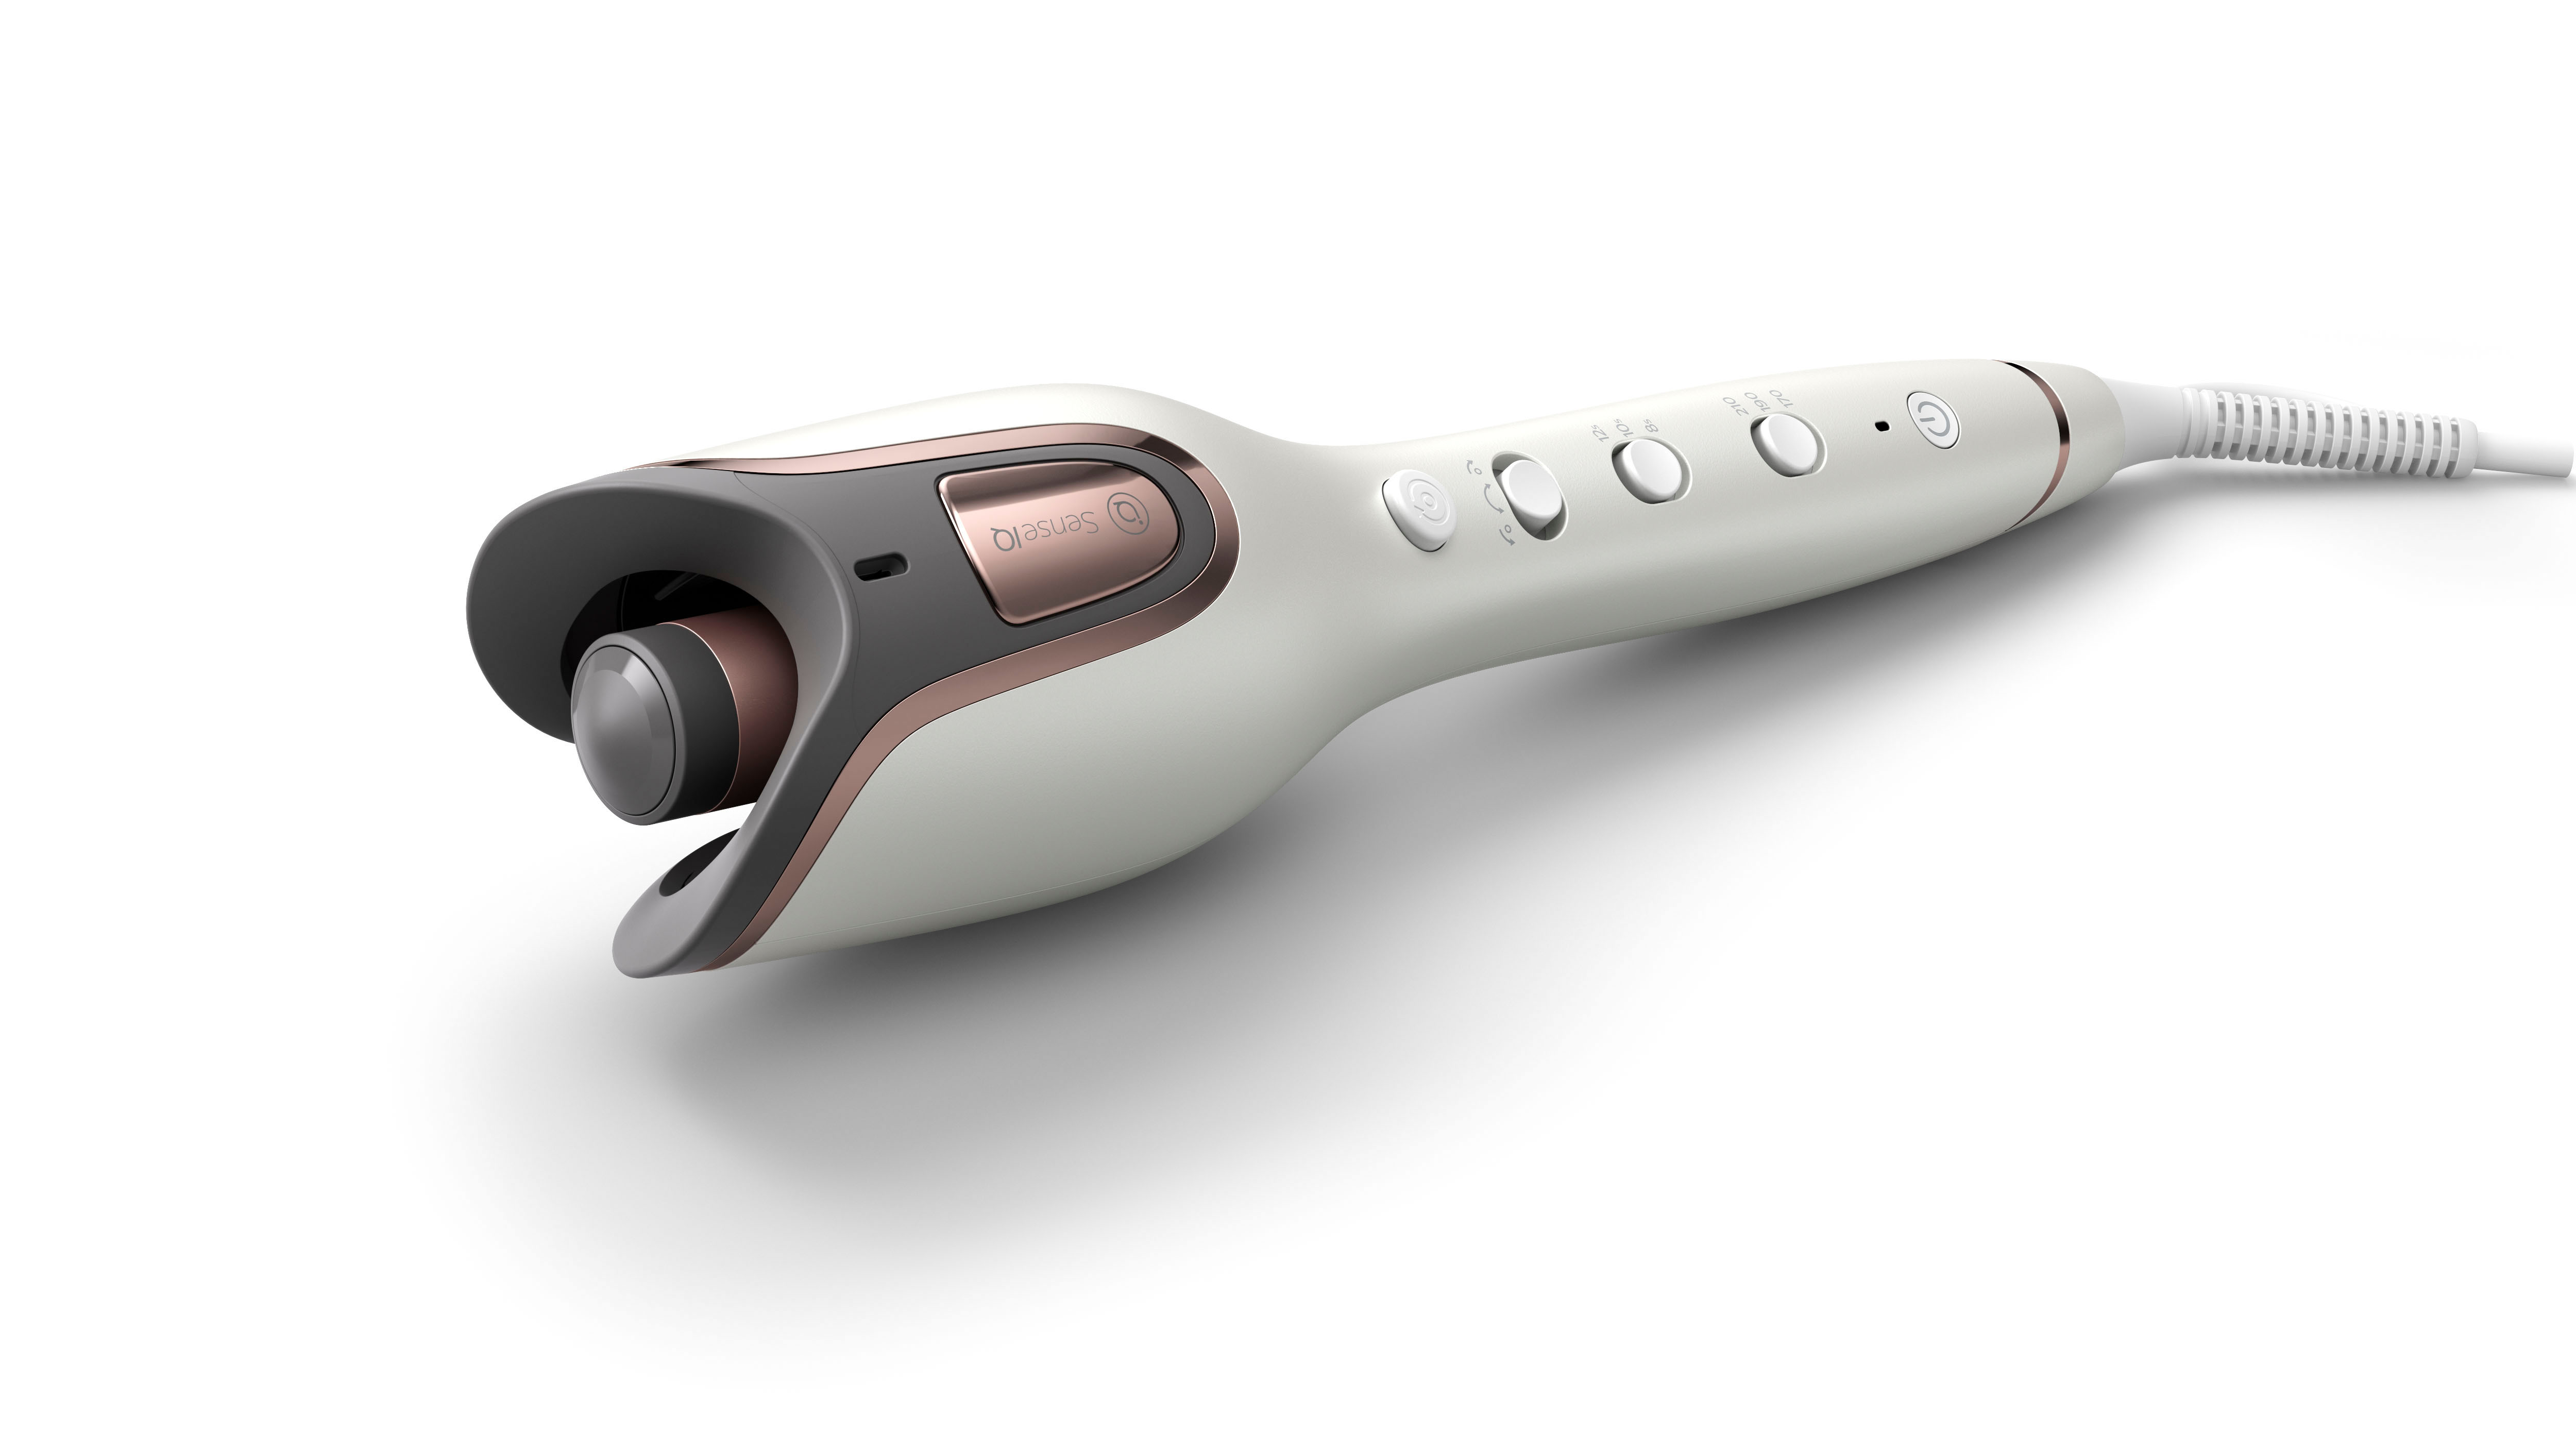
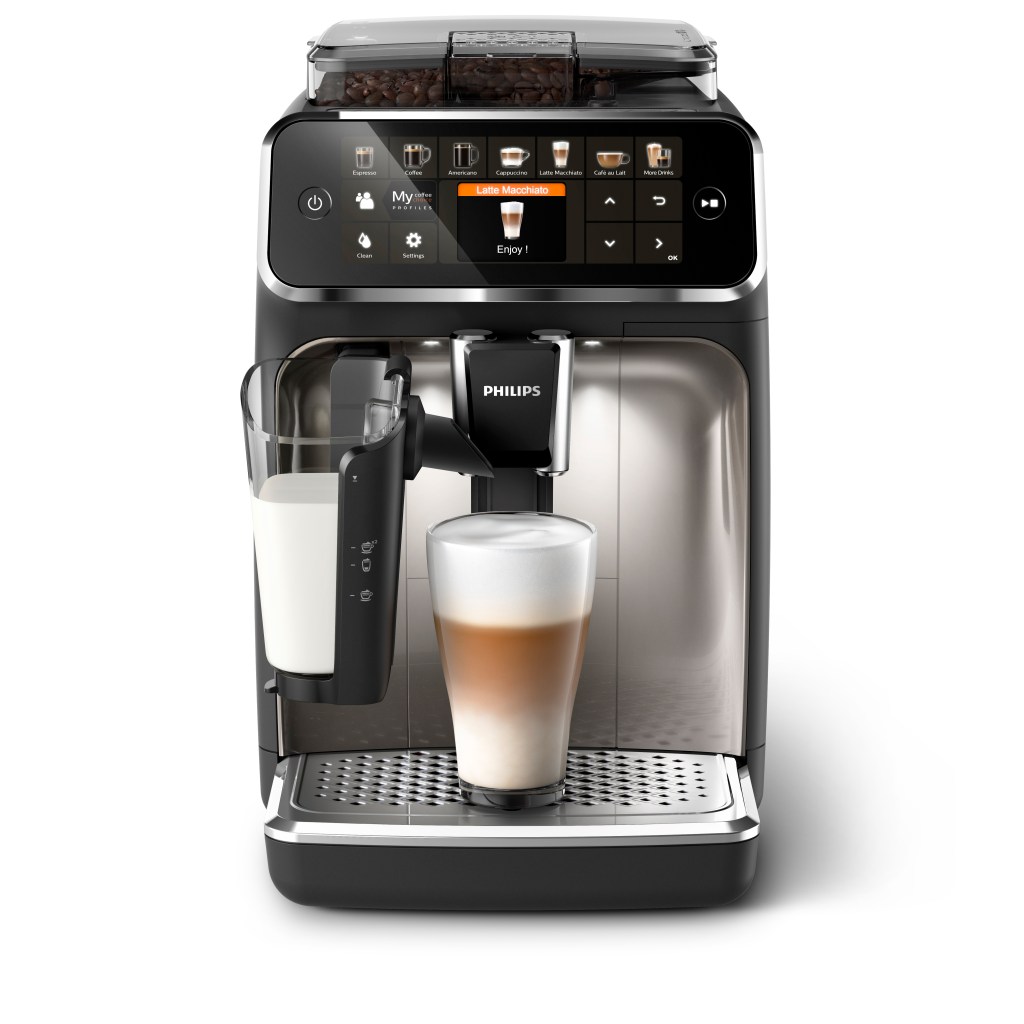
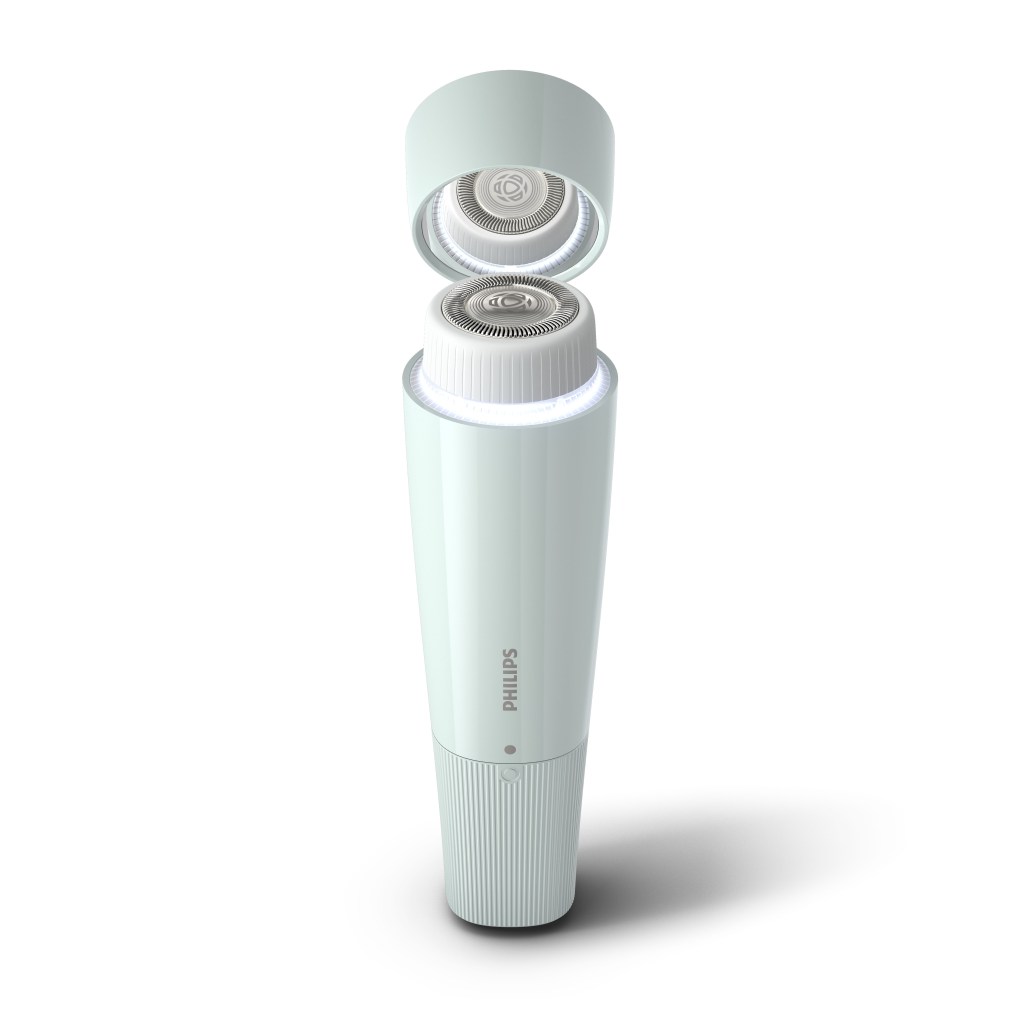
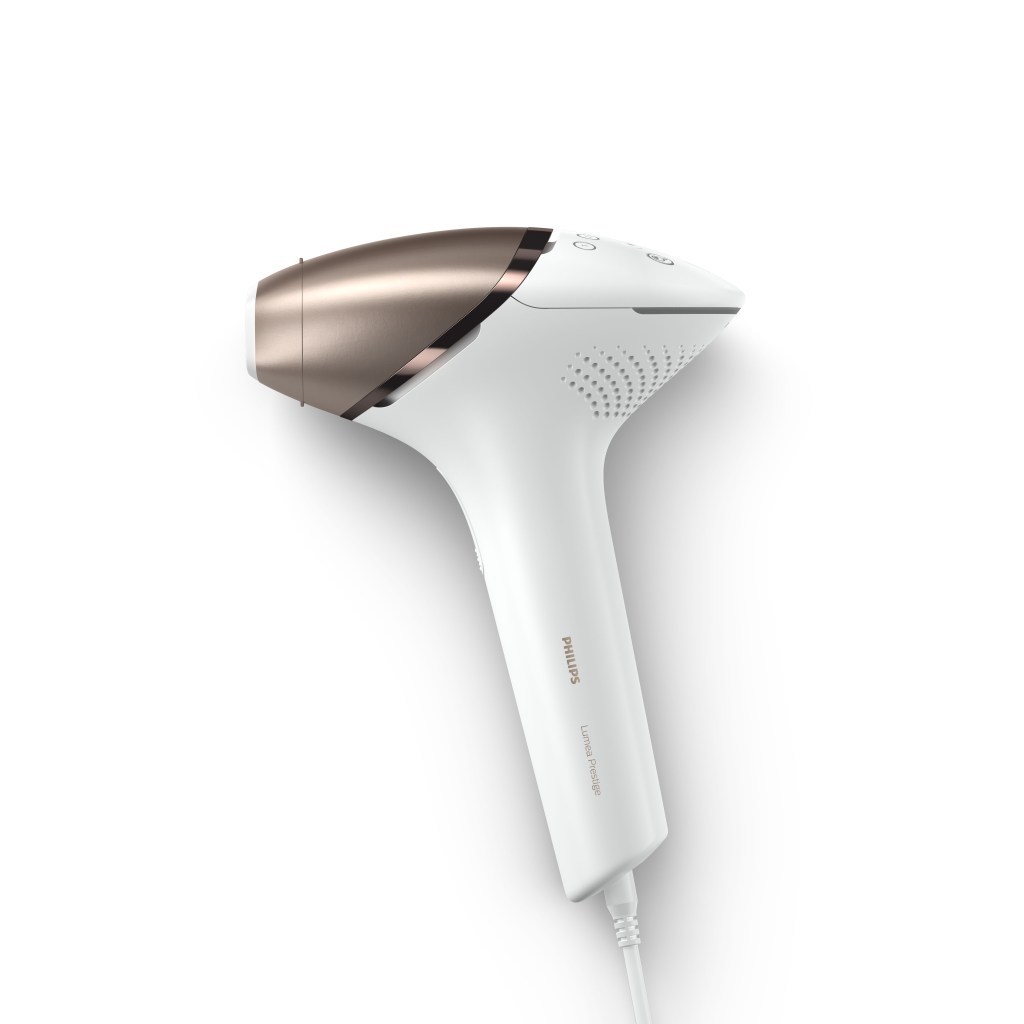
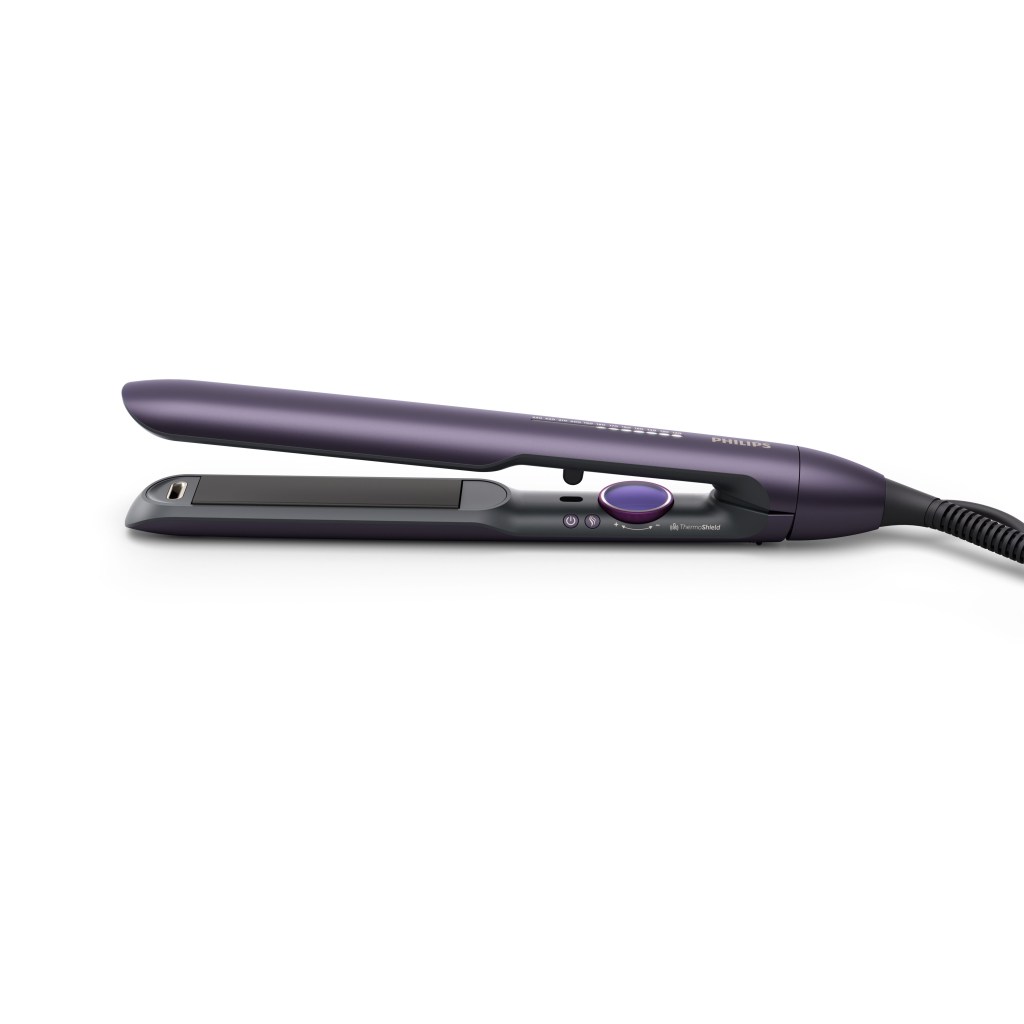
The basic assets are the more general images I have made for Philips. These are the standard images that appear on the Philips website or other e-commerce retailers pages. The goal here is to display the products in all their glory on a plain white background, emphasizing the form and materials as much as possible. Below is a small selection of some of the images I have created over the years.
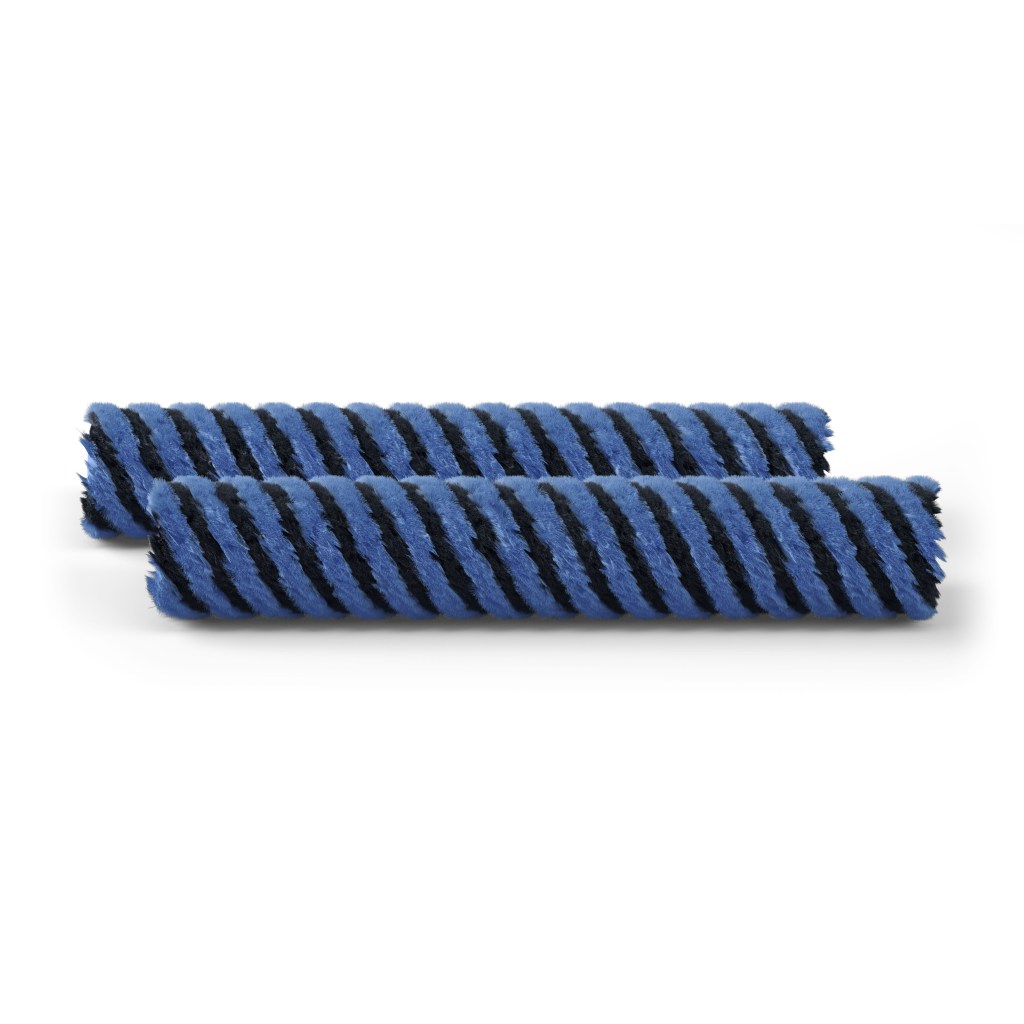
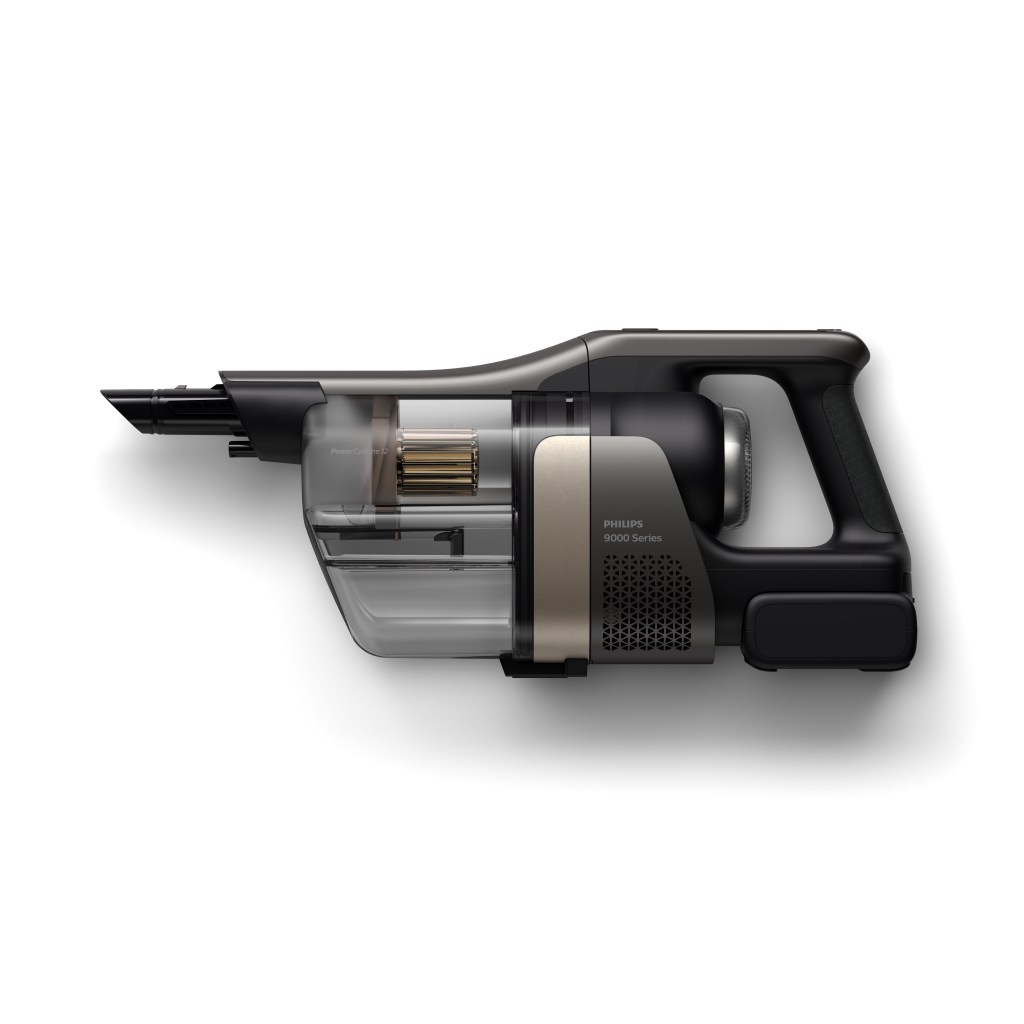

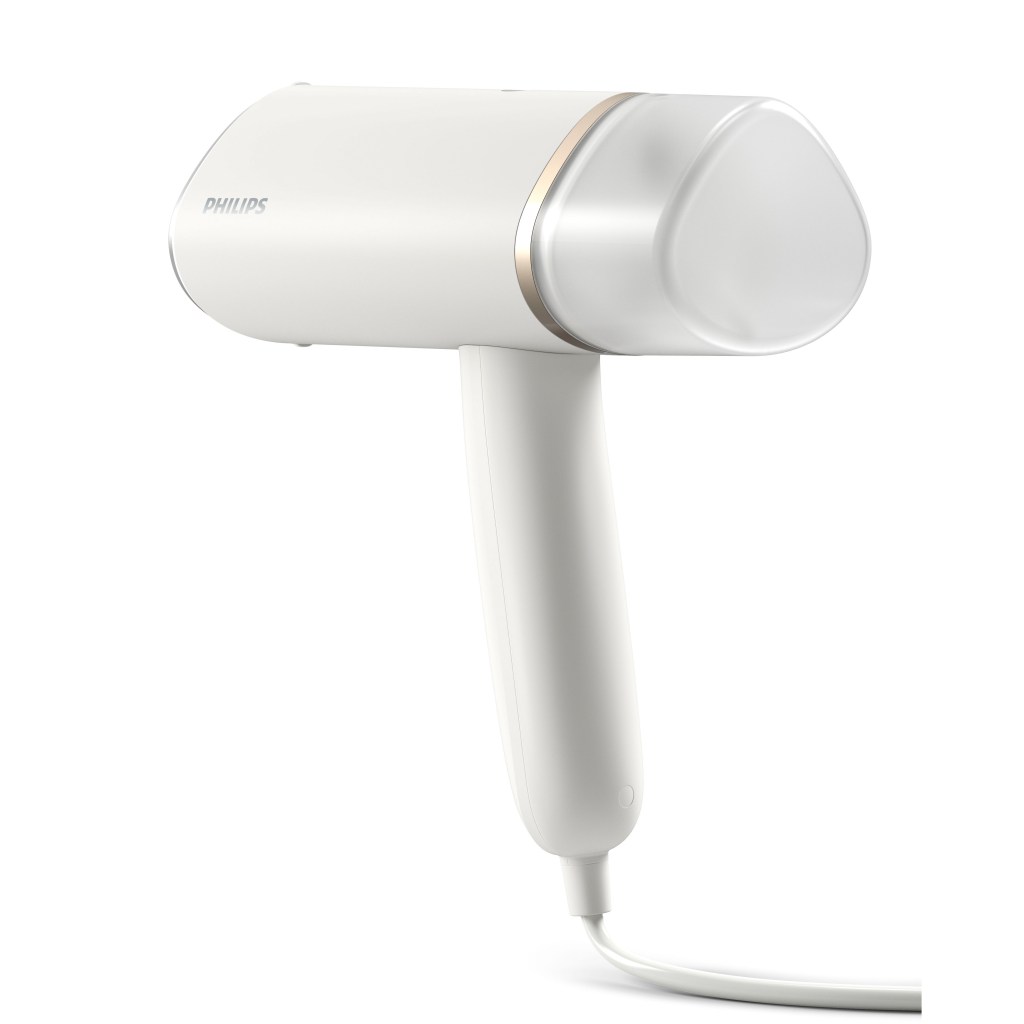
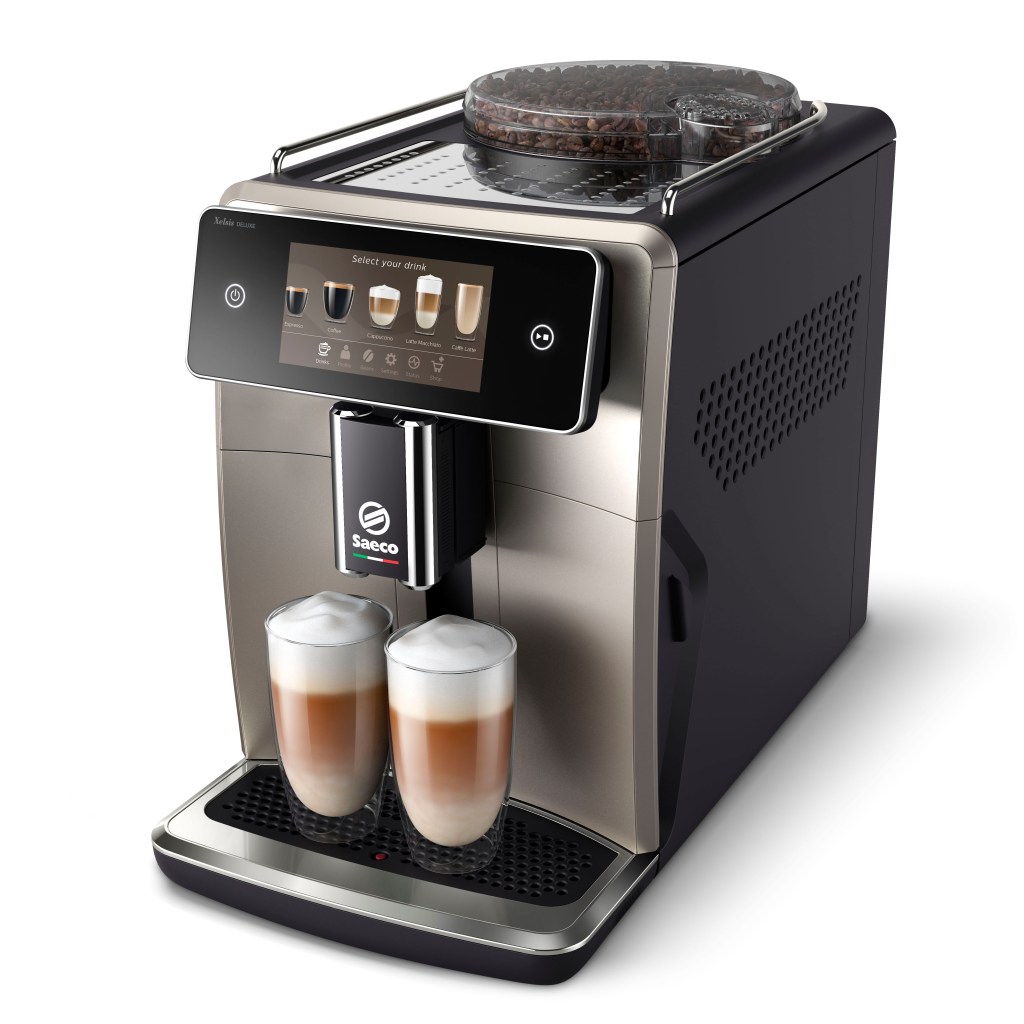
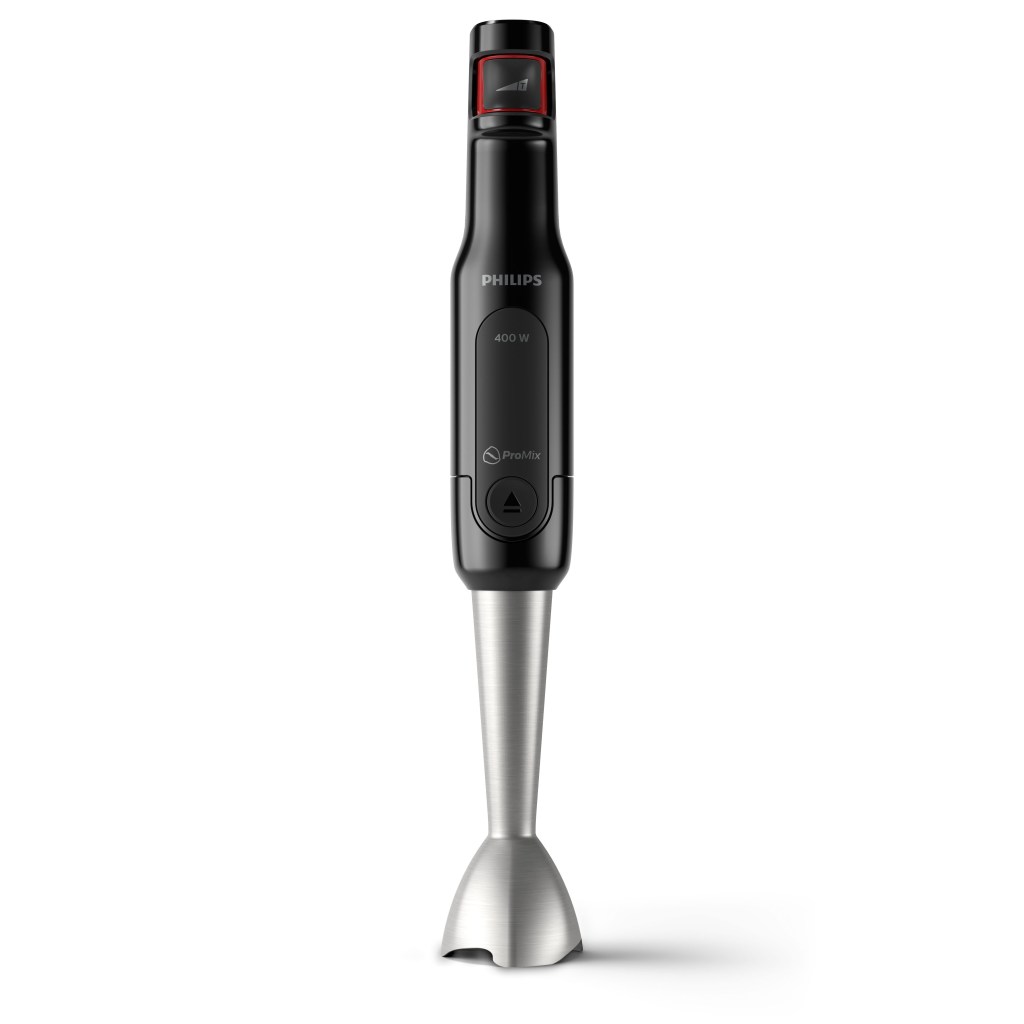
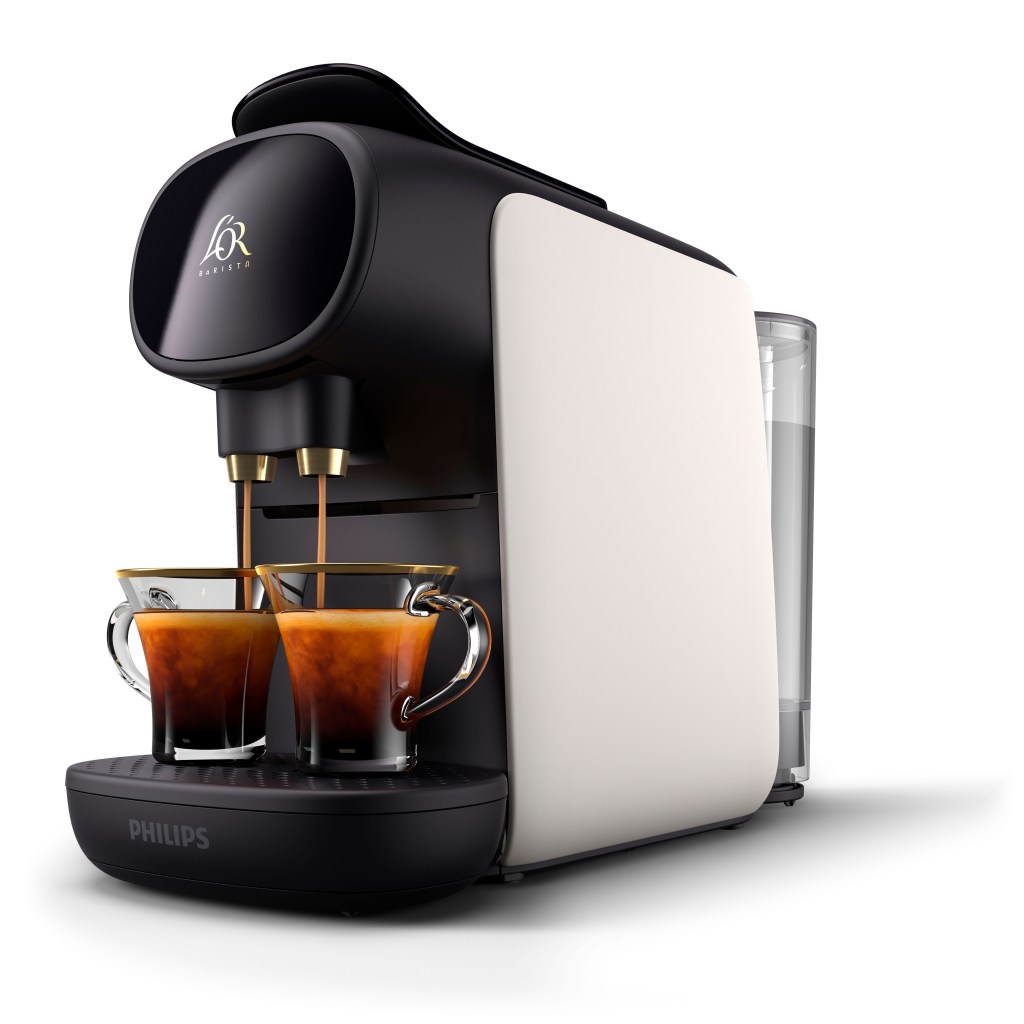

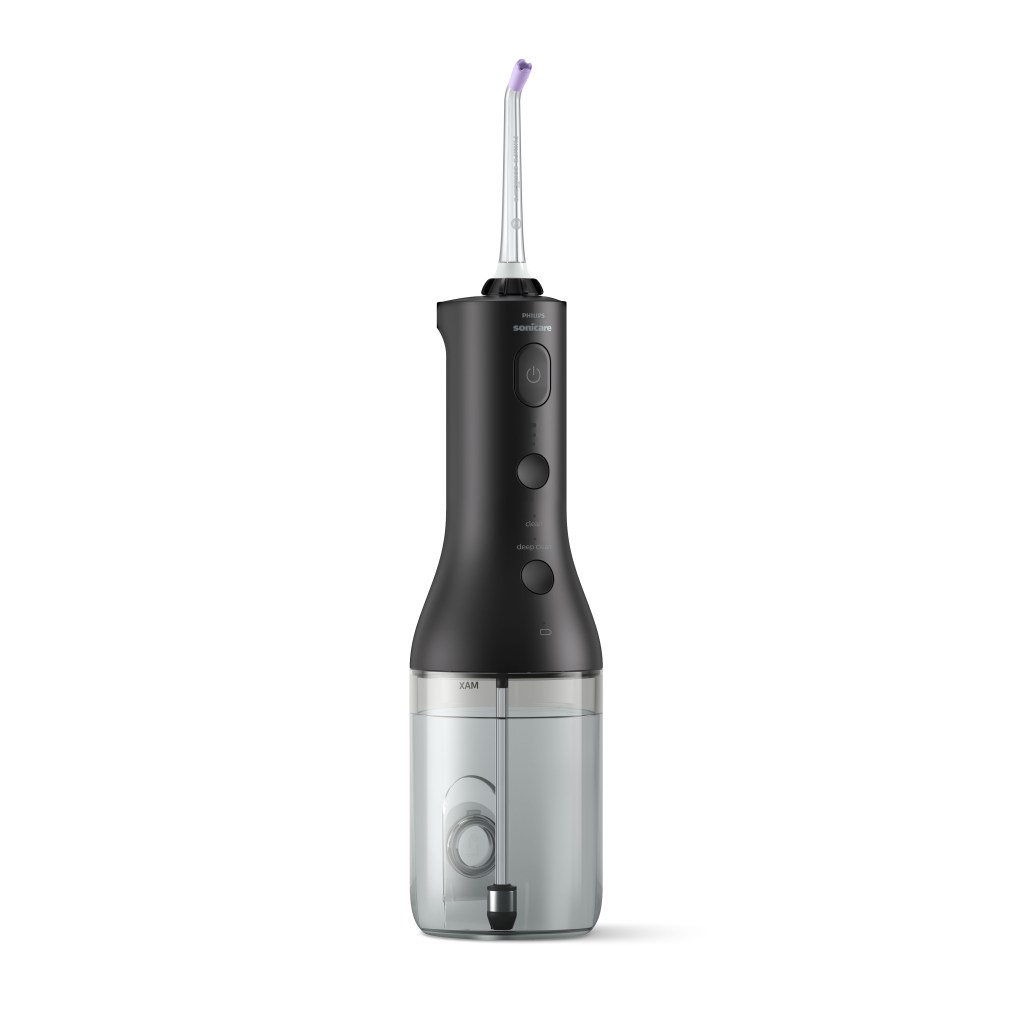
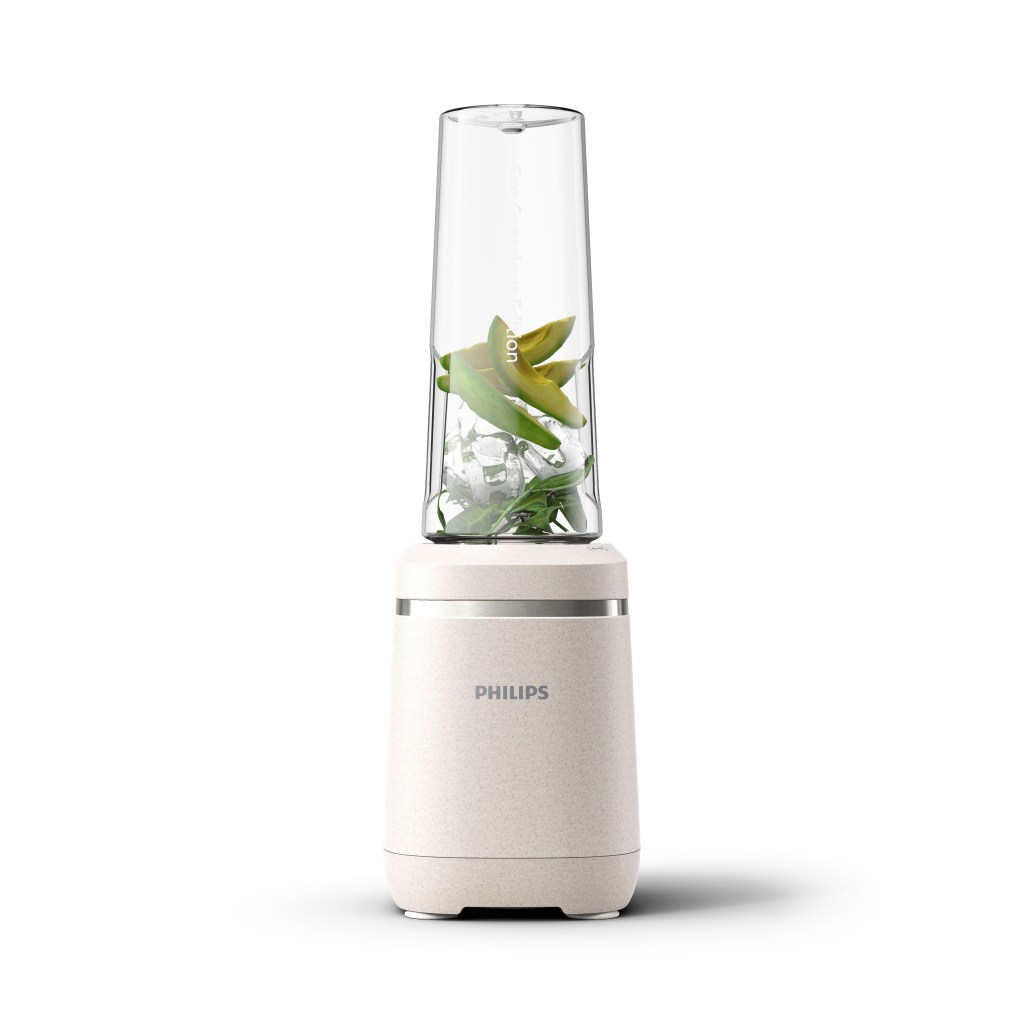
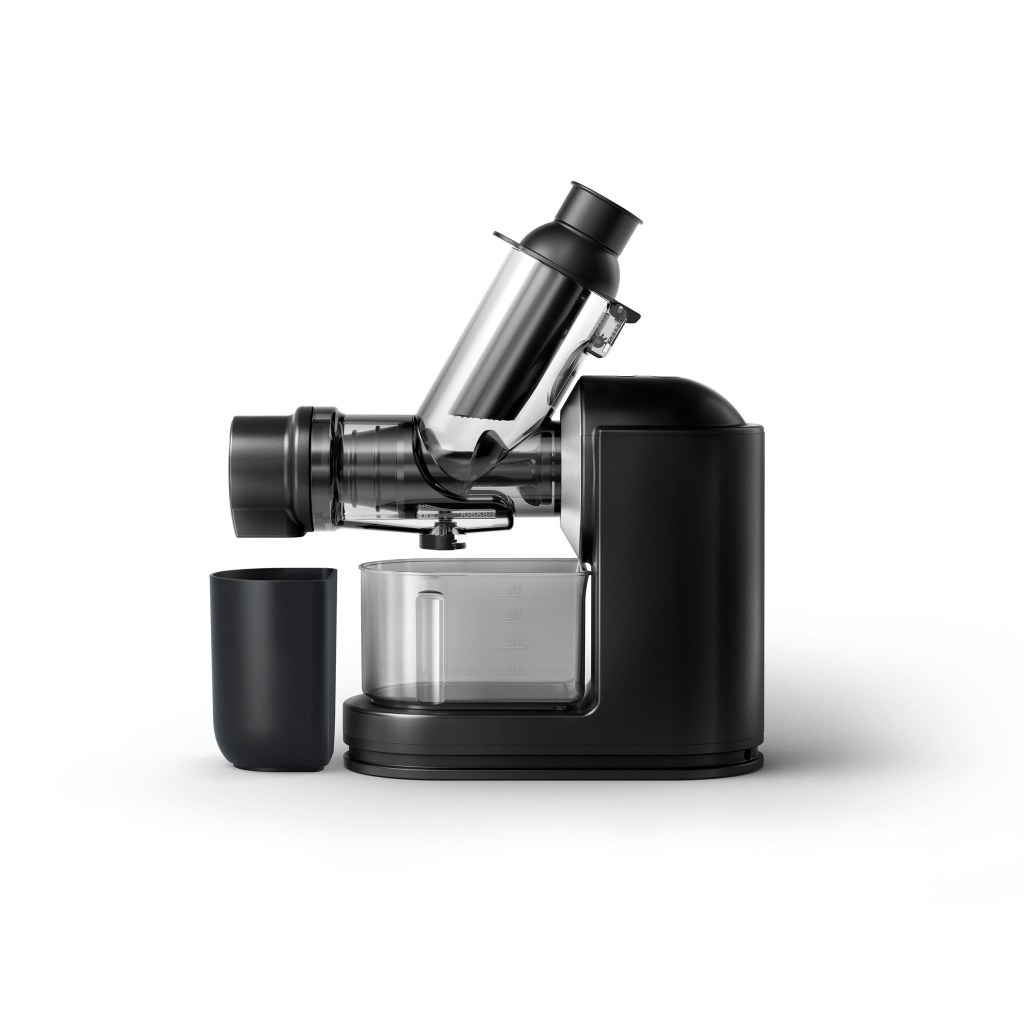


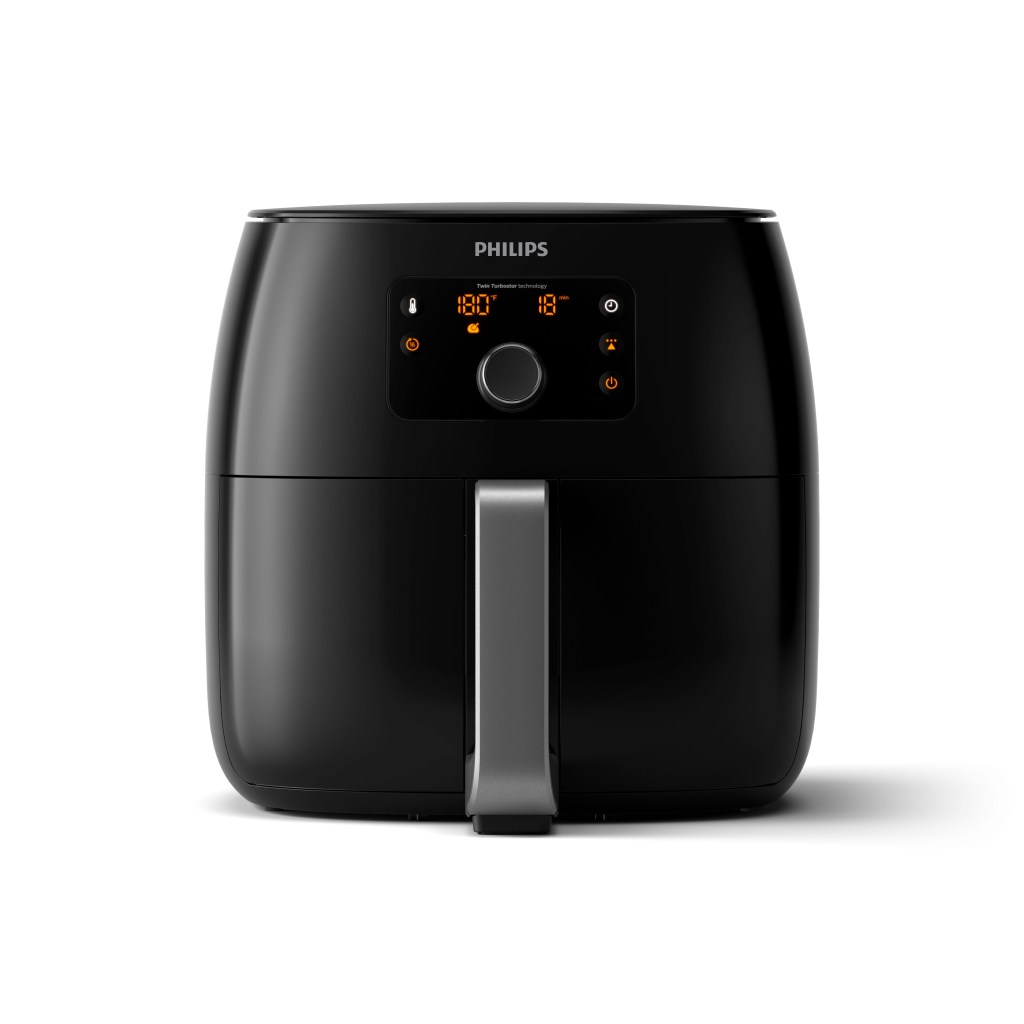

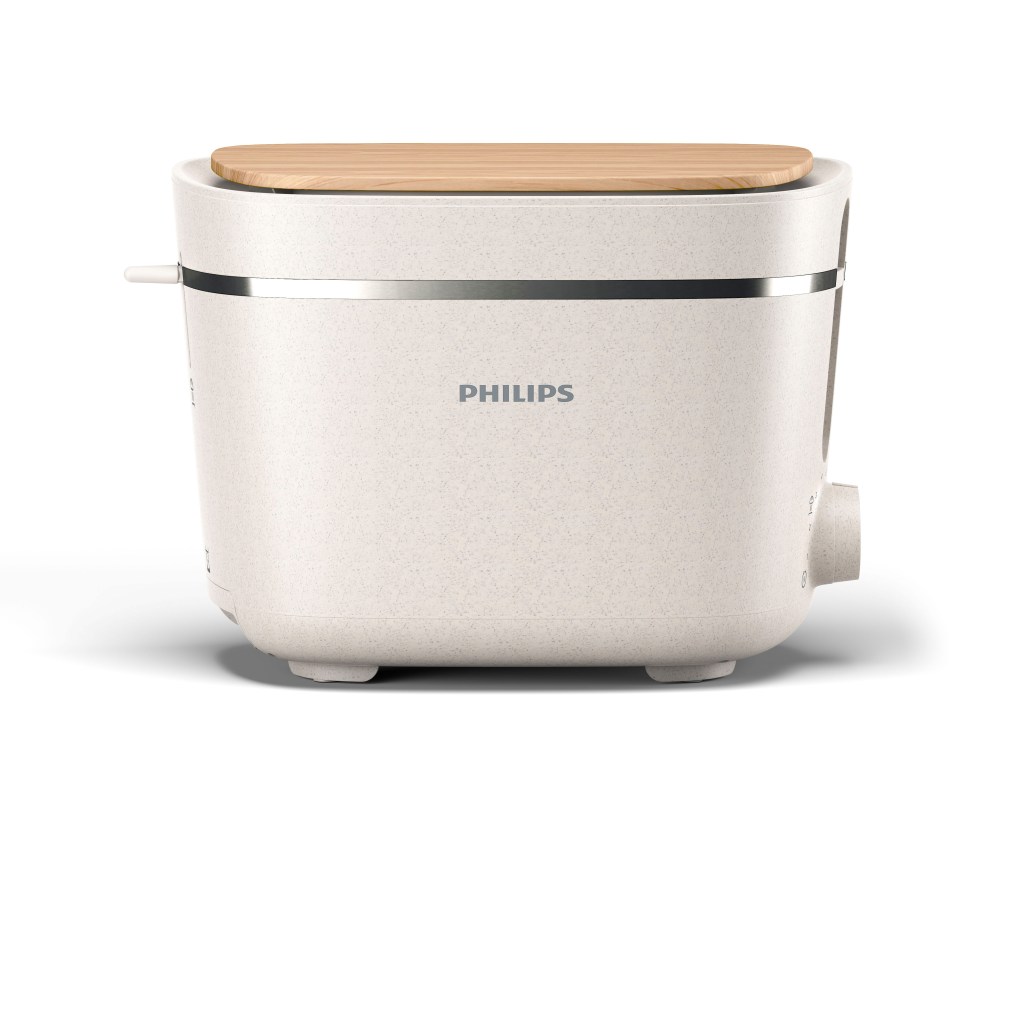


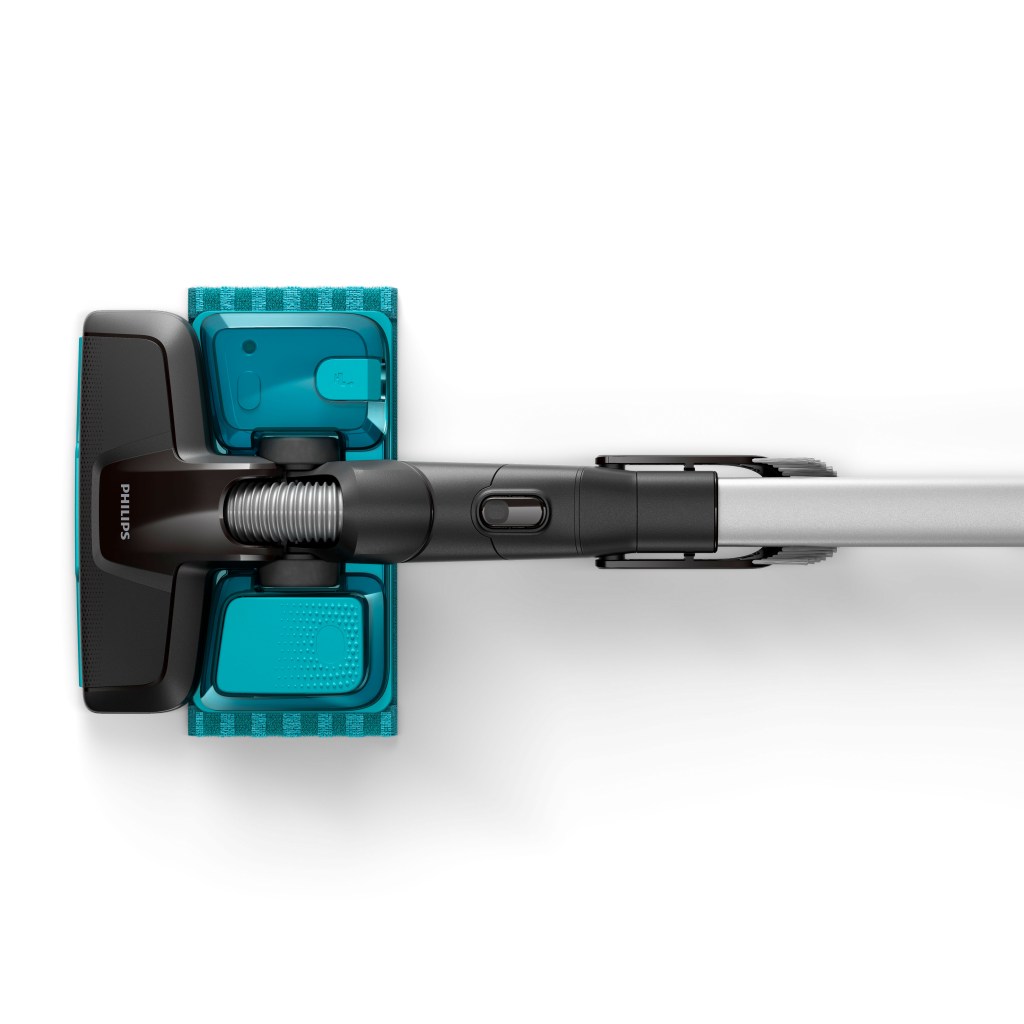
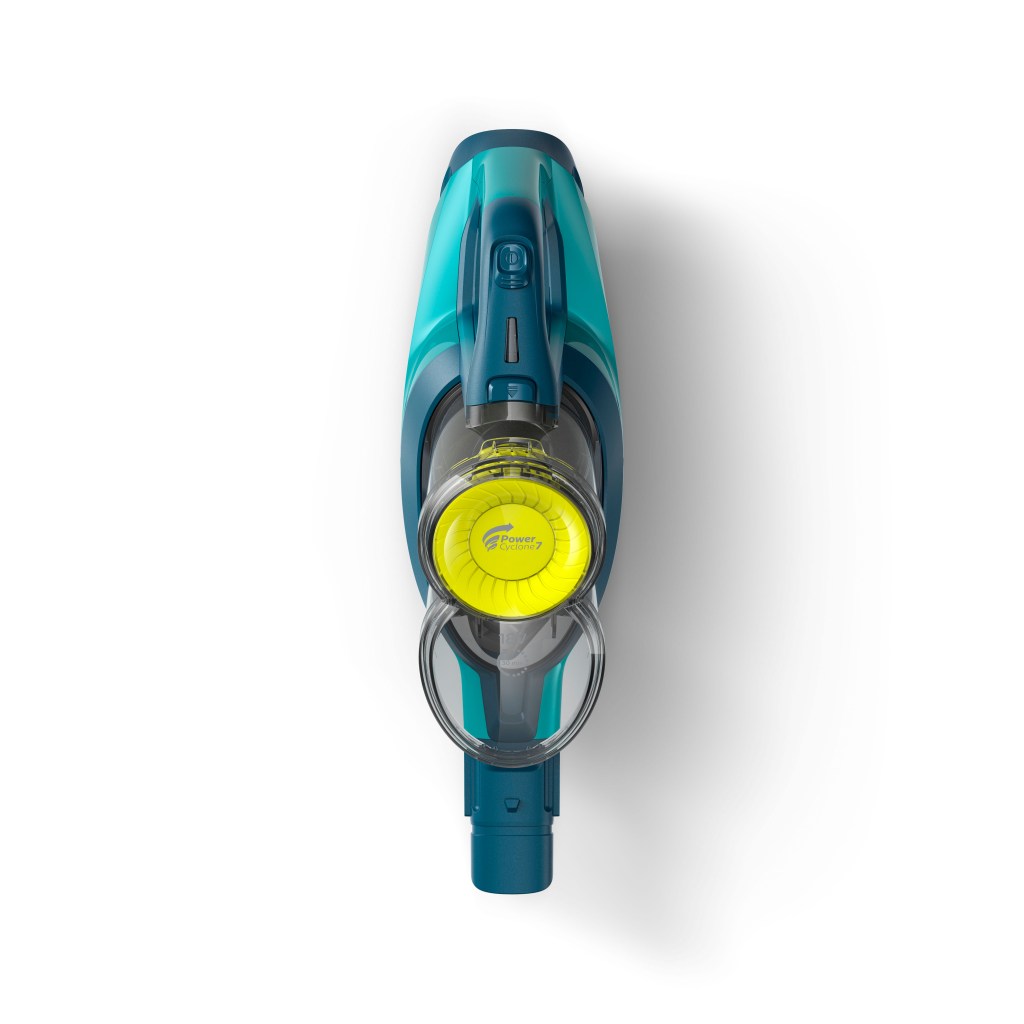
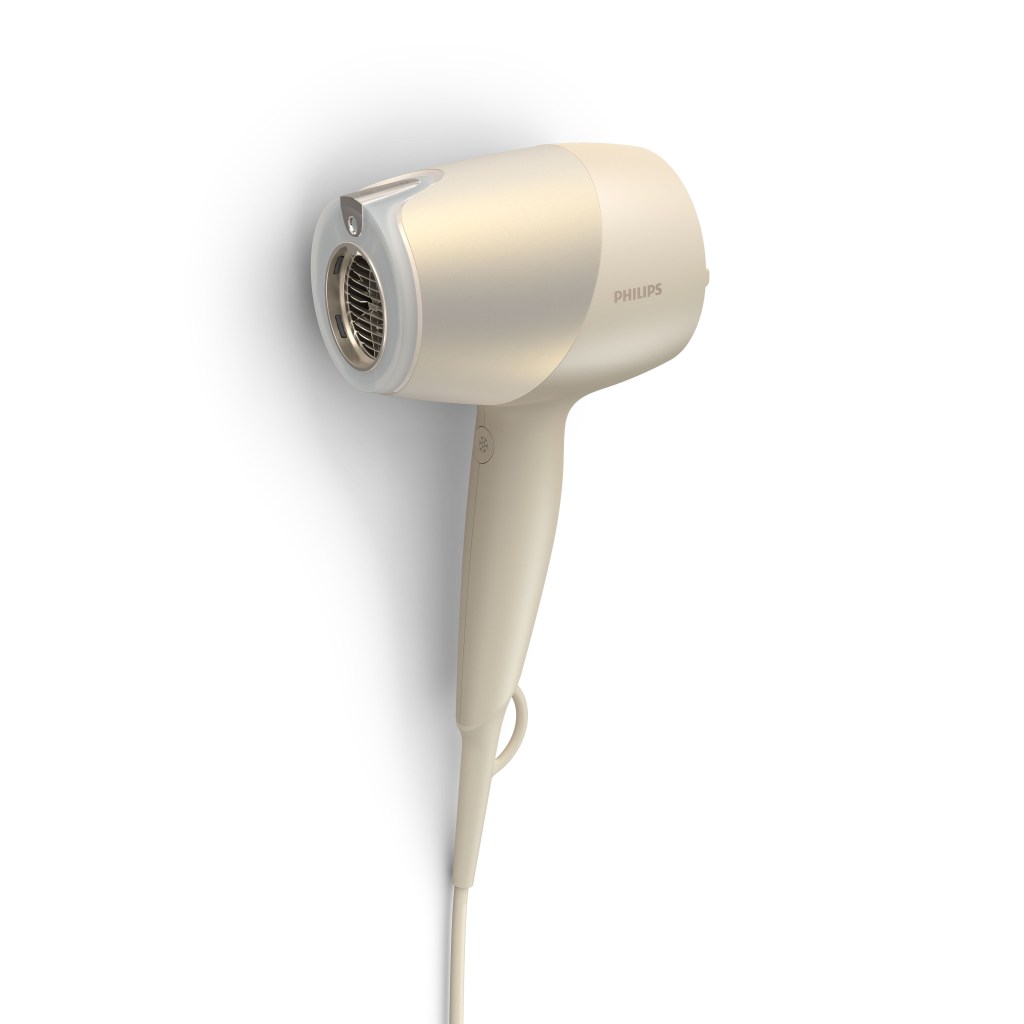
Click images to open large format
Packaging Renders

The packaging renders are pretty similar to the basic assets but they are rendered in an environment that represents the background colour of the pack design. In most cases these images were produced in retouch directly from the basic asset as this was cheaper and didn’t stretch the CGI resource. However, for more premium products where there was budget to render, a particularly tricky translucent material to deal with, or a totally different style of render needed on the artwork, these would be produced as a separate image in CGI
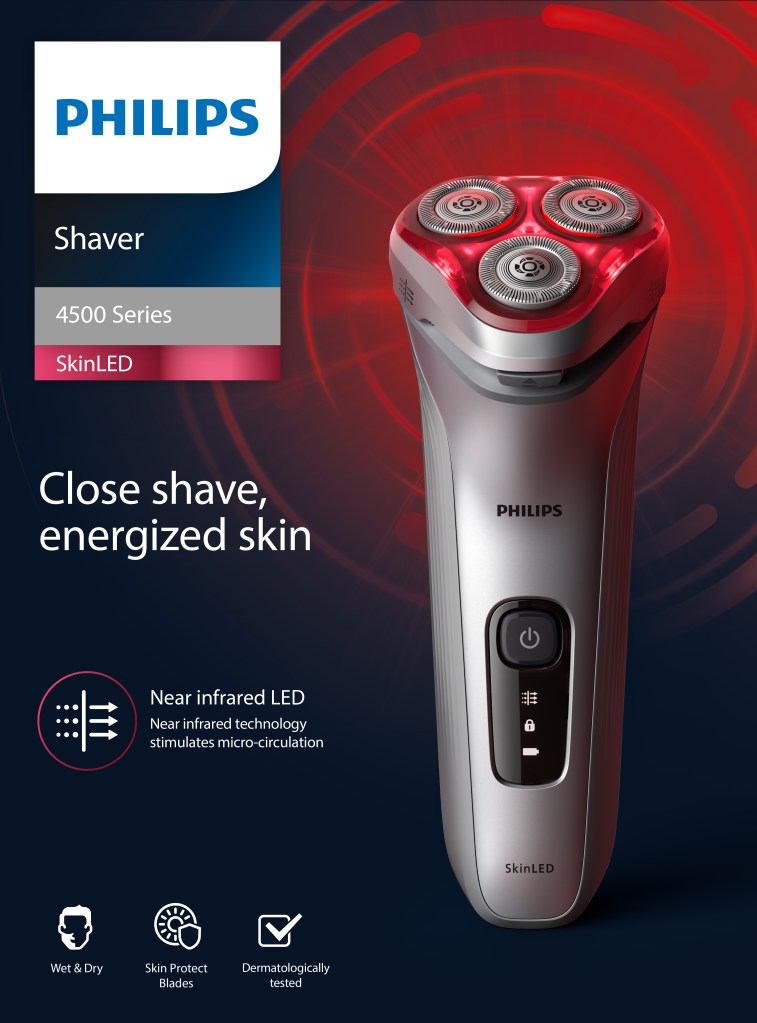
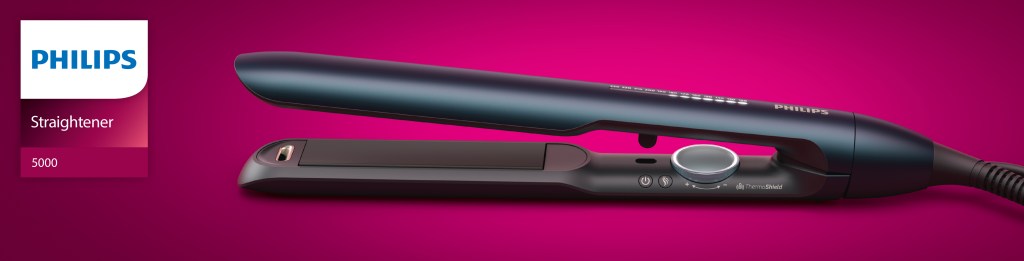


Click images to open large format
Photography Replacement
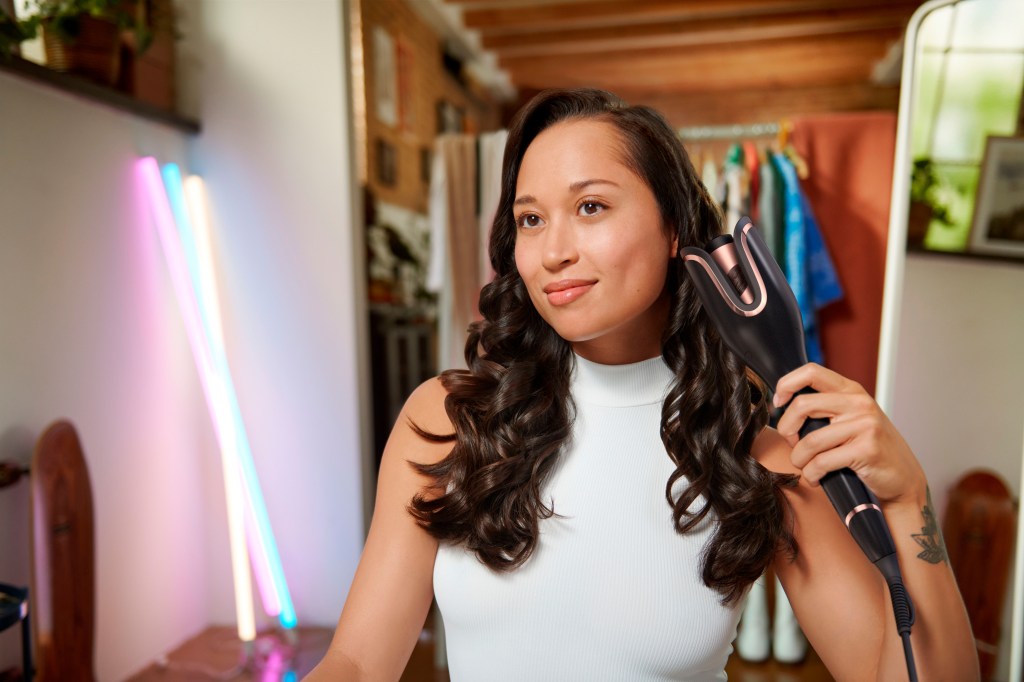
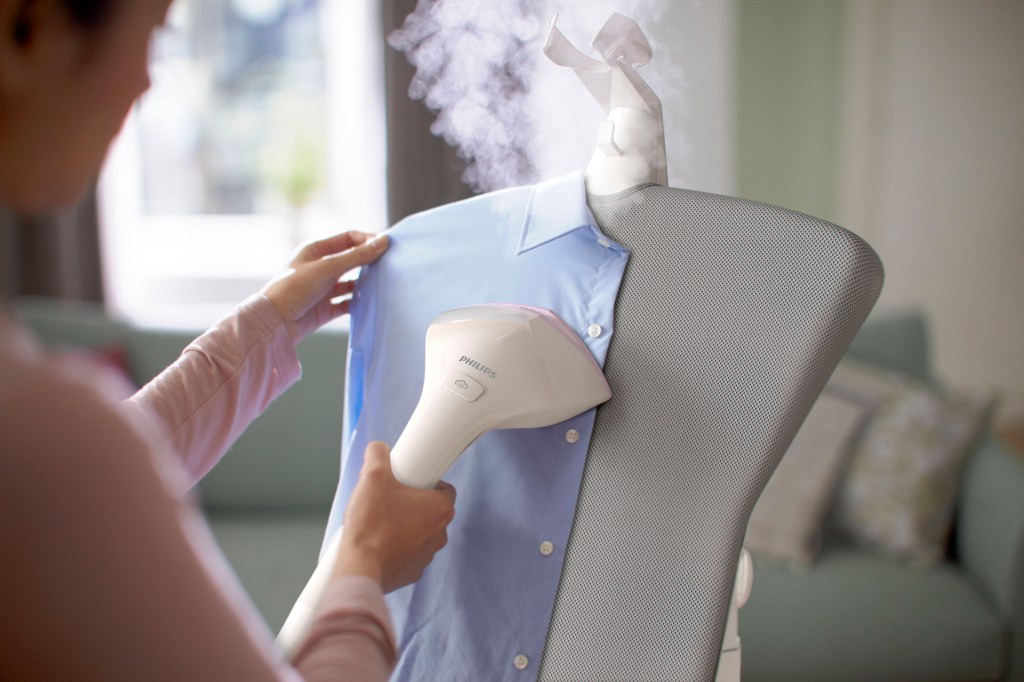
These renders are created to eliminate the need for repeat photo shoots. Here a render is imposed into an existing photograph, either in different colours of the same product, or a new product with a similar form factor. Unfortunately camera tracking tools don’t tend to work that well on single frames so the camera was matched by eye most of the time. The lighting was also mostly met by eye based on the original photo, on rare occasions we would be supplied a HDR from the shoot. One of the more tricky aspects of this was keying out hair on the haircare renders


Click images to open large format
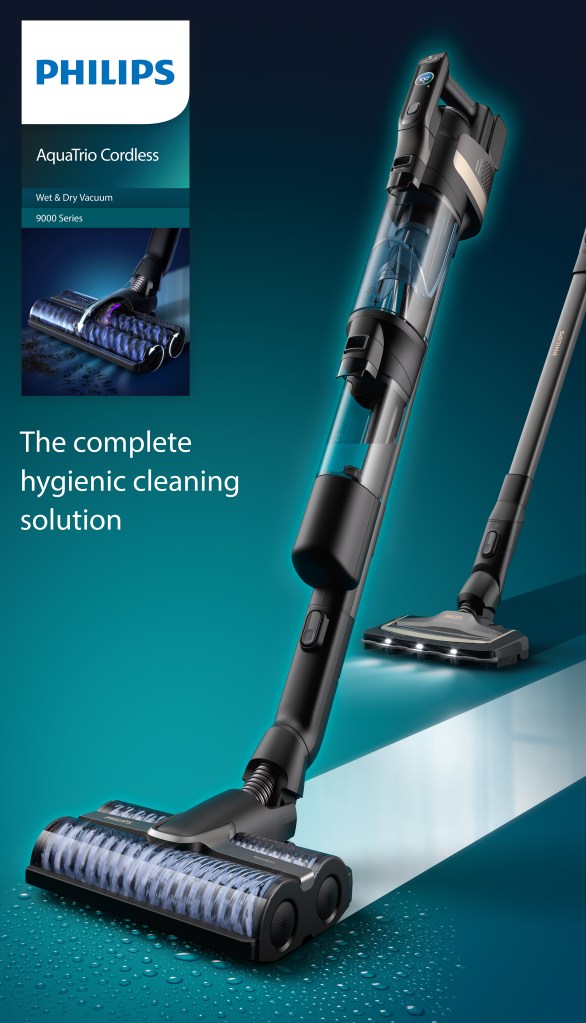
Full CG Lifestyle Renders
These renders are full CGI. Fairly often Philips wanted products rendered in environments that matched design concept sketches, or in obscure angles where photography wasn’t really possible. Below are some examples and a little info on the process behind them
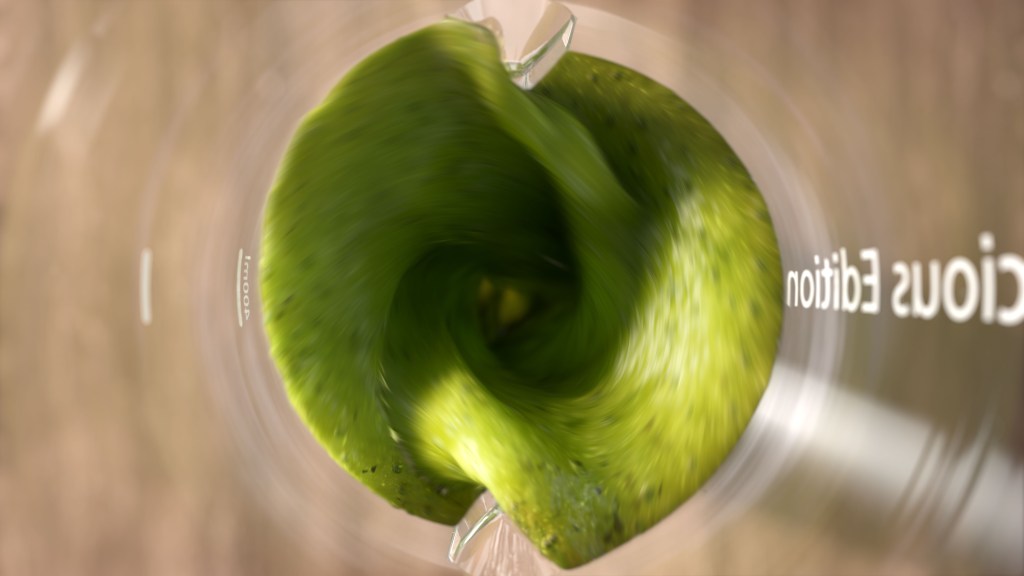

These renders were for the “Conscious Collection” blender, a product made from recycled materials. The wooden background was a must to keep everything as natural as possible. The first shot of the liquid in the blender was rendered in Maya but the liquid was created in 3DS Max with Phoenix FD and Tyflow. At the time of making this there was a bug in Phoenix for Maya that prevented the active bodies from working correctly hence the shift to 3DS Max. The texture on the liquid is a mixture of a bitmap and actual seeds and chunks inside the liquid that can be seen through the refractive SSS shader. after creating the simulation it was exported as an alembic making sure to retain the velocity information. The high poly liquid mesh and all the geometry inside were too heavy to create motion blur in Maya but the velocity pass made things easy in Nuke.
The second shot of the blades crushing the ice and spinach was my first project in Houdini. this wasn’t created with dynamics, just scattered points for this still image. A “for loop” with intersection analysis prevents any overlapping geometry and art directing was more obtainable than using dynamics by simply changing the seed on the scattered points. It would have been nice to refine the leaves a little more in this shot but time was against us.


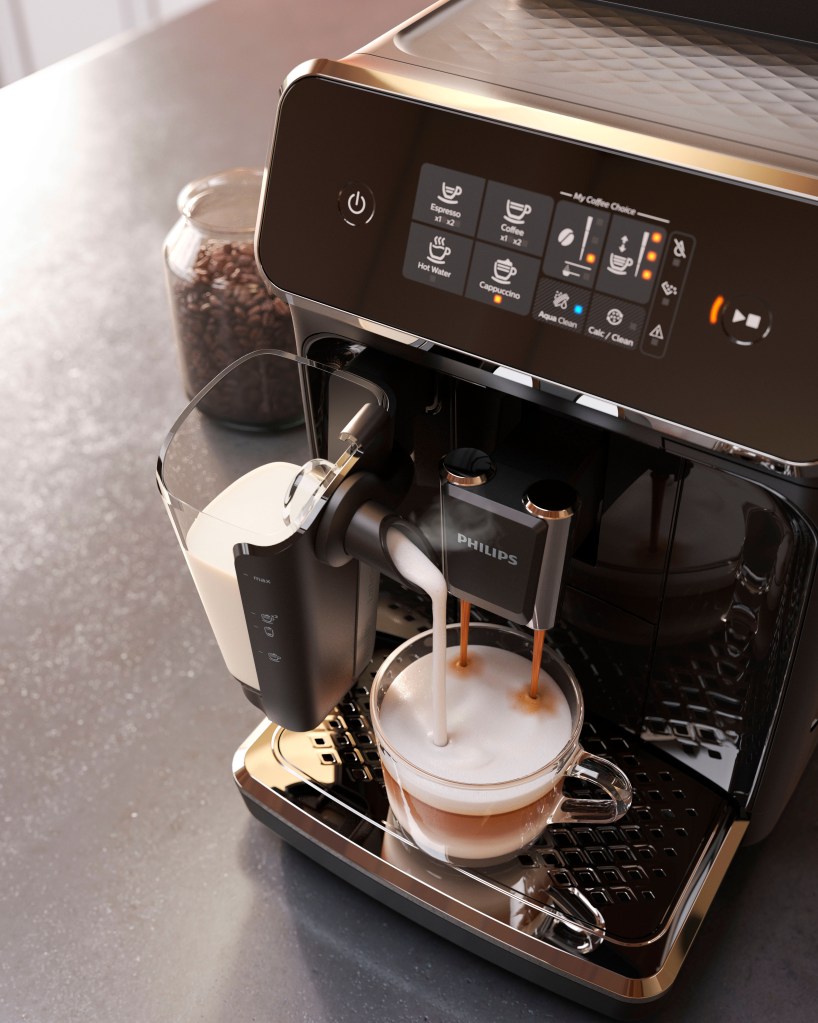
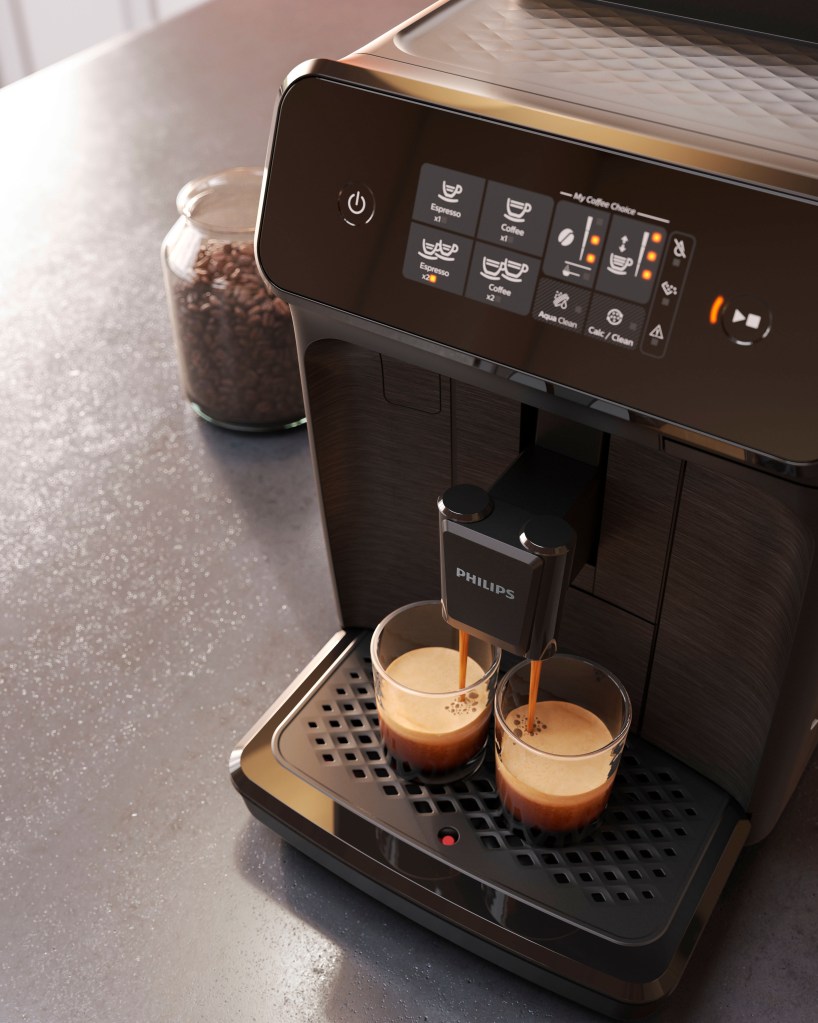
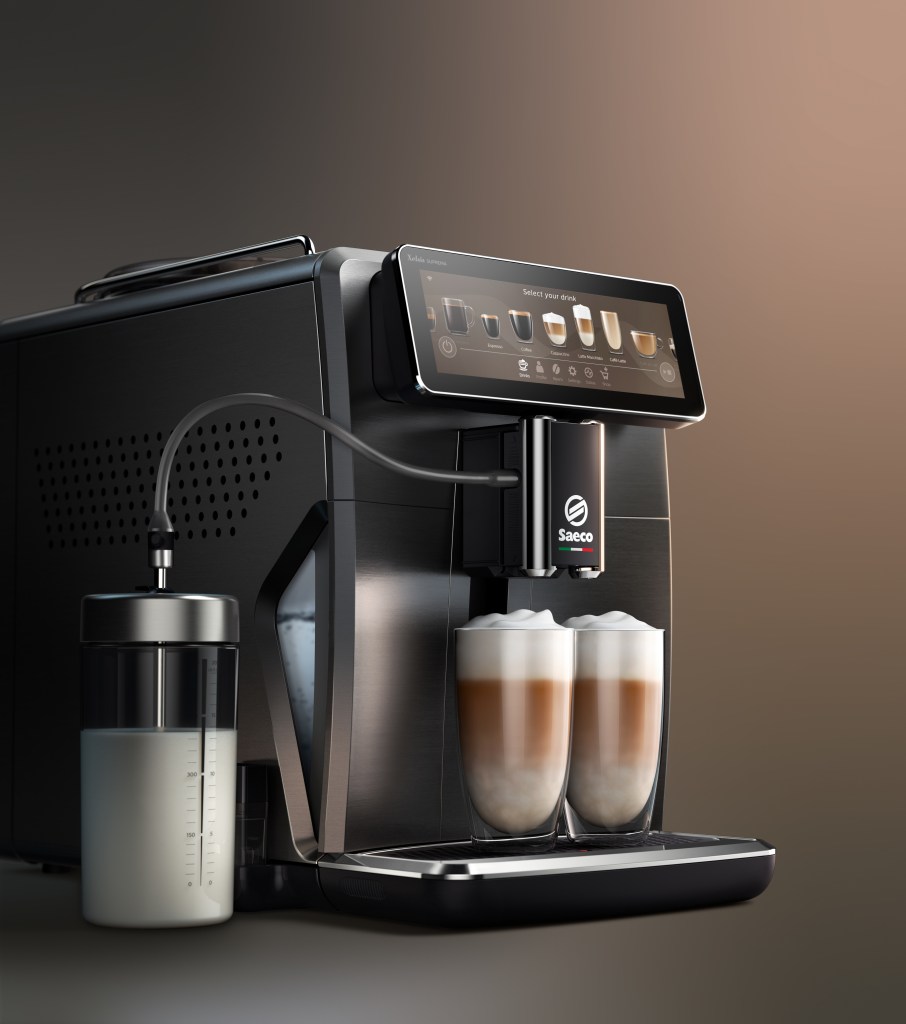
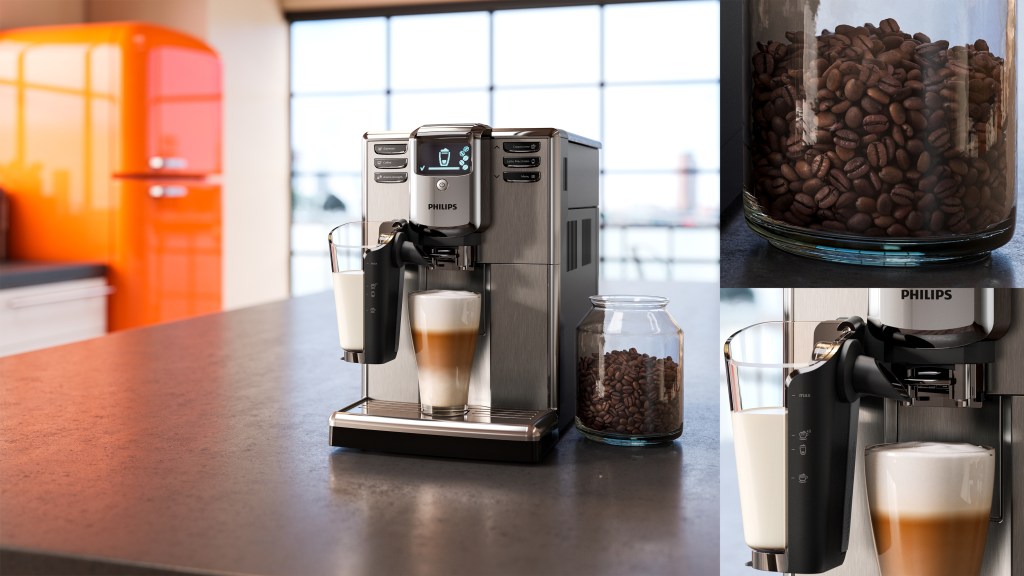
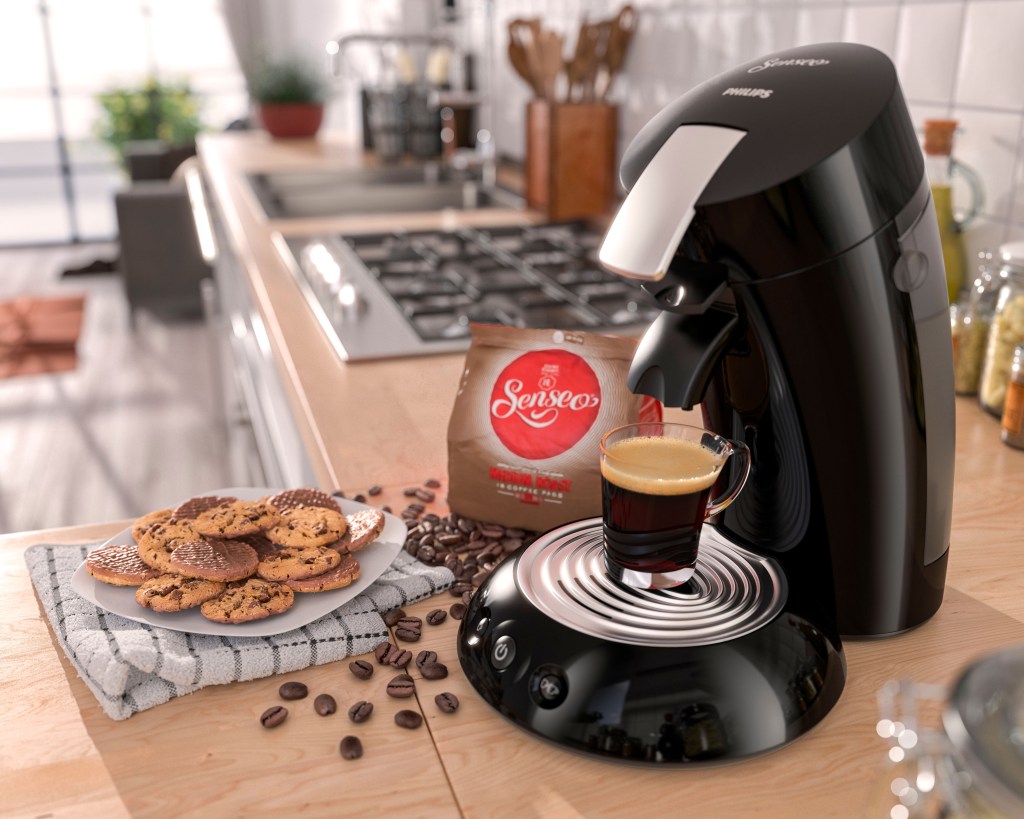
This was project Omnia, a high-end coffee machine with these in-situ shots all over the packaging. This was my favourite Philips project to work on, we had a lot of time and budget to experiment with these renders to try different compositions and lighting within the environment. I created the coffee beans initially with photogrammetry and refined the models in Zbrush. There are 3 models in total but editing the textures and the use of the Multitexture node in v-ray gives the illusion of more variety. The liquid coffee is a static mesh with the foam sculpted in Zbrush. The textures were mostly created in Substance with some procedural effects on top to add more detail. The steam from the milk carafe was done with Phoenix FD, this project was done in 3DS Max.
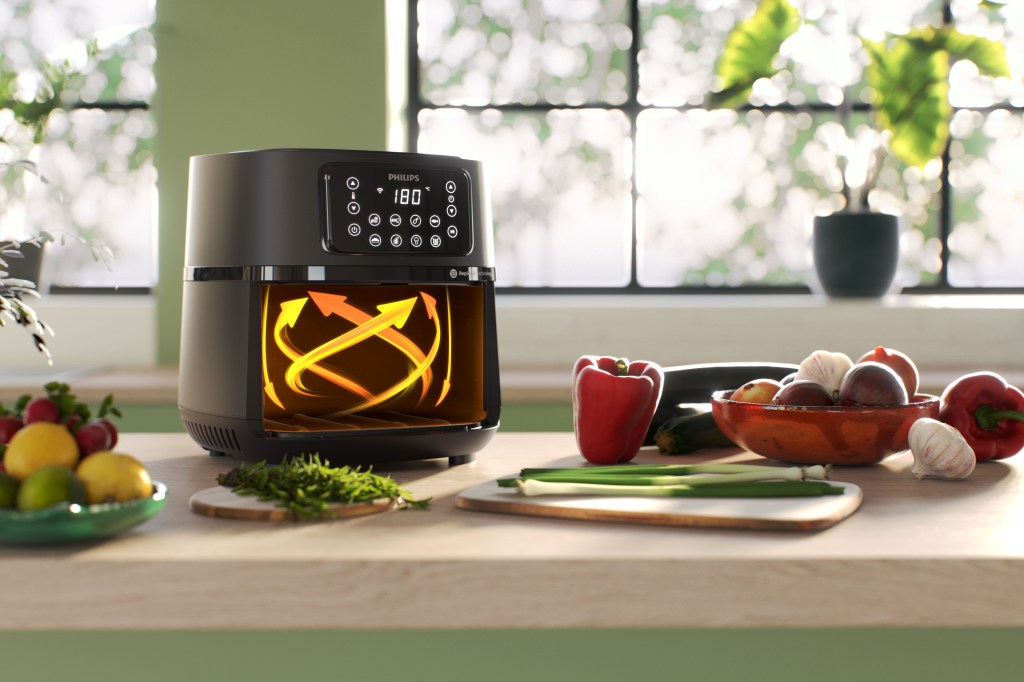
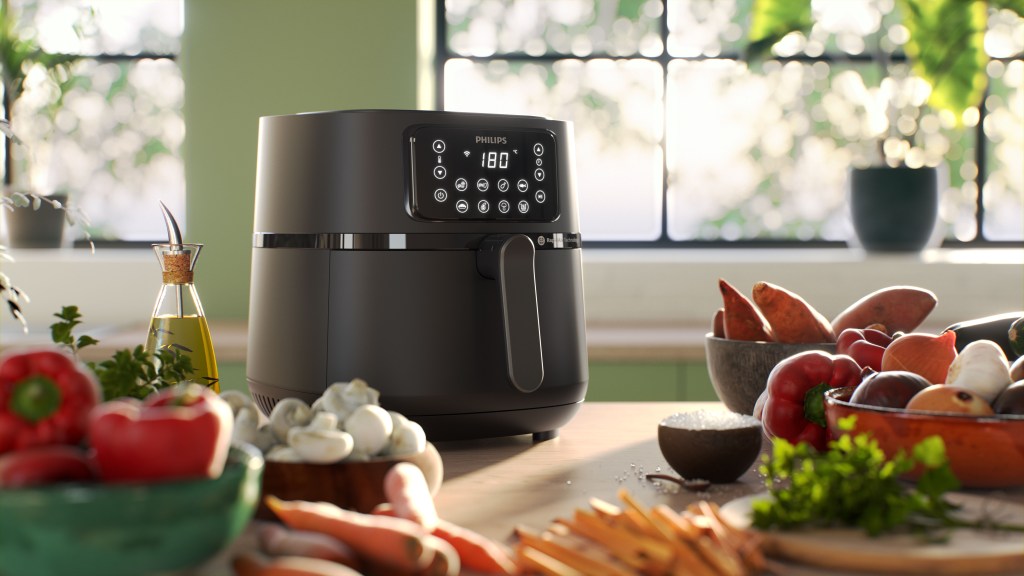
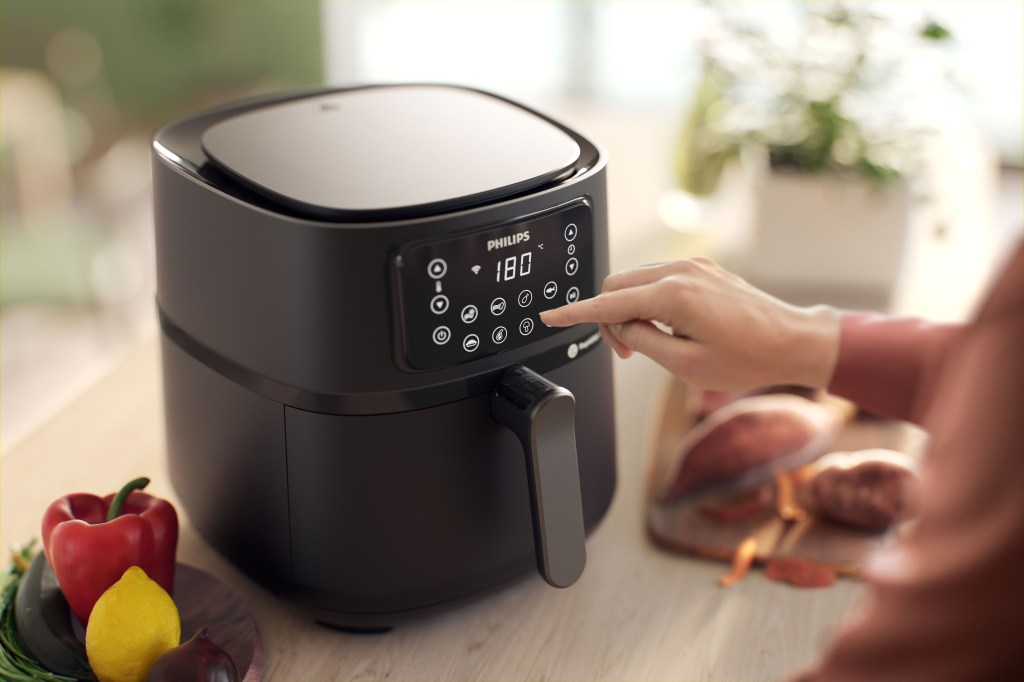
A recent Arifryer project I did that was again full CG. One of the challenges here was to create believable food but in a very short timeframe. A lot of the assets were from the Quixel megascans collection with some work over the top to increase realism, the mushrooms and spring onions I made myself. I found that as these megascan assets are designed for use in Unreal the polycount was a little low and even with the normal/displacement maps supplied you could still make out some of the facets in the topology, especially on the edges. Fortunately Quixel give you access to the original scanned mesh so using Houdini I subdivided the model a couple of times and used the topo-transfer to project the high poly details onto a more manageable model, just like you can in Zbrush, just much more procedurally. I used the RBD solver to fill the bowls as needed, and for the herbs I used Vellum to have them rest on the surfaces in a natural way. The sweet potato fries came from a scanned sweet potato then using Houdini I boolean’d them into fries with a loop and made a pile with the RBD. A lot of attention was given to the shaders on this project, SSS was a must and I used some added procedurals over the top of the scanned textures to give a little more detail. The herbs were a blend of SSS and a two-sided material to allow the light to pass through and make them translucent. The lighting was a physical sun/sky creating strong backlighting to emphasis the sub-surface effects. There are no additional lights in the scene, just some more strategically placed windows and the brute-force GI took care of the rest.
This was not a live job but a portfolio/marketing piece for SGS to show to Philips that we could produce images like this when we were still in our infancy on the account. This is an old piece by me and whilst I am not happy with how the coffee turned out I still like some of the details in the rest of the image. The cookies were photogrammetry/Zbrush, the pack of Senseo pods was also made in Zbrush and the towel was a cloth simulation in 3DS max with some custom textures/displacement maps derived from photos, fur was added selectively to islands on the towel

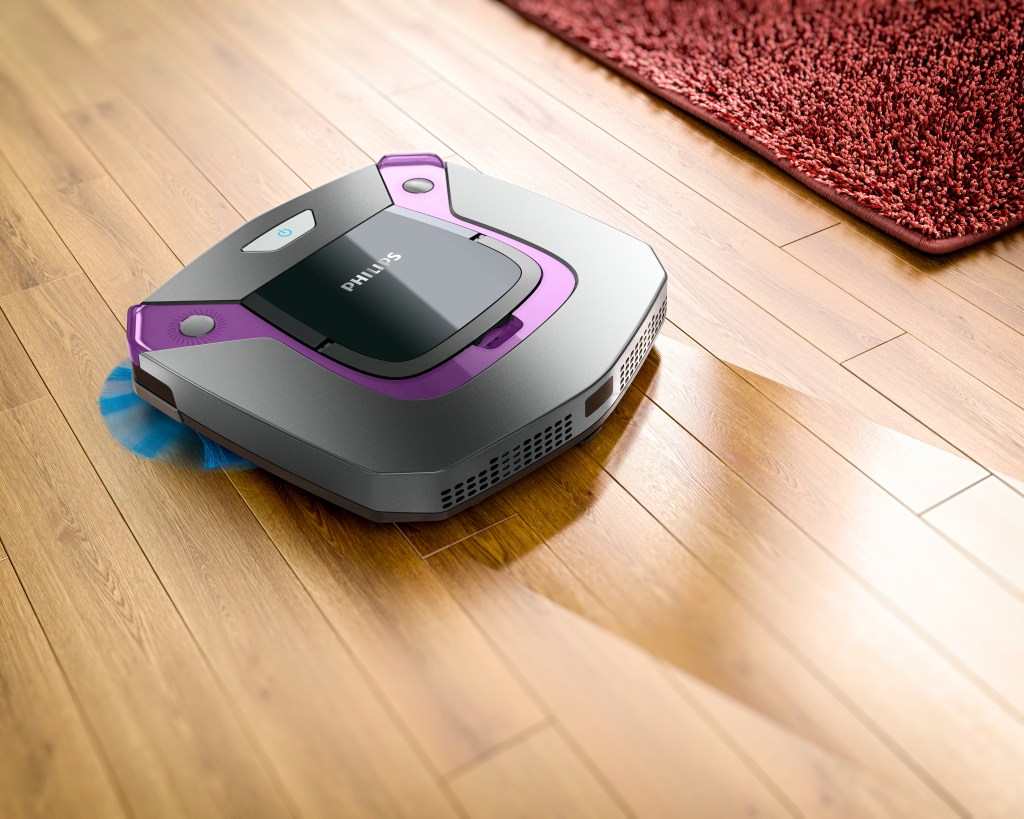
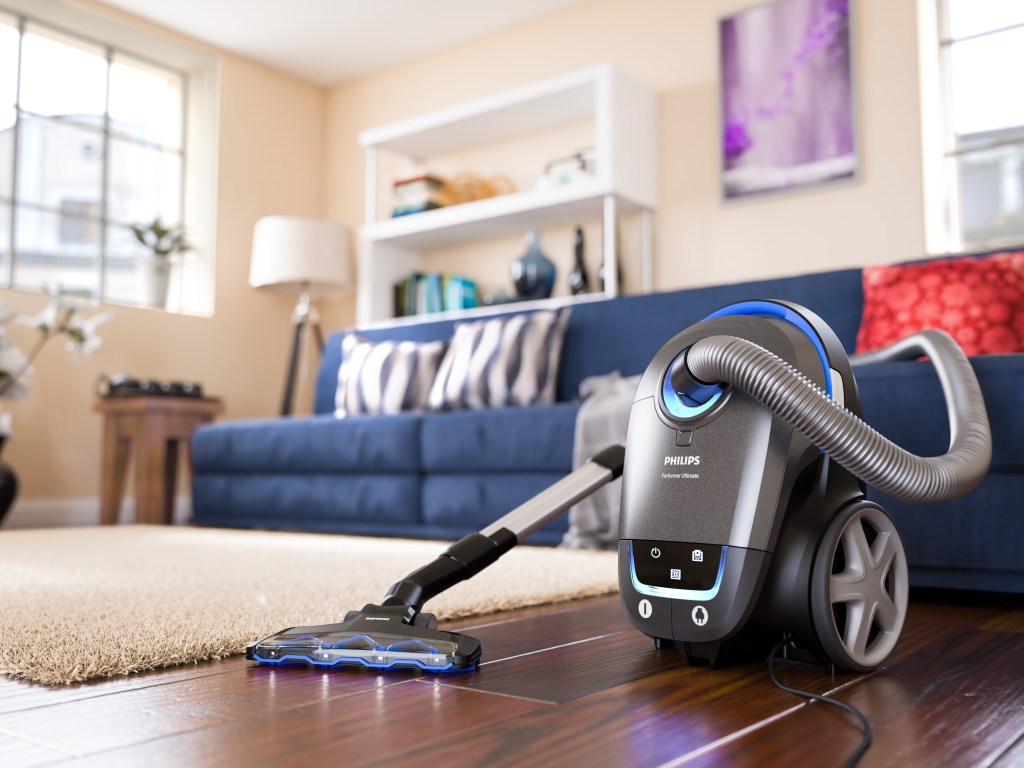
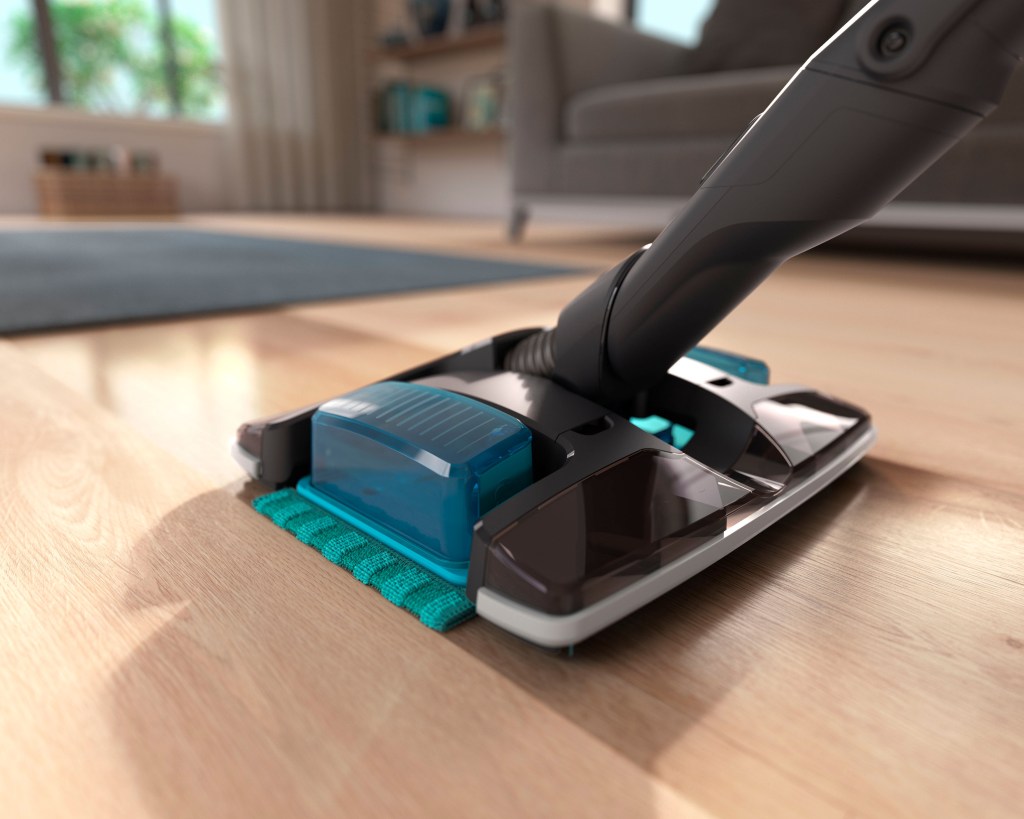
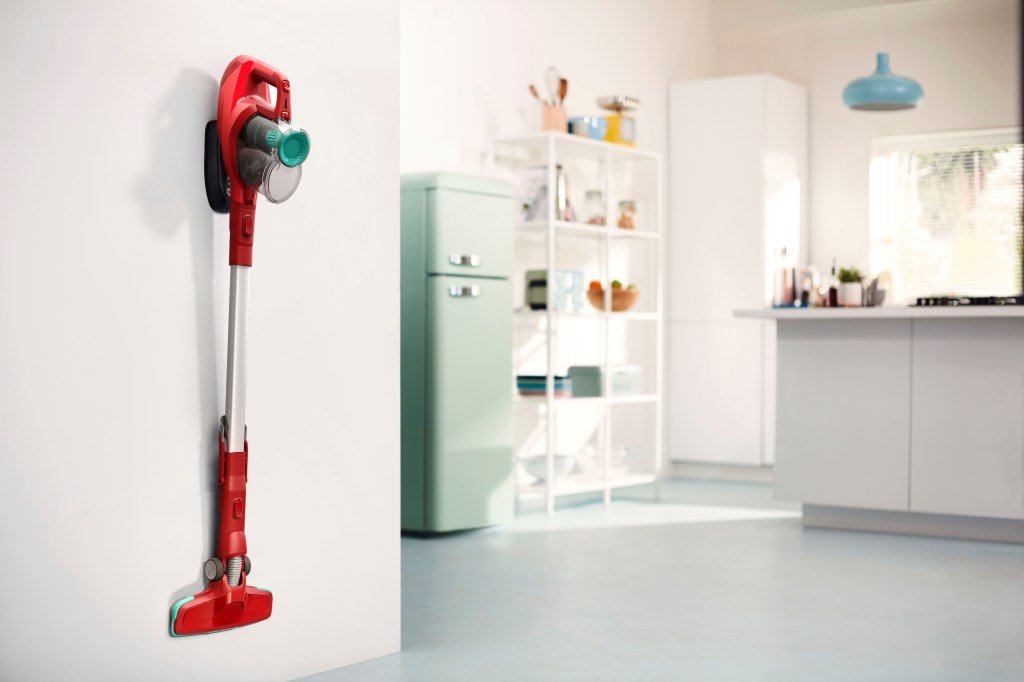
Lastly a selection of images for Floorcare. The images with the deep pile carpets were made quite a long time ago, before Forest Pack was a thing. These were done with Pflow and V-Ray instancer to swap in a high poly mesh of the fibers to the point locations defined in Pflow.
Technology Visualisations

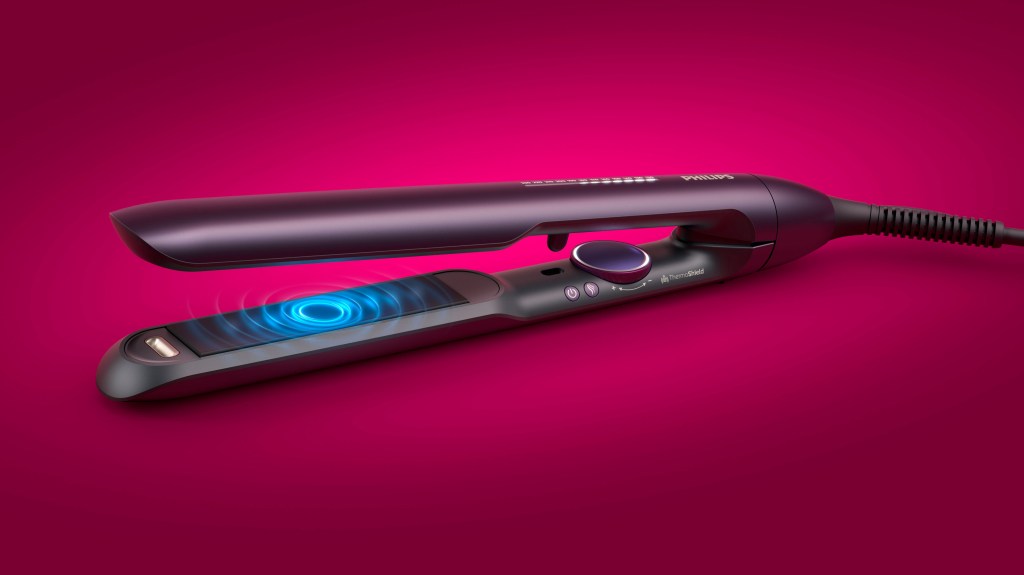
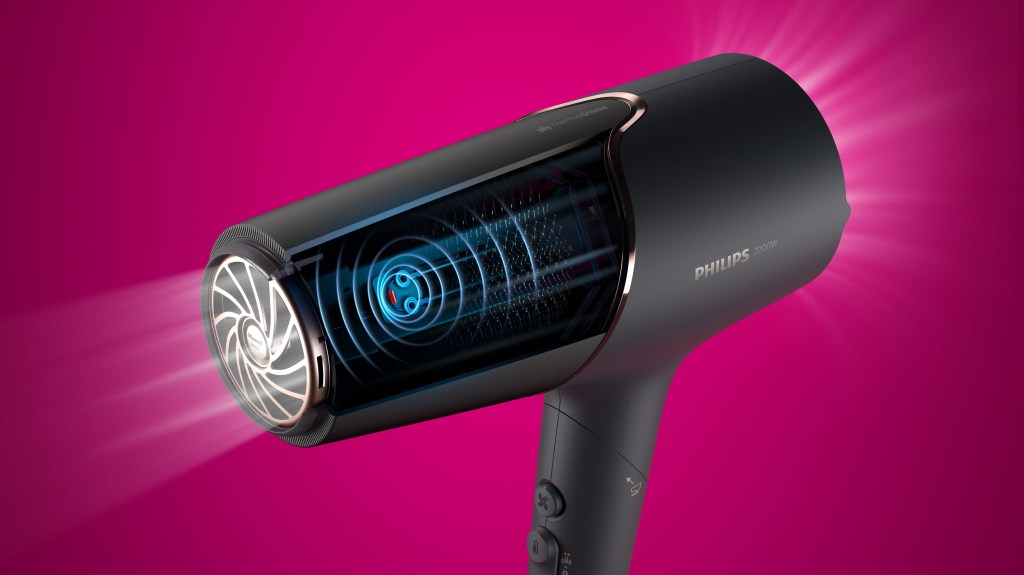
These images were made to show some of the technology present in the Philips products in a graphical way. Most the of graphical effects are a combination of 3D and 2D effects, done in either After Effects or Nuke.

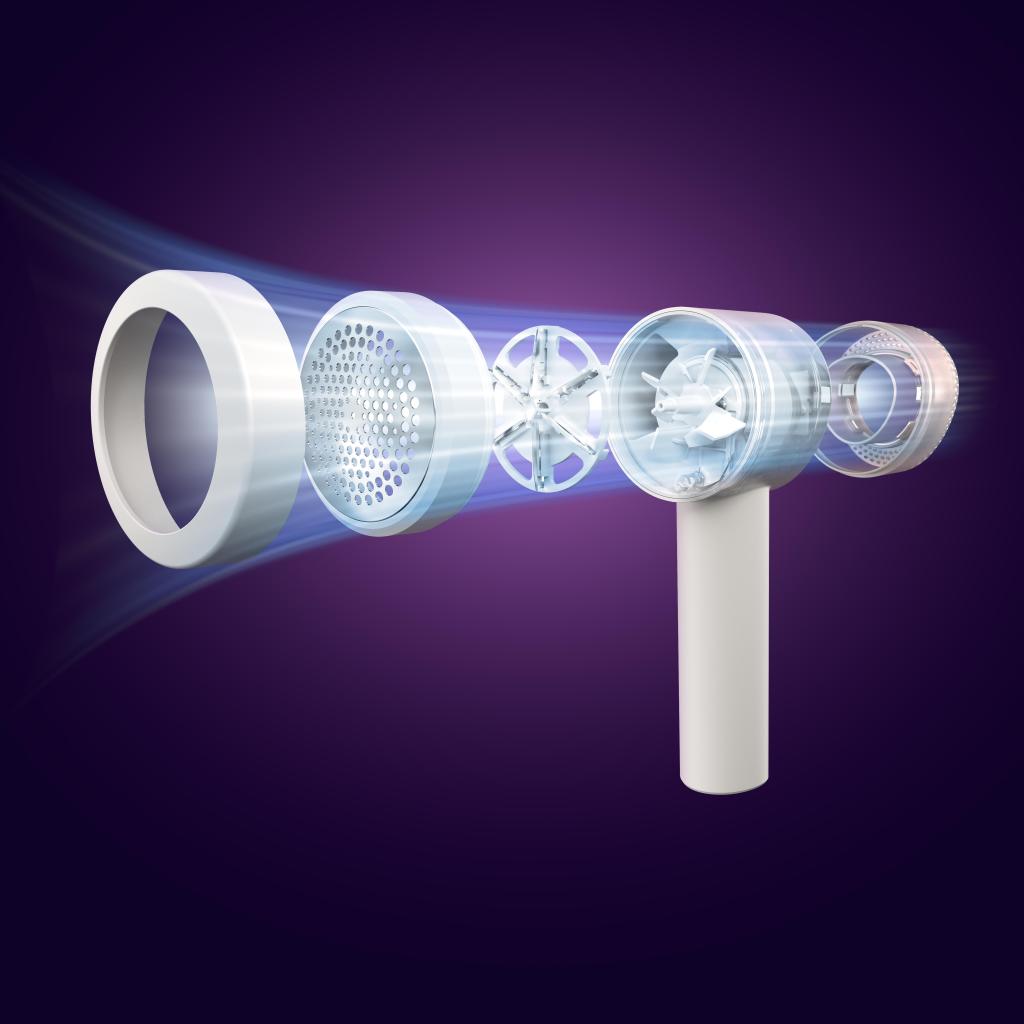
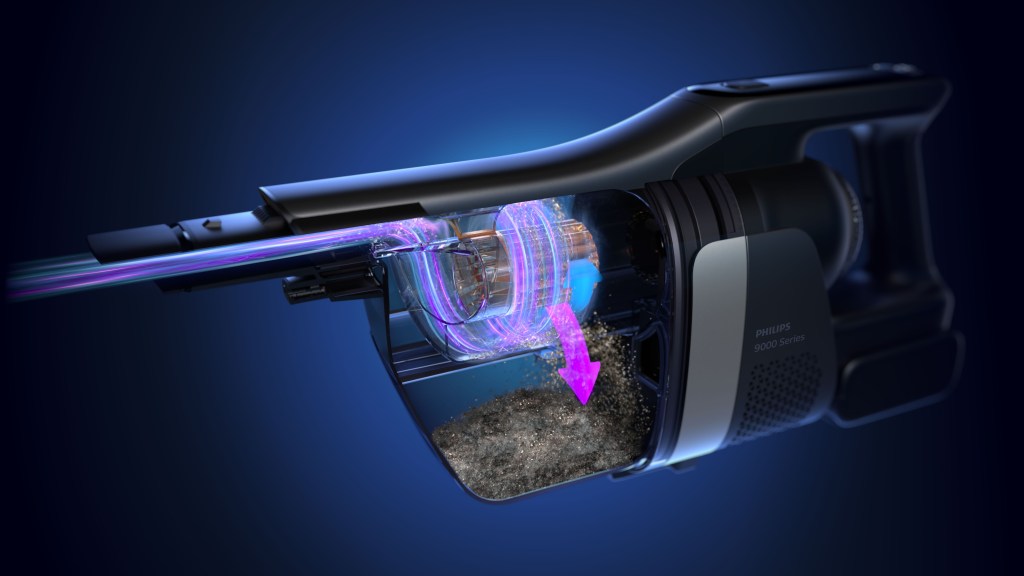
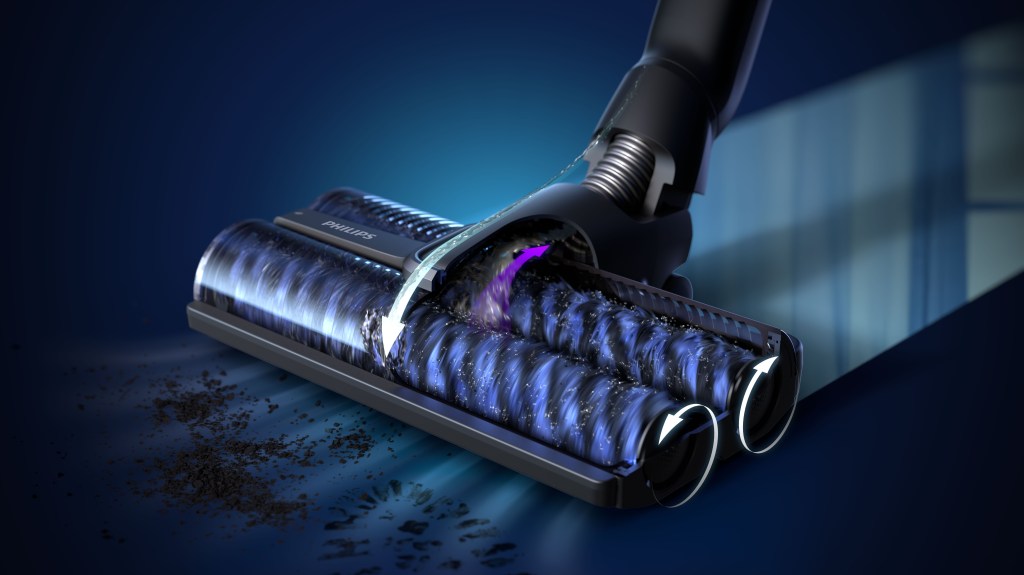
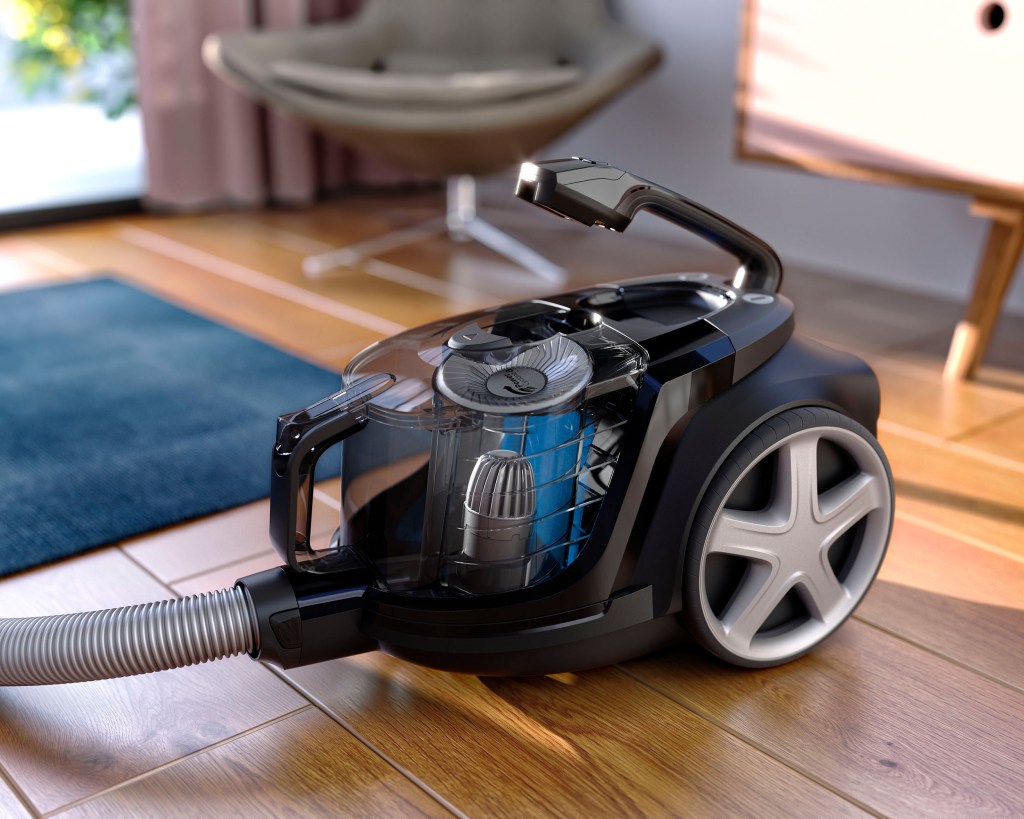
These last 2 visualizations for floorcare were what pushed me to learn Houdini, they were made in 3DS max and Maya but in doing so I started to really see the limitations of the FX tools in these programs. The dust particles were done in TyFlow, the liquids and smoke were Phoenix FD and the fur was Xgen. Even though the process behind these wasn’t optimum I am still happy with the results.
