
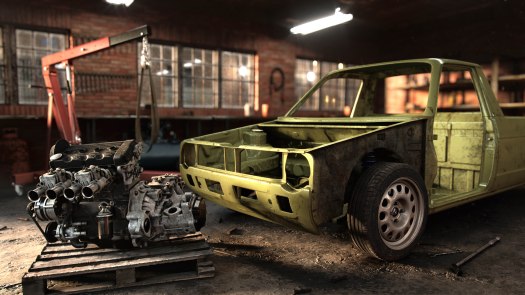
This was my entry to the Hum3D annual car render challenge
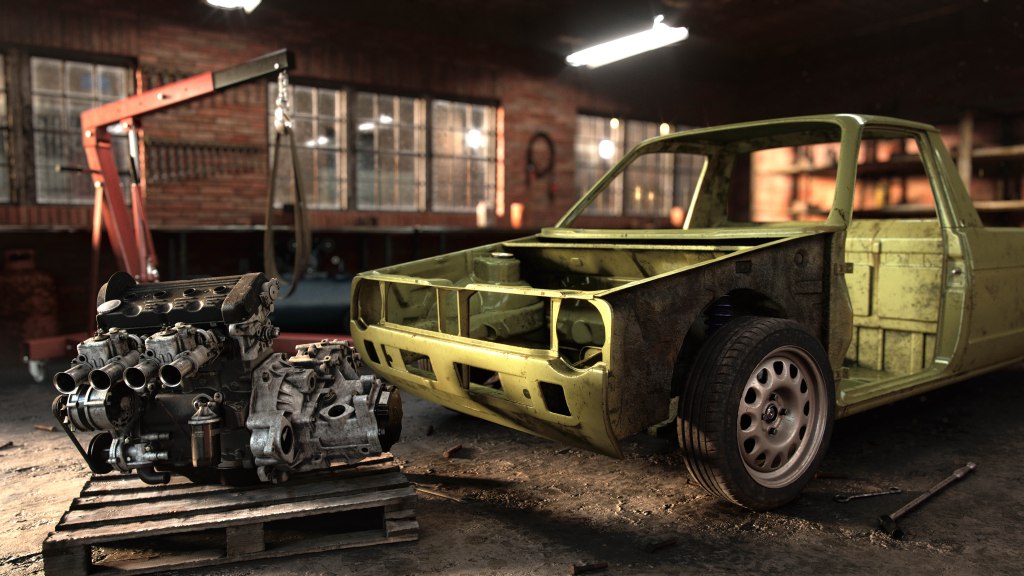

Everything takes longer than you expect, you’ve been solving unforeseen problems the whole day, the sun is going down and you’re no where near finished. This scenario is relatable to anyone who has tried to restore a car and I wanted to try and capture that essence in this image. Before moving to Amsterdam I was restoring an old Mk1 Volkswagen Caddy in my parents garage, and even though I never finished the physical car, I thought it would make a fitting subject to this render.
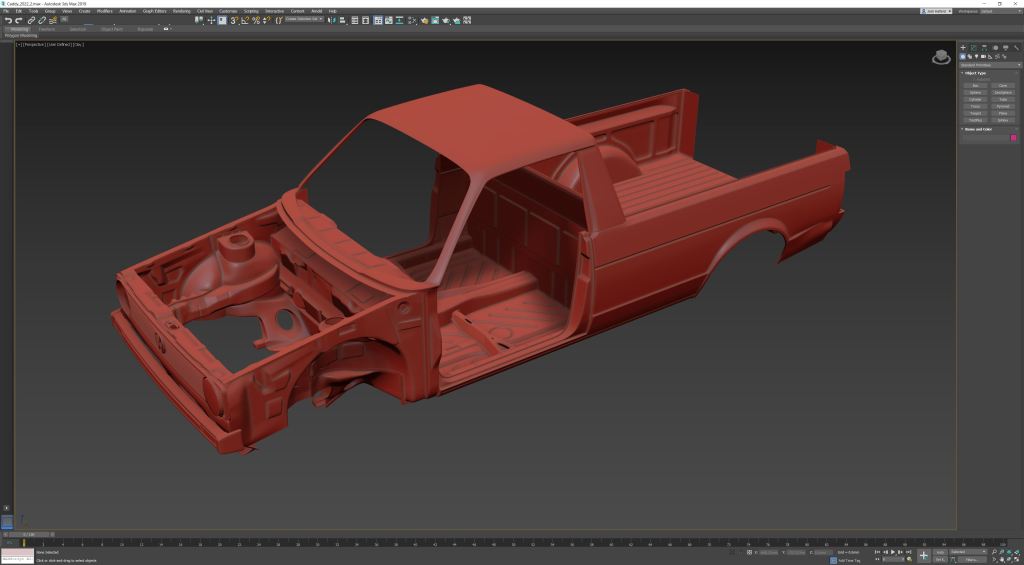
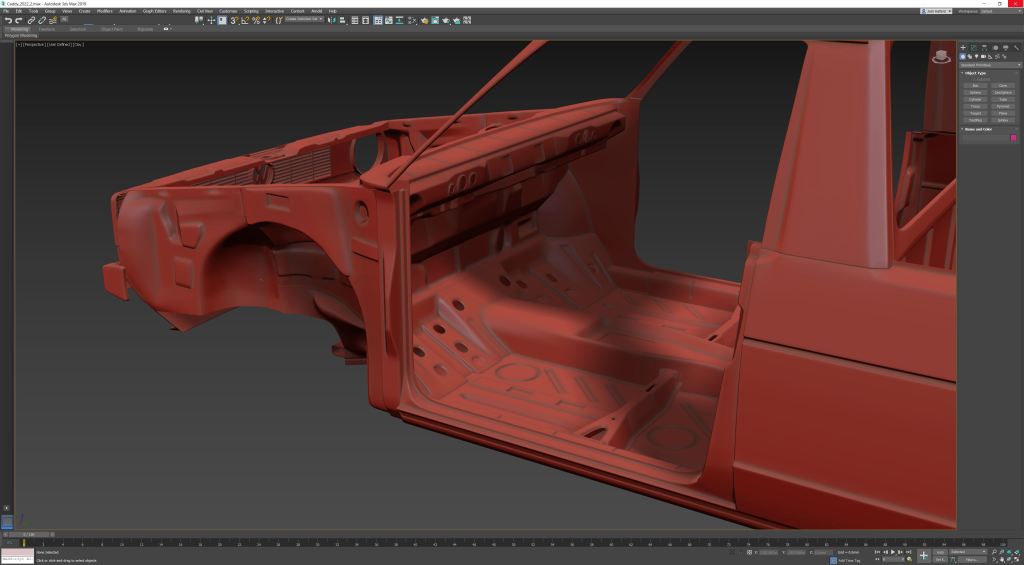
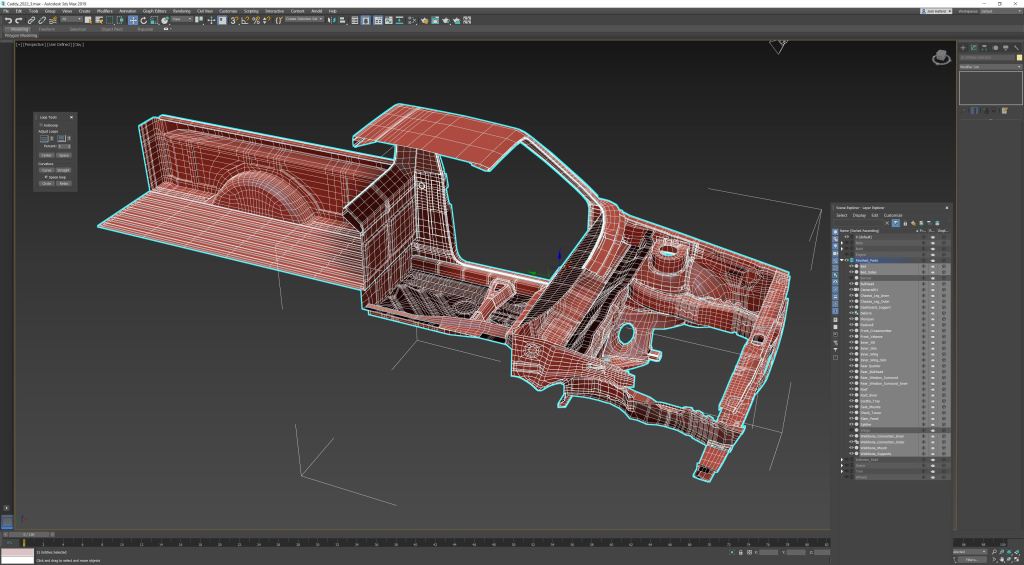
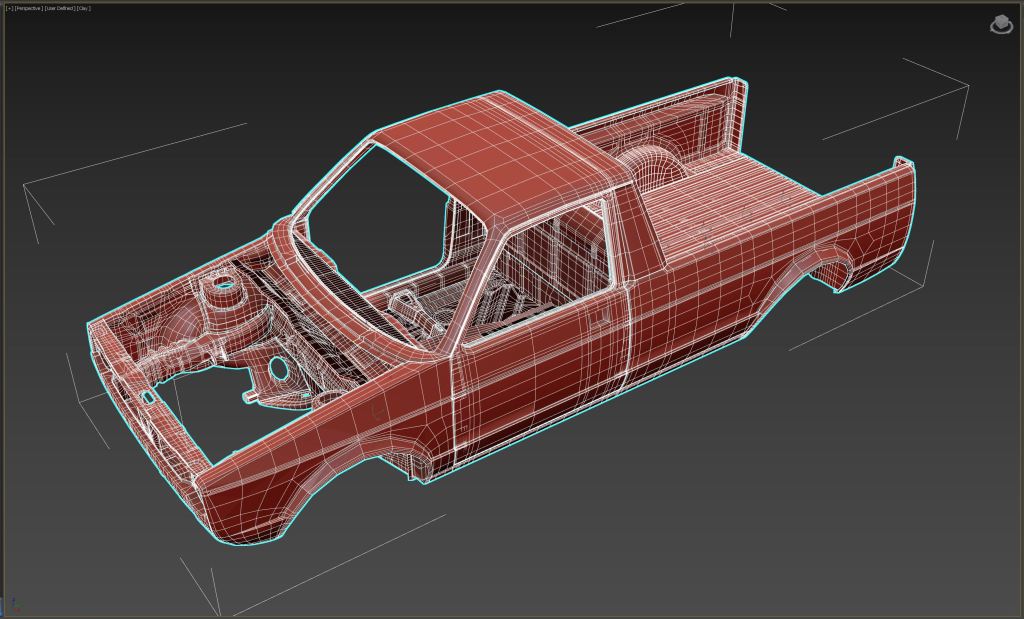
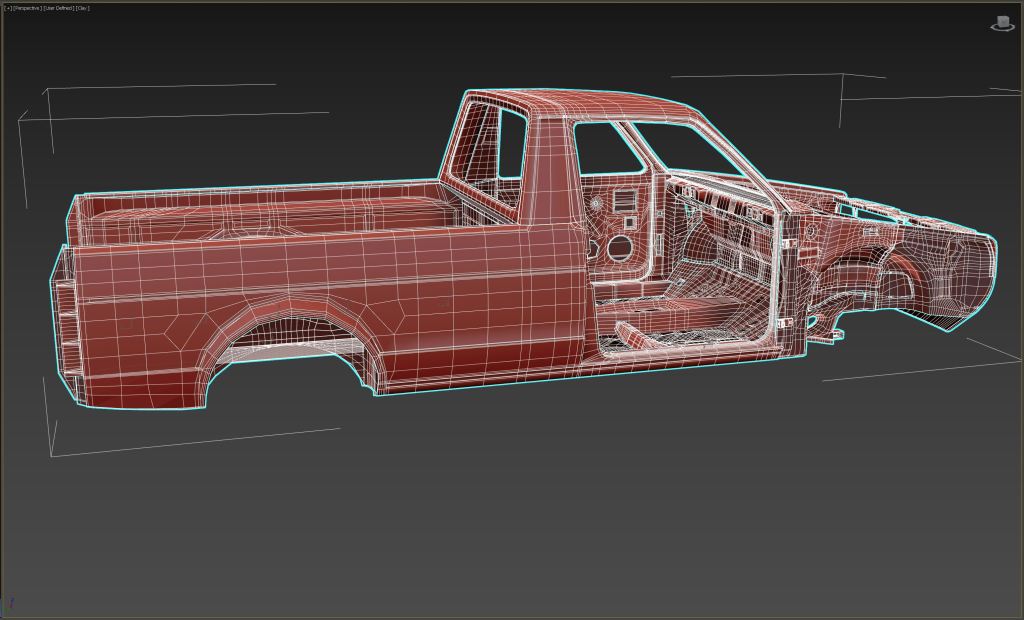

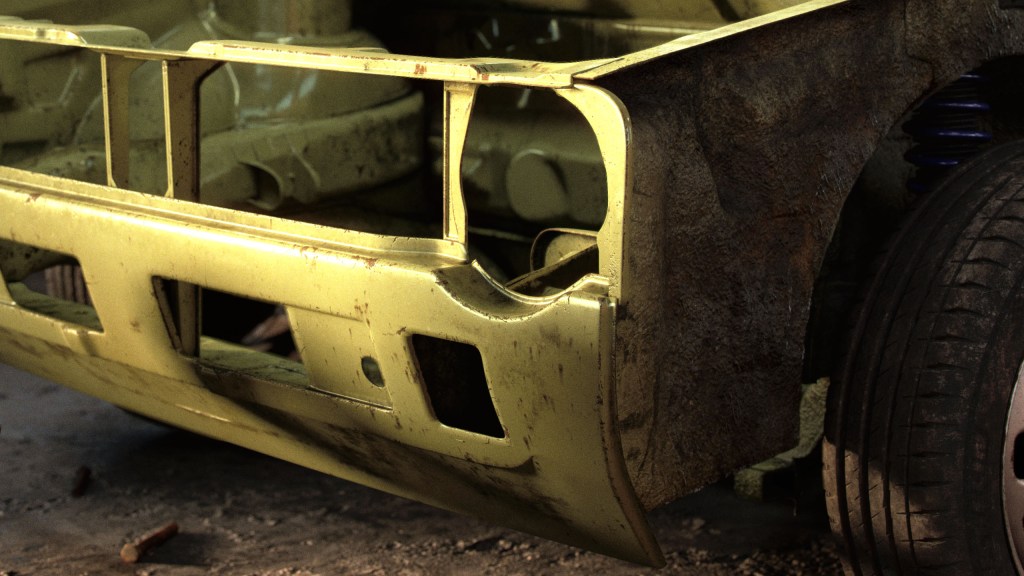
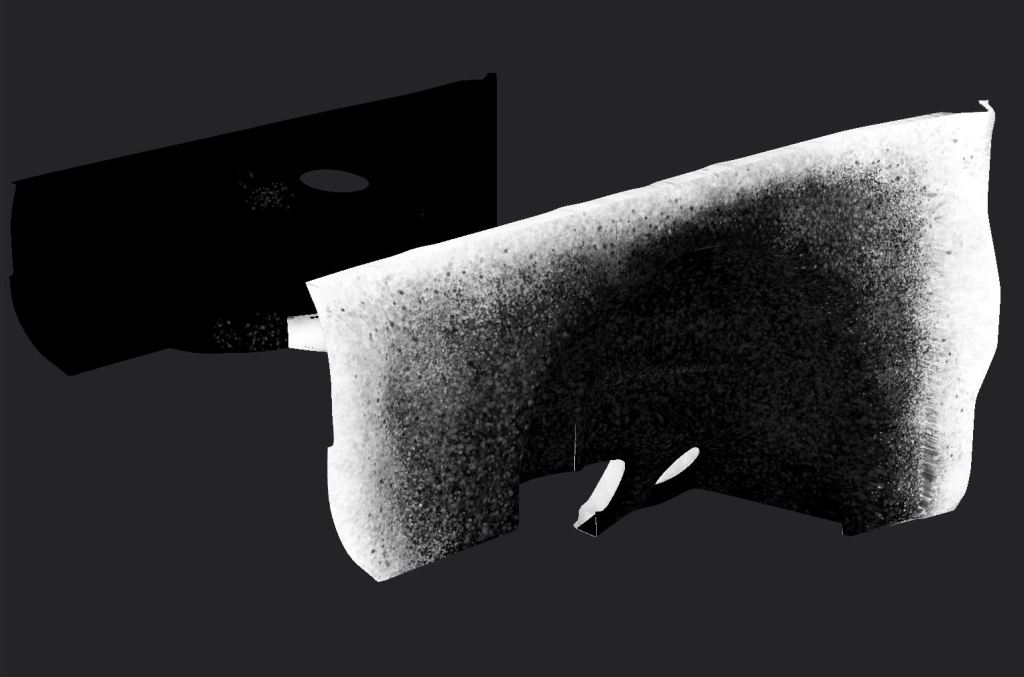
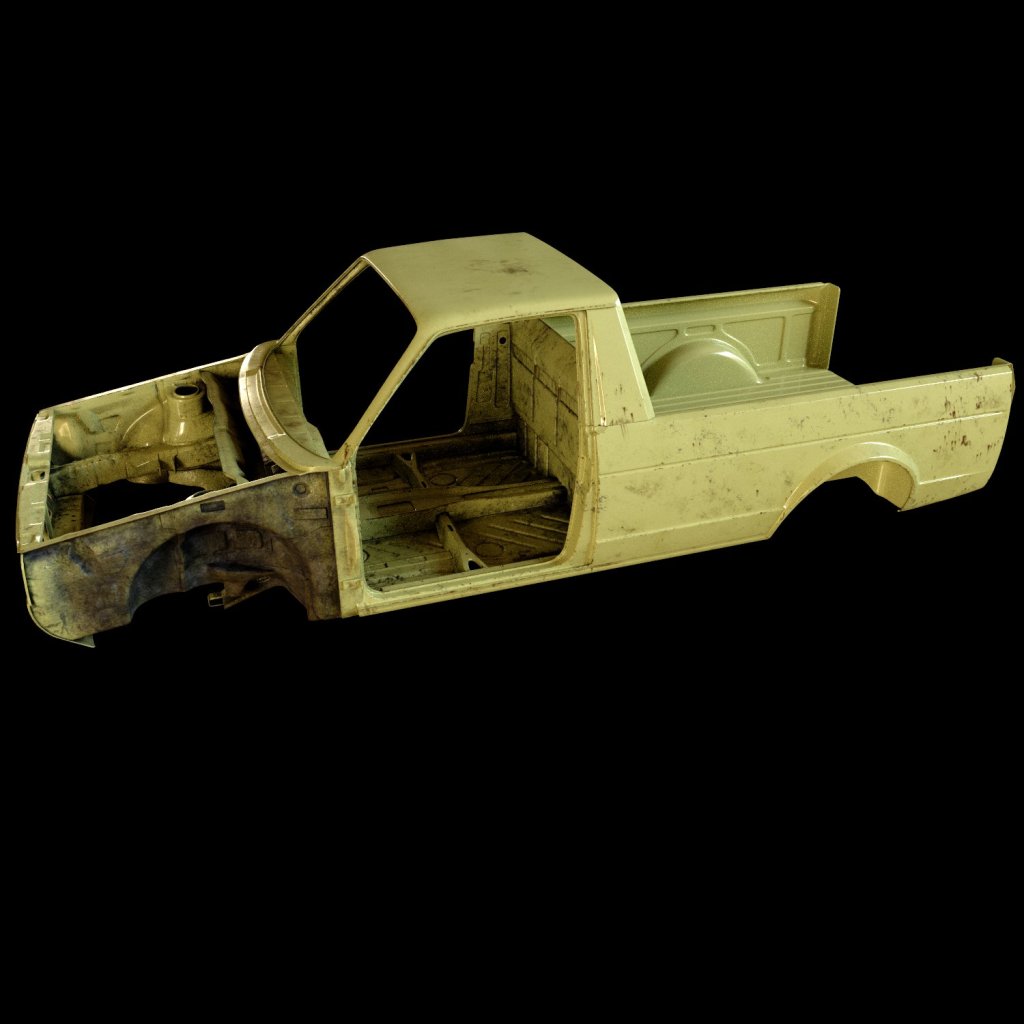
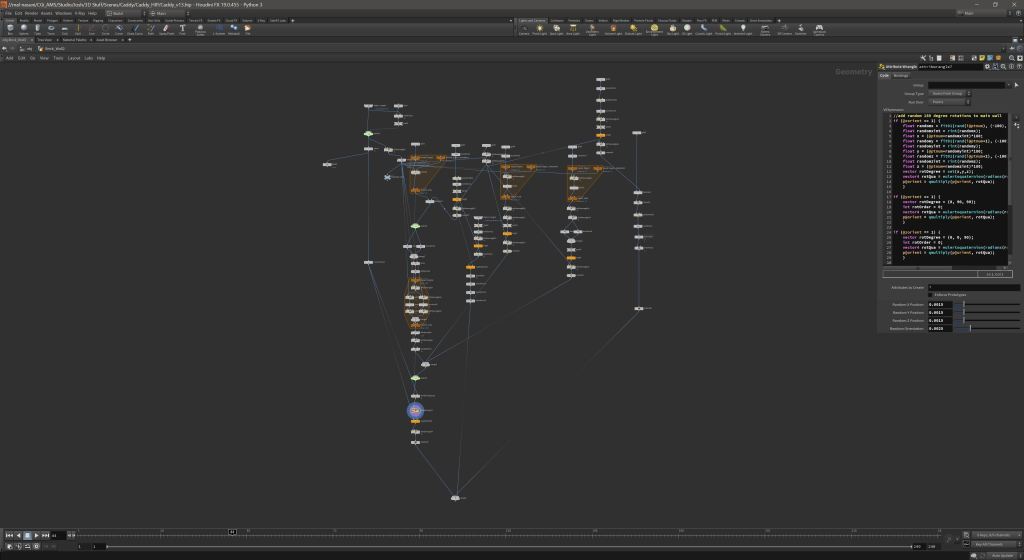
I started with the body, this, like the actual car, took way longer than I expected. Making the internal structure of the chassis, especially around the door, proved challenging when guessing dimensions from photos. I had to re-create a few major parts when I realised the door was not going to fit but it got there in the end. Above are some shots of the mesh before it is subdivided and shelled. I used 3DS Max for the more manual modelling steps of this project, simply because I am comfortable with the toolkit. For environment creation and rendering I chose Houdini, both to develop my skills in that program and to make use of the “Takes” system which opens a world of possibilities when compositing.
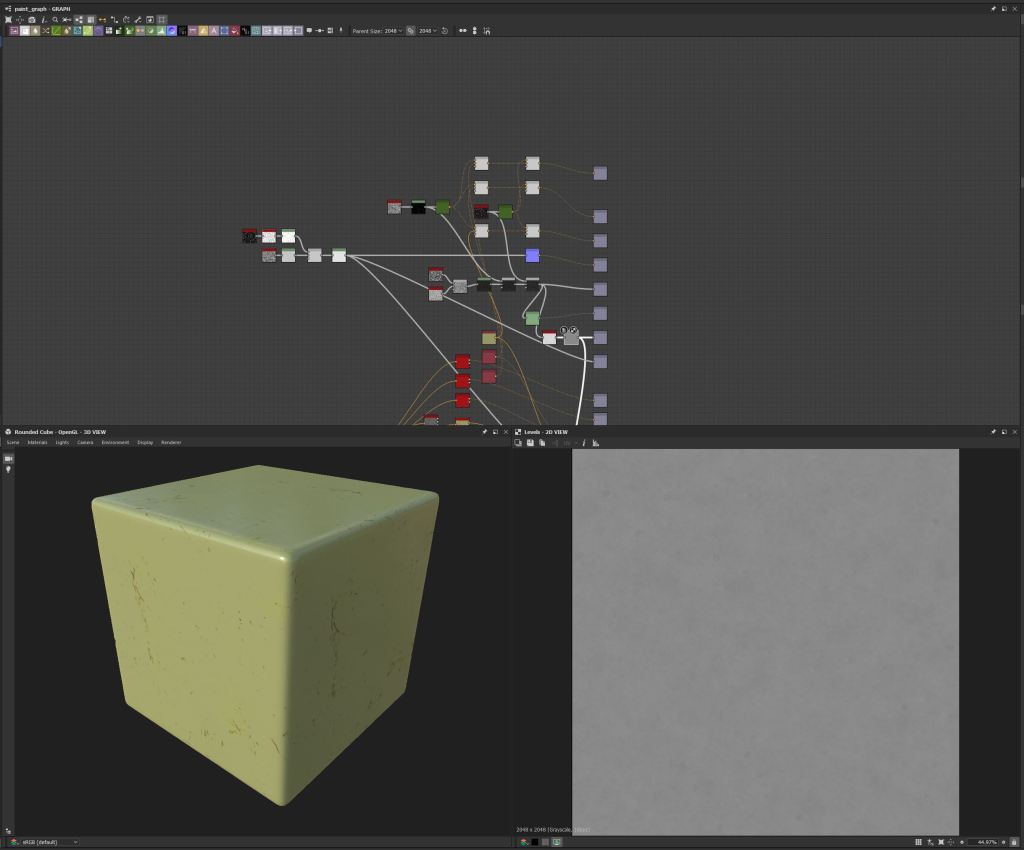

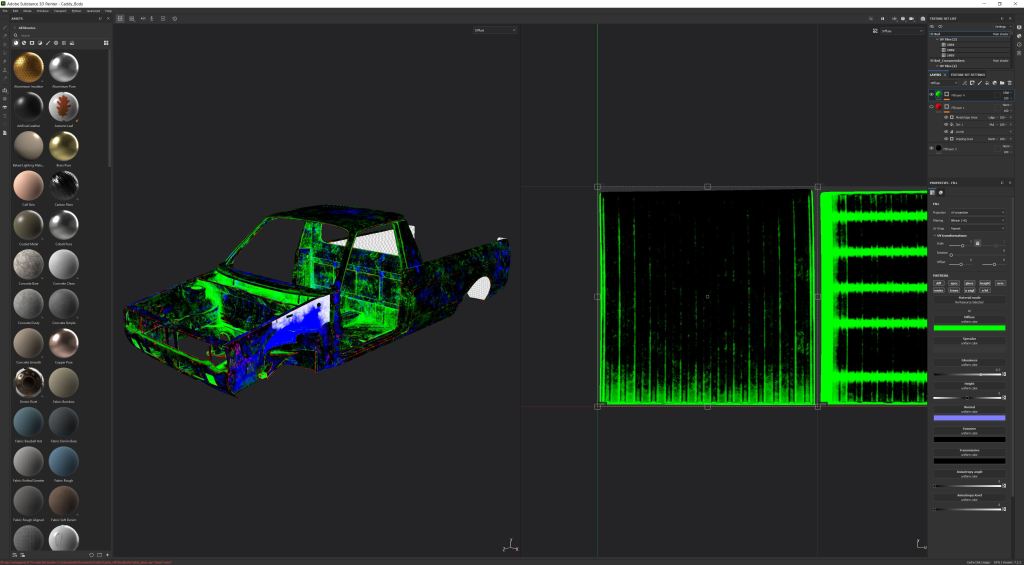
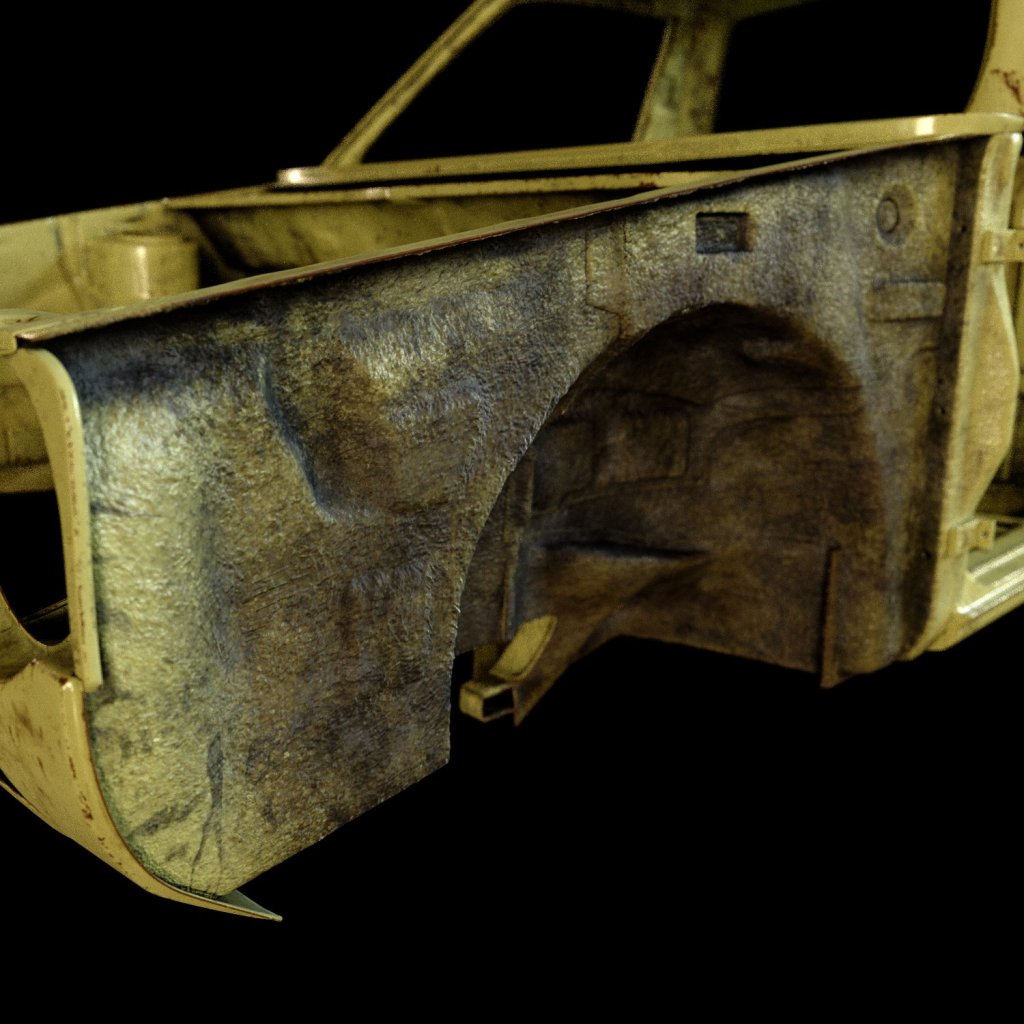
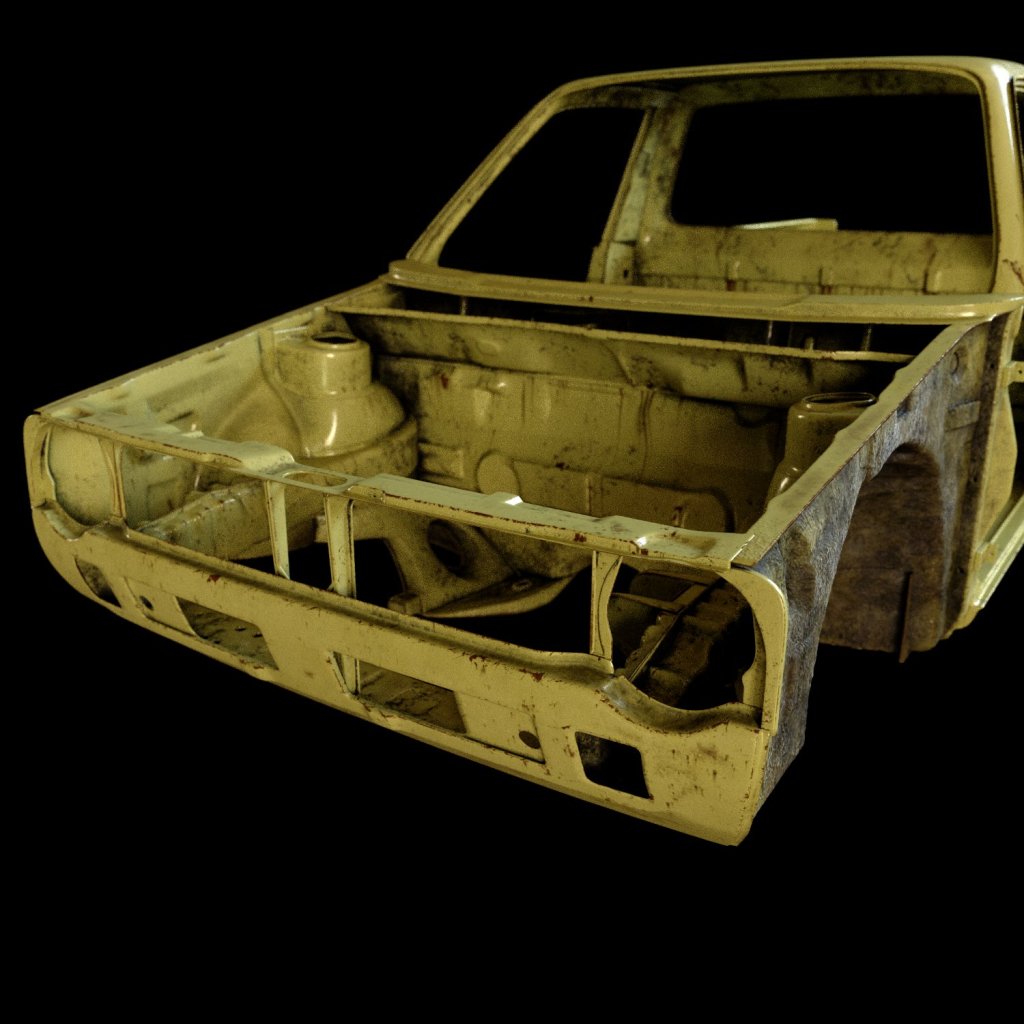
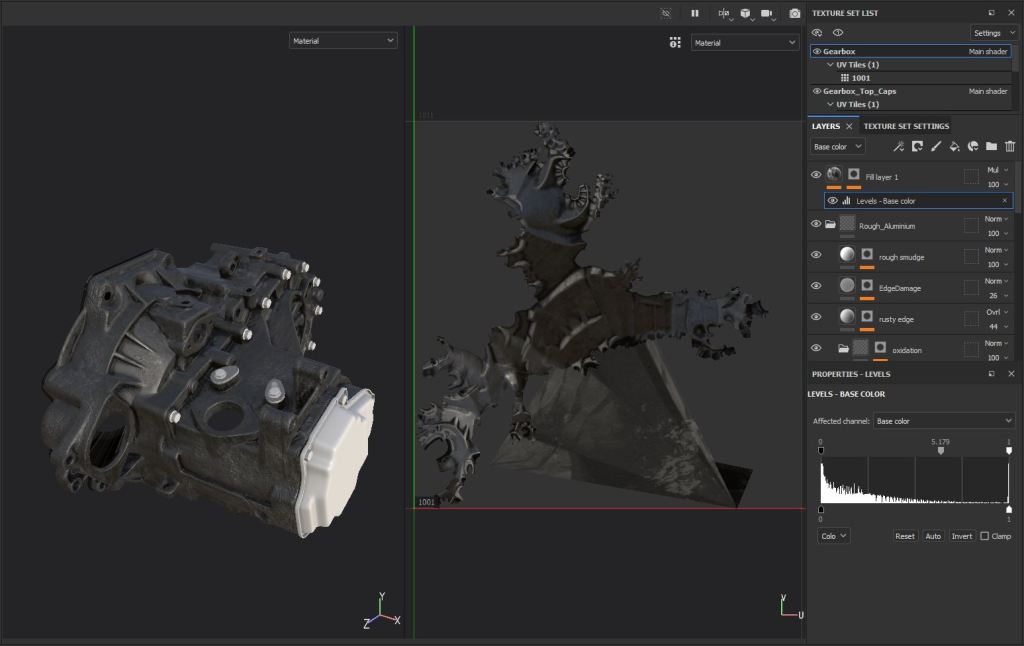
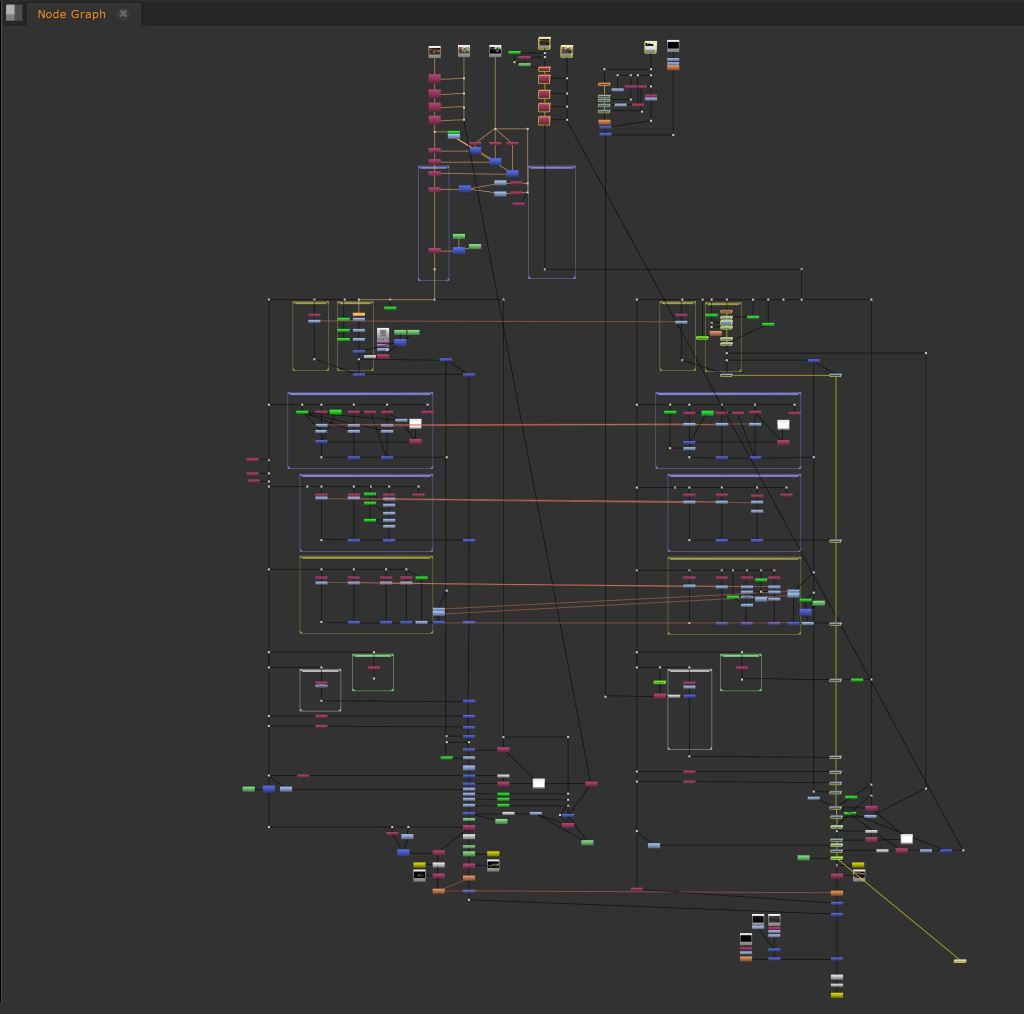
Next up was the texturing, I was keen to dive into this as I don’t do much texturing in my day job any longer since our client moved to using scanned materials. I took a somewhat unconventional approach to this and used Substance to create masks rather than complete materials for the body. I find it a little difficult to judge how a shader will behave in v-ray when building the material in substance, even when using the v-ray template the materials often need changes in the IOR which can be difficult to map. To texture this I created high resolution textures in Substance Designer and built them into V-Ray materials within Houdini using tri-planar texture nodes. I created a material for rust, worn paint, dirt and underseal for the inner wing that would be on display in the final shot. I created a RGB texture in Substance Painter to mask the individual materials in a V-Rat blend material, minimising the amount of maps I need and offering more flexibility when changing aspects of the paint. Substance Painter has some great tools for things like dirt and edge wear which I made use of here. The base colour seen here was split into channels to mask the blends, red was used for the rust, green for the top layer of dirt and blue dripping rust spots. I used the gloss and roughness channels to paint on underseal which masked out some displacement and a separate material.
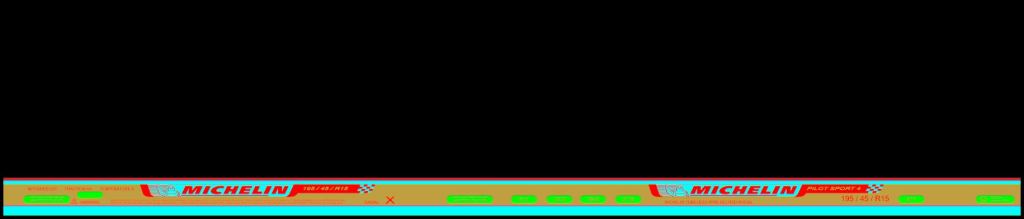


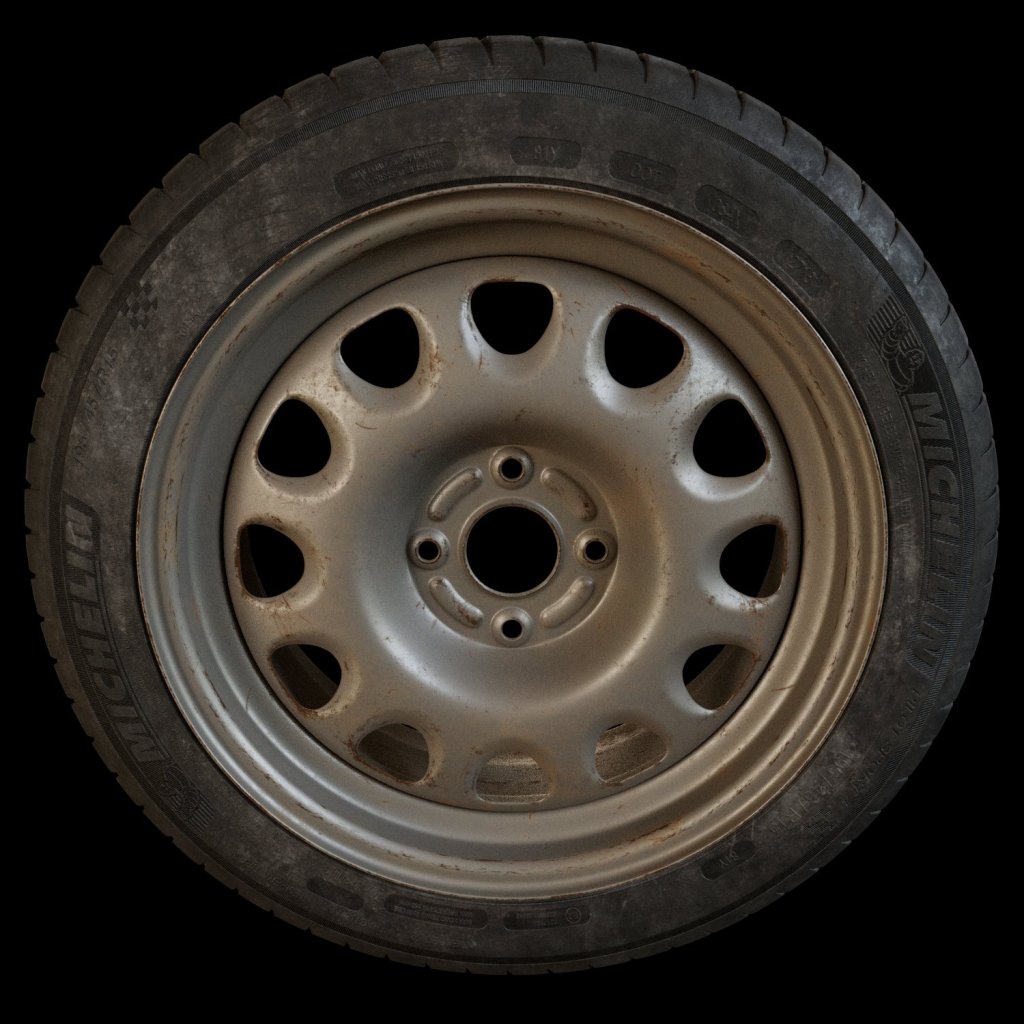

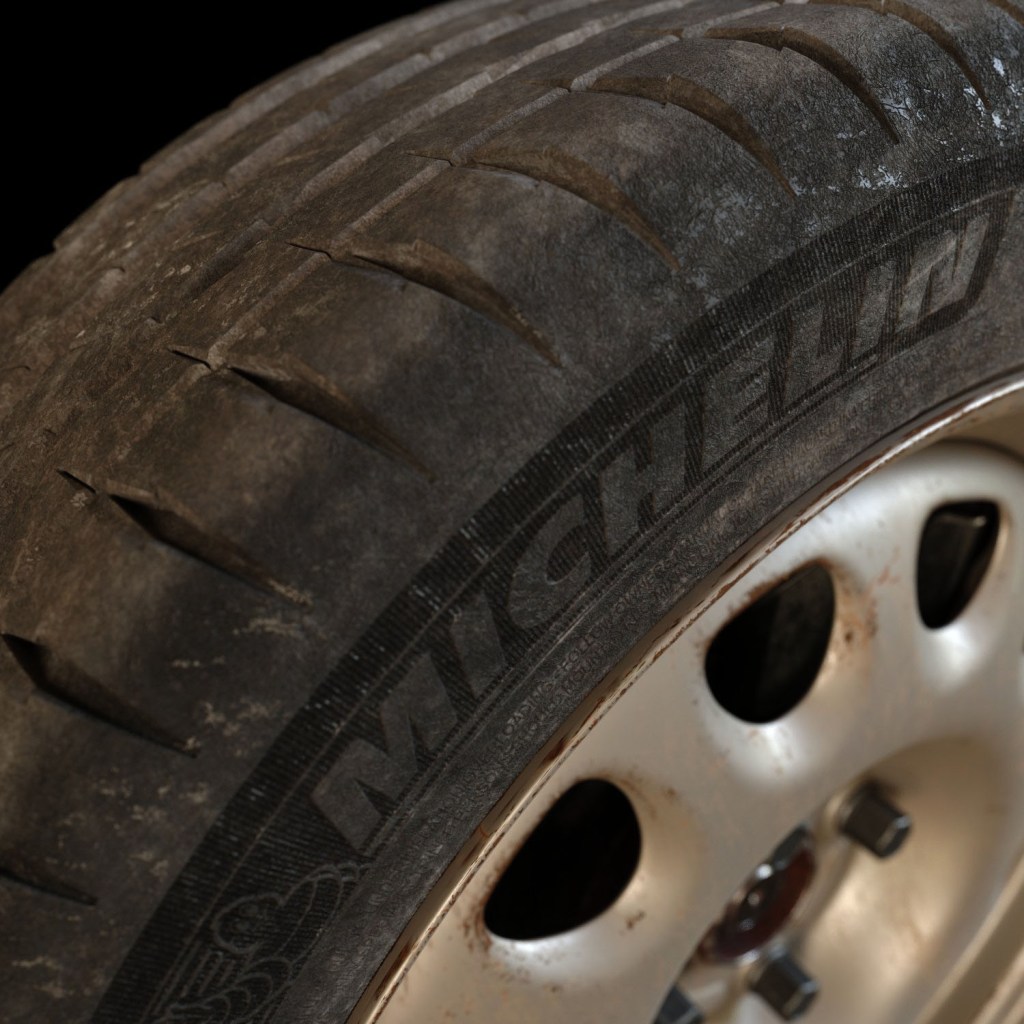
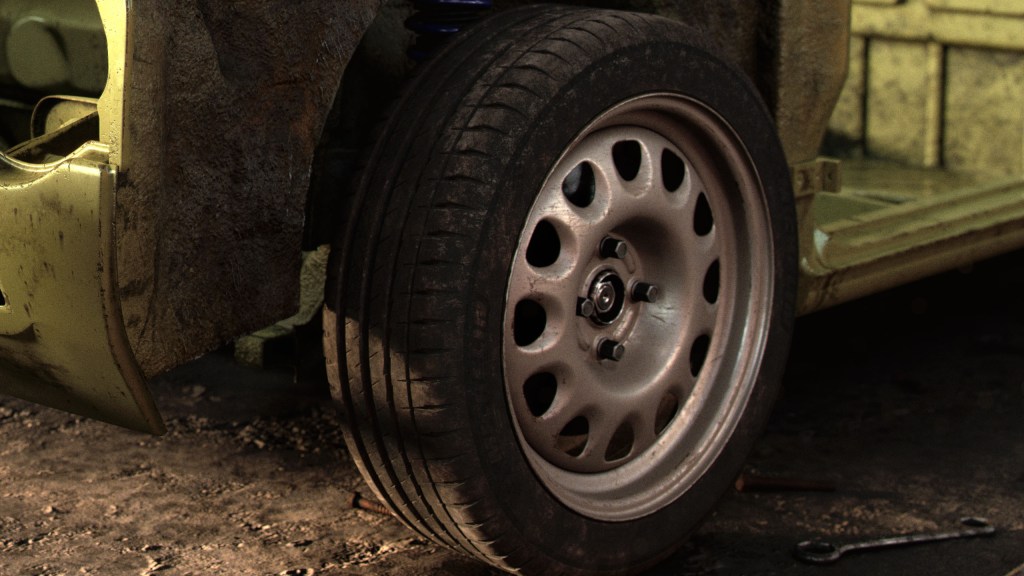
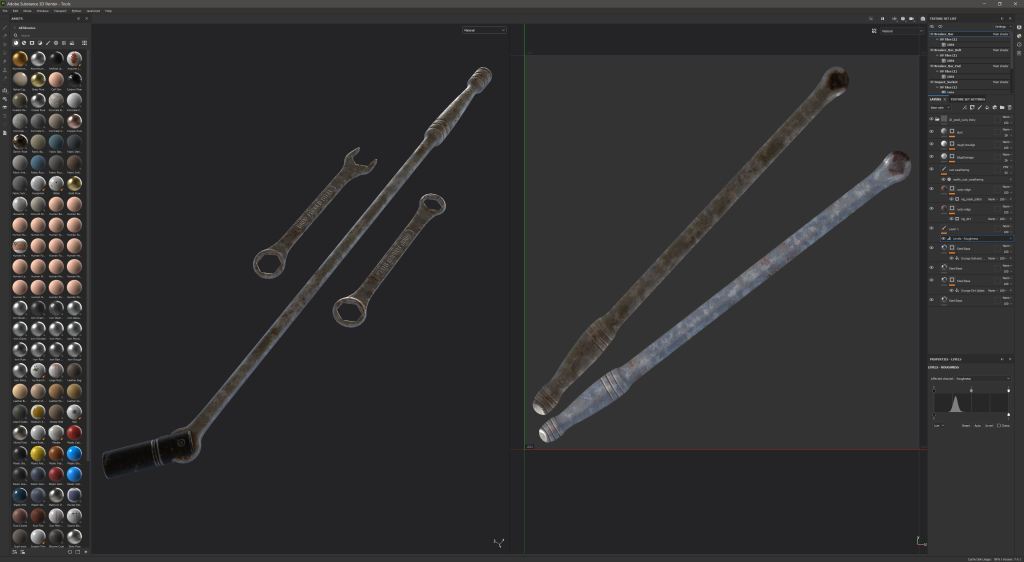
The wheel is classically true to the car, a Volkswagen G60 steel. This was textured in a similar way, re-using the maps from the body, the paint is the same material, just de-saturated in the Designer graph. The tyre proved more challenging than I expected. I chose a Michelin Pilot Sport, again common in the VW scene. The base rubber textures were created in Substance Designer and I made the alphas for the texture on the face manually in Photoshop, then created a few different uv maps in Houdini to make the dirt look more believable.
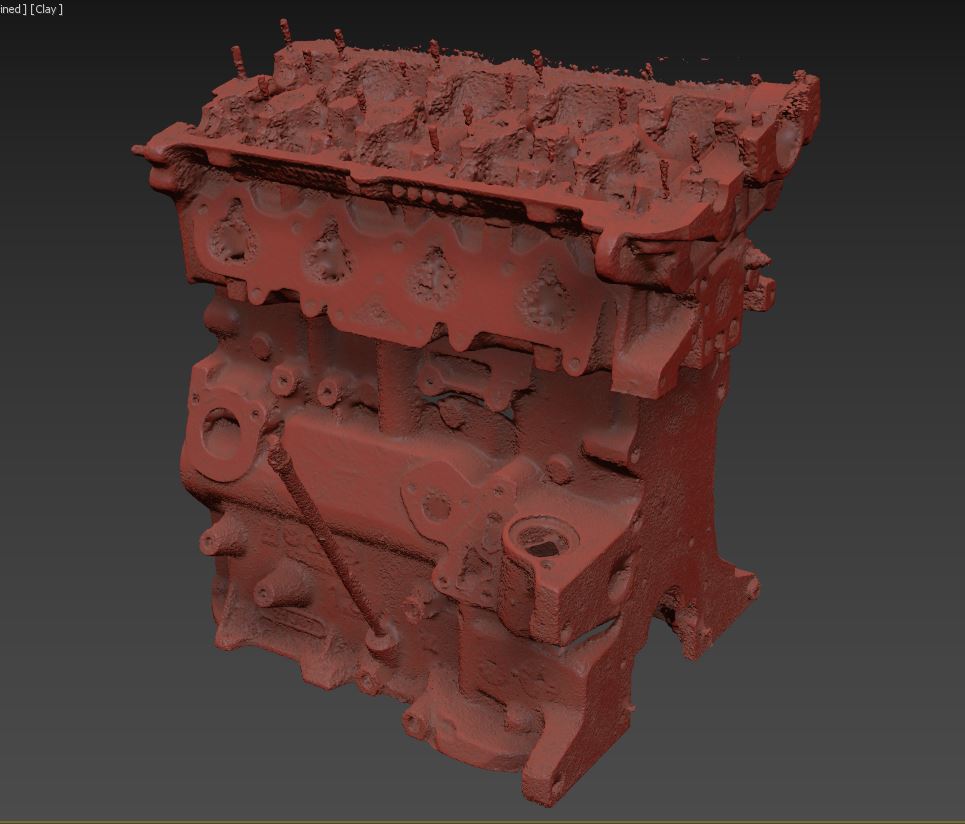
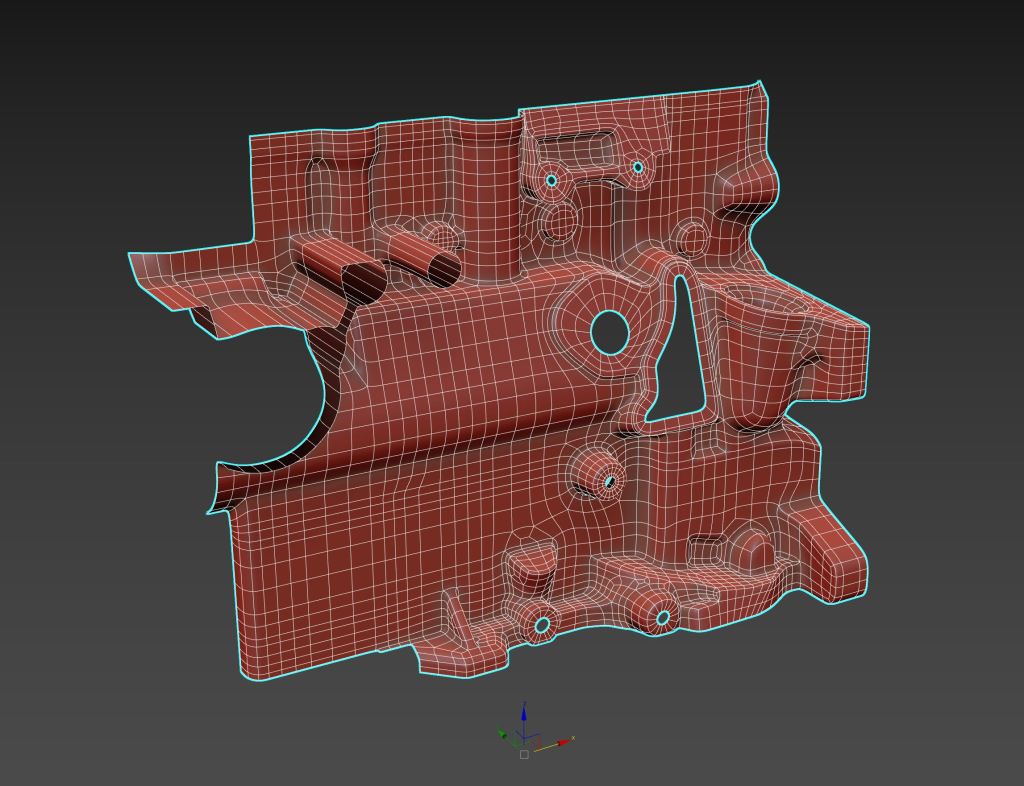
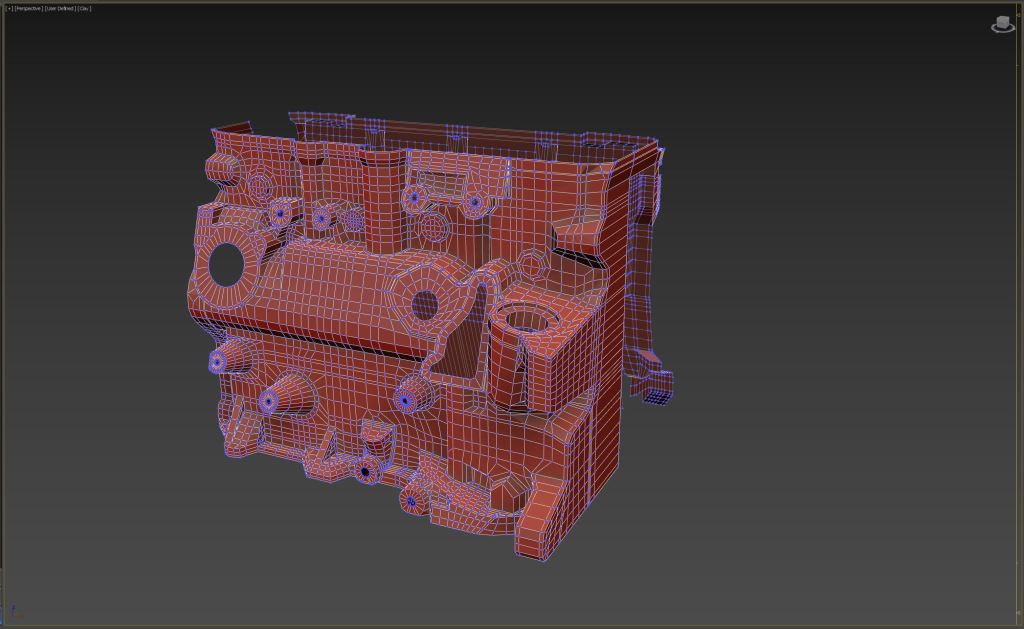


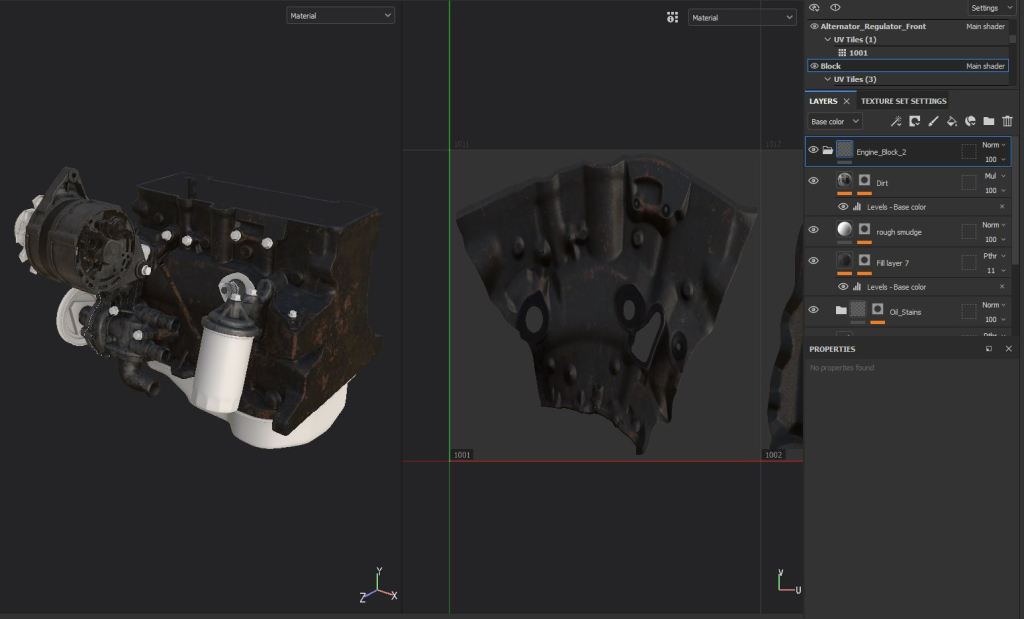
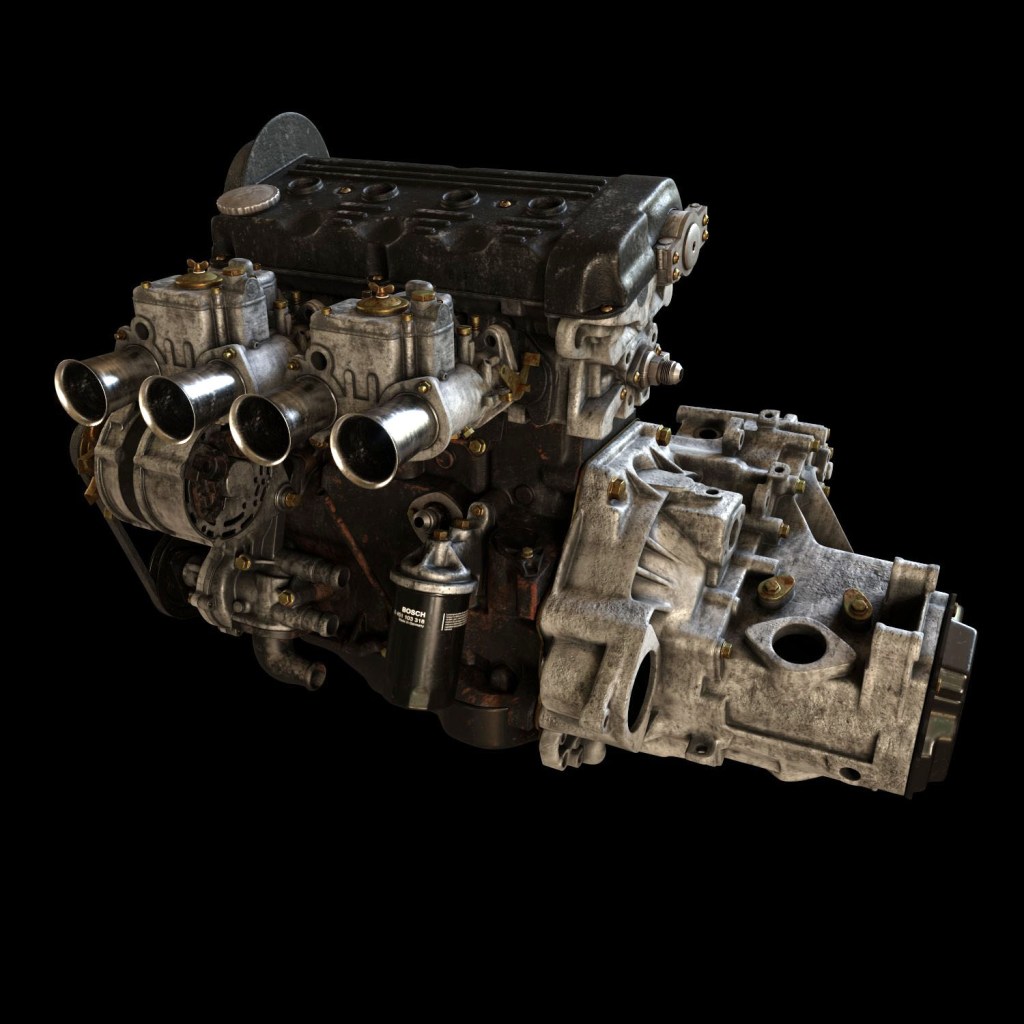

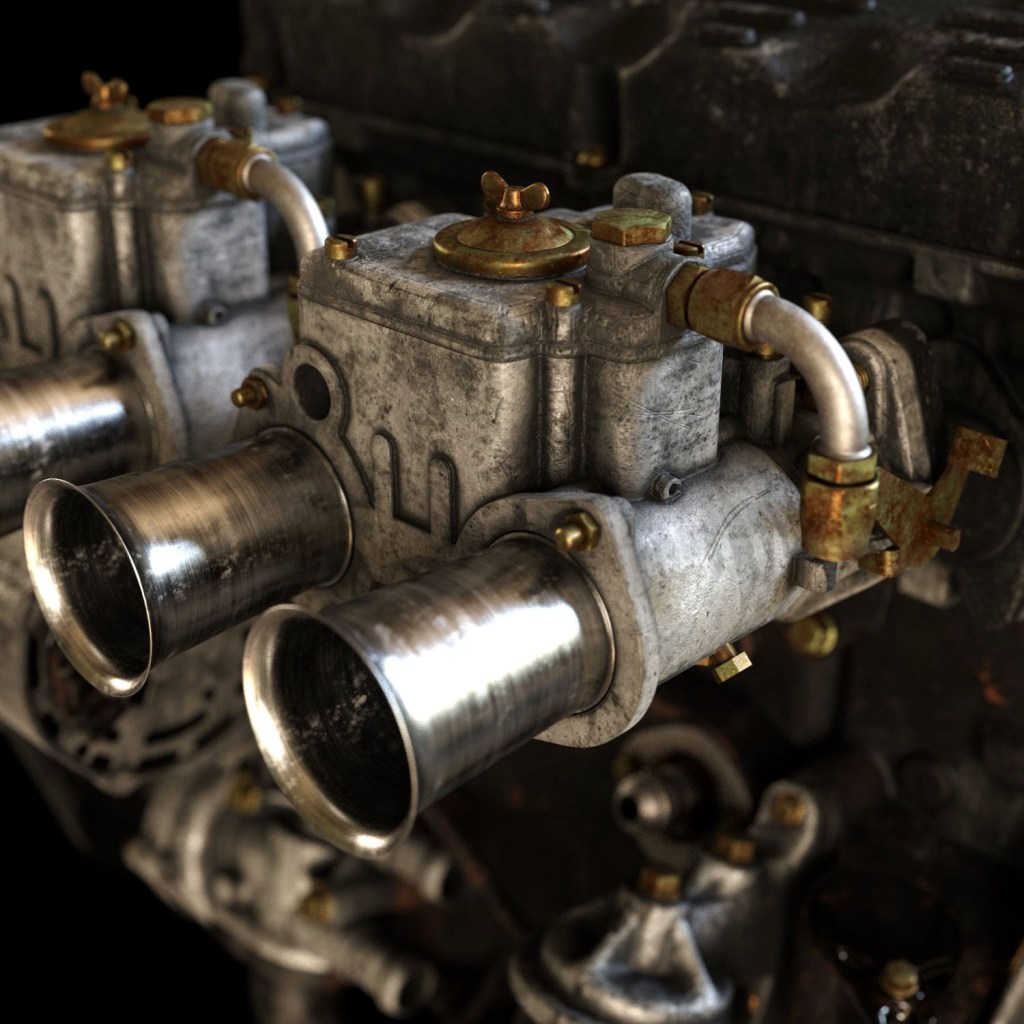
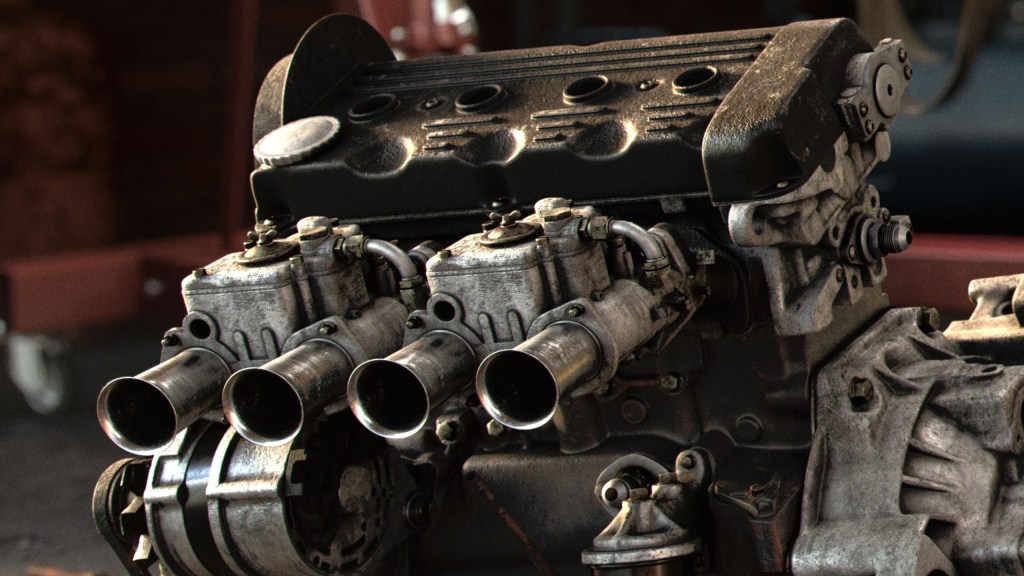
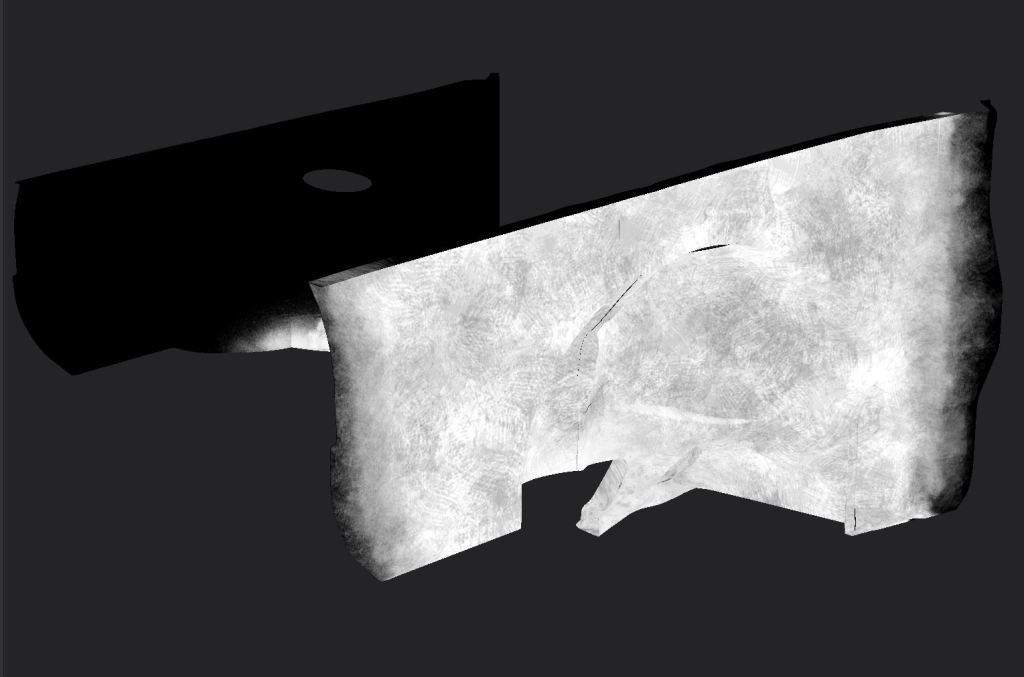
The engine will also be recognisable among many VW fanatics, a 16V on twin 40 Weber carbs. Fortunately I had the chance to make some questionable scans of the block, head and gearbox from the actual engine still sitting in my parents garage. I used these as a guide to re-model over the top. I would have liked to just auto-retop these scans to save time, but they were not of a good enough quality and had a few sections missing, so I had to do it the hard way. This was laborious but I enjoyed getting back into modelling as again, I don’t do much of this in my day job. Most parts were just subdivision modelled but certain parts, such as the alternator, lent themselves more to CAD modelling, so these were created in Solidworks and imported back into Max. The topology and UV’s aren’t great but they can be worked with.
More texturing in Substance Painter, this actually went a little faster as I could re-use materials like the aluminum on the gearbox, head, carburettors and ancillaries. The maps didn’t create perfect V-Ray shaders but a few bezier remaps in Houdini sorted them out.

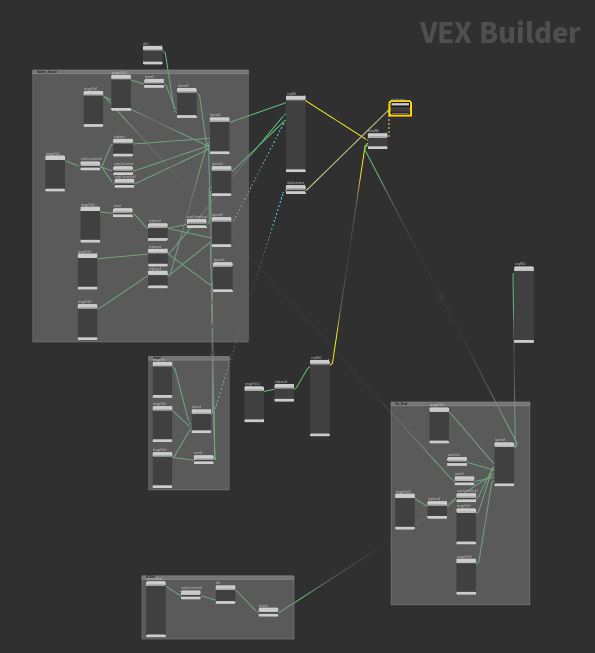
The environment was a lot of fun to make and really pushed my skills in Houdini, I’ve wanted to get more into procedural modelling for a while so this was a good exercise. Quixel have some great scanned bricks so I grabbed a set of these and set out in Houdini to assemble them into a building. I won’t go too much into the details of how I did it as it is a long procedure, but essentially a series of loops, well placed Booleans and a lot of VEX and Hscript expressions allowed me to place the individual bricks on points giving me complete control over the size of the building, number of windows, and size of the windows. This was total overkill for this project but it was a good learning exercise and it did give me some flexibility on lighting and allowed me to try a few different setups with ease.
If you look at this project on my Behance there is a small video showing the animated procedural sliders


The background was padded out with some Quixel assets, plus some props I modelled and textured myself. Houdini makes quick work of scattering them on the surfaces. I cannot speak highly enough of the quality of these models and textures, however, one of the limitations I find with the megascans is the low polycount. Sometimes when close up you can see the topology but fortunately you can download the original scanned mesh. A couple of subdivisions and a topo transfer in Houdini projects the details similar to Zbrush which fills in the gaps missed by the normal map. The compressor and crane came from an online CAD library and were textured with triplanar and procedural mapping since the topology and UV’s are unworkable on these types of models. The Lighting is simply a physical sun/sky and some fluorescent tubes made from mesh lights. I set up a few different takes for some atmospheric fog, some more technical masks for the paint where cryptomattes won’t cut it, and I wanted the exterior as a separate image as that would allow me to work on a layered render than just a refraction pass.


After rendering, last but certainly not least is the comp. I did this in Nuke simply because it is great program and is the best tool for working on layered exr’s in my opinion. I rebuilt the beauty and made extensive use of the lightselects from v-ray, these offer so much flexibility and I absolutely love the workflow they offer, you can totally transform an image and add depth in a way that would not be possible otherwise. The zdefocus also offers a lot of flexibility and saves massively on render time.
