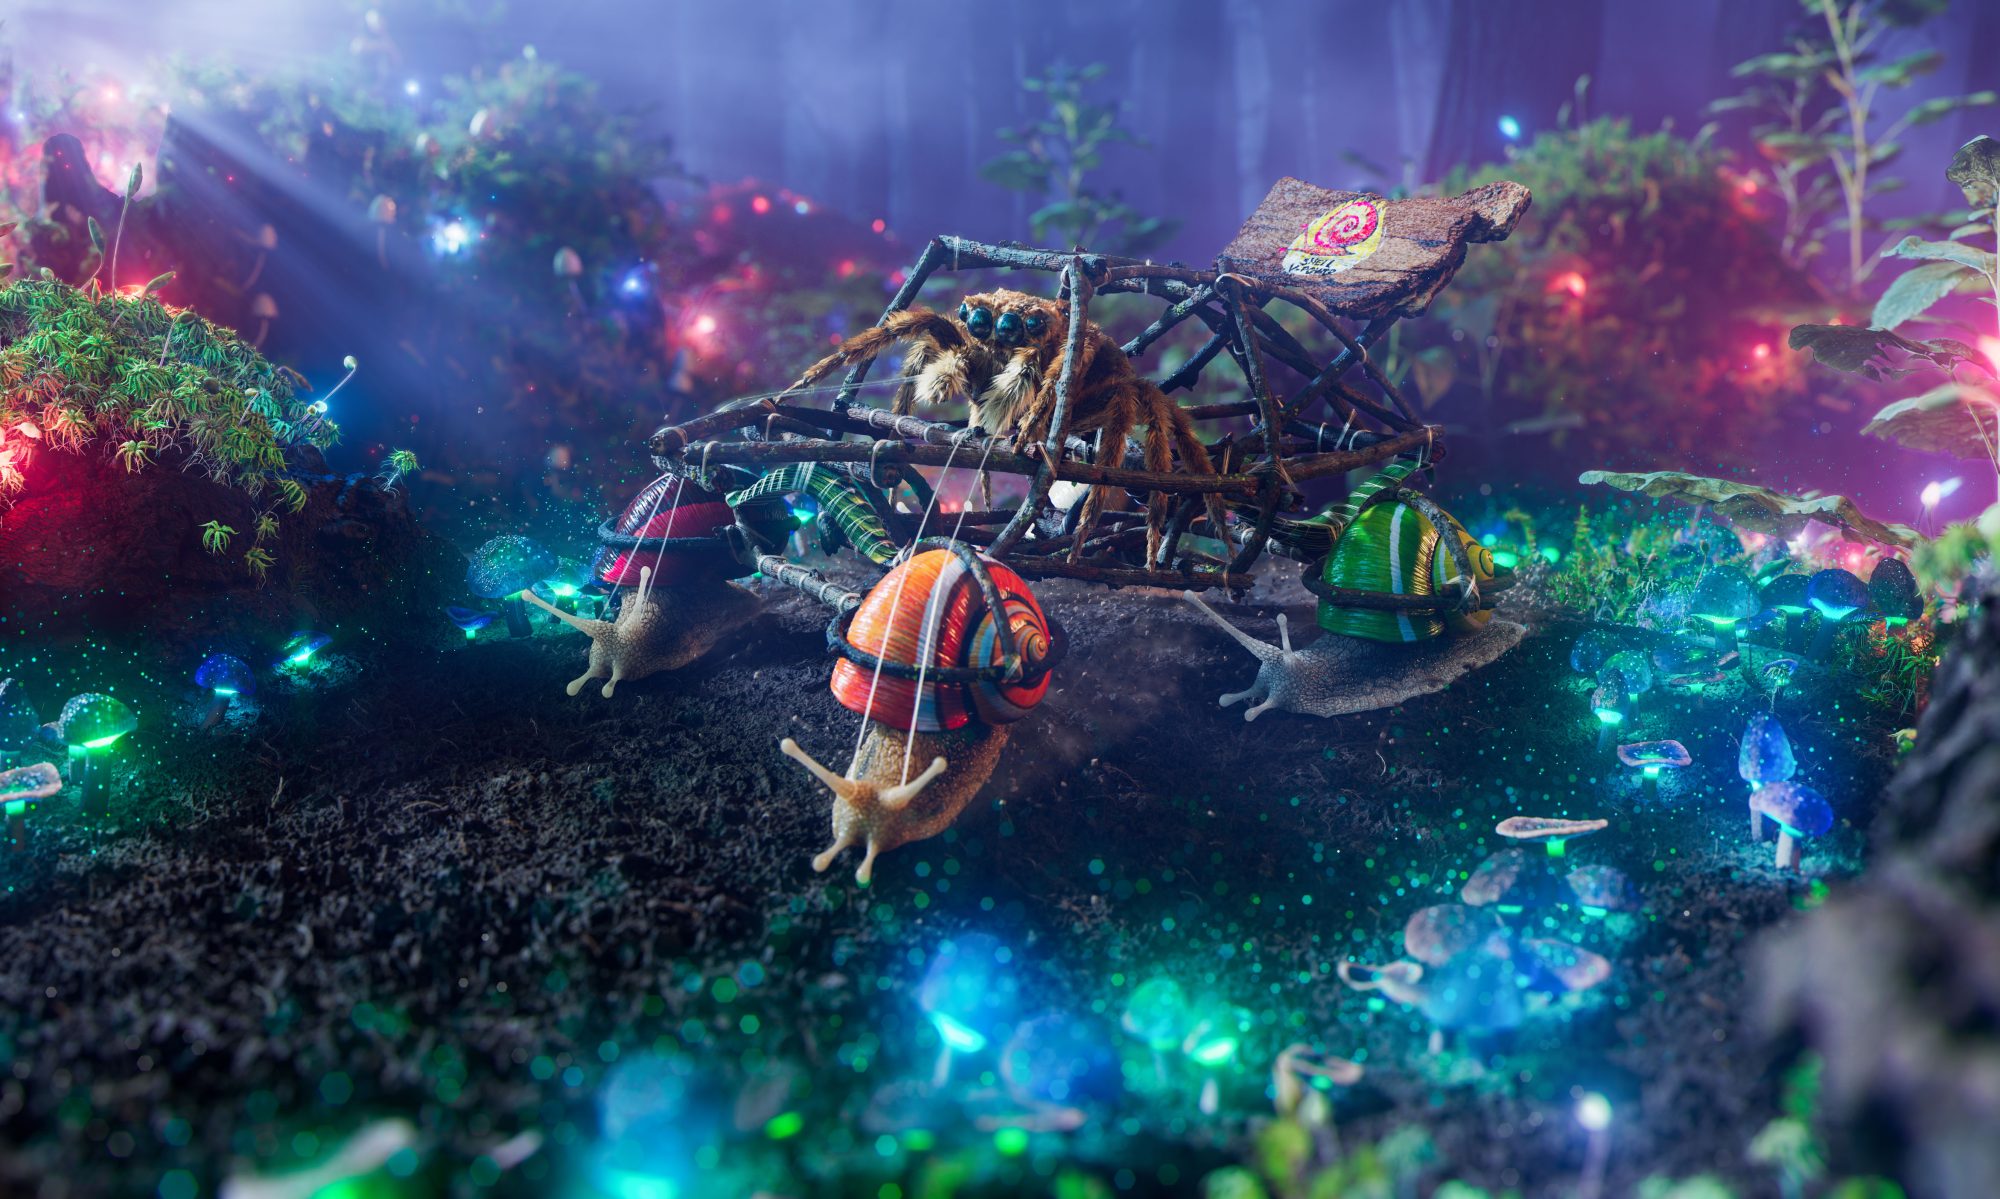

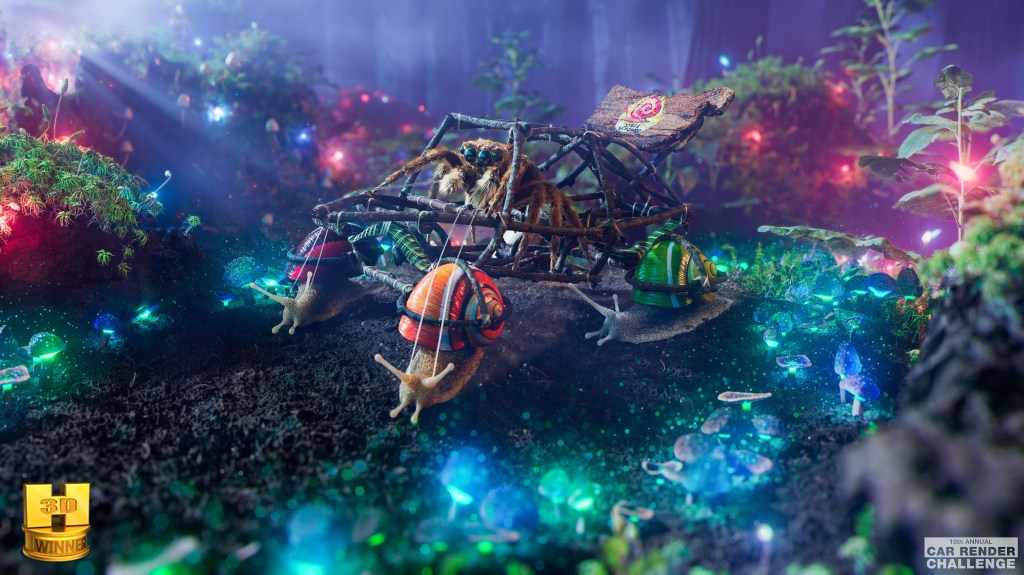
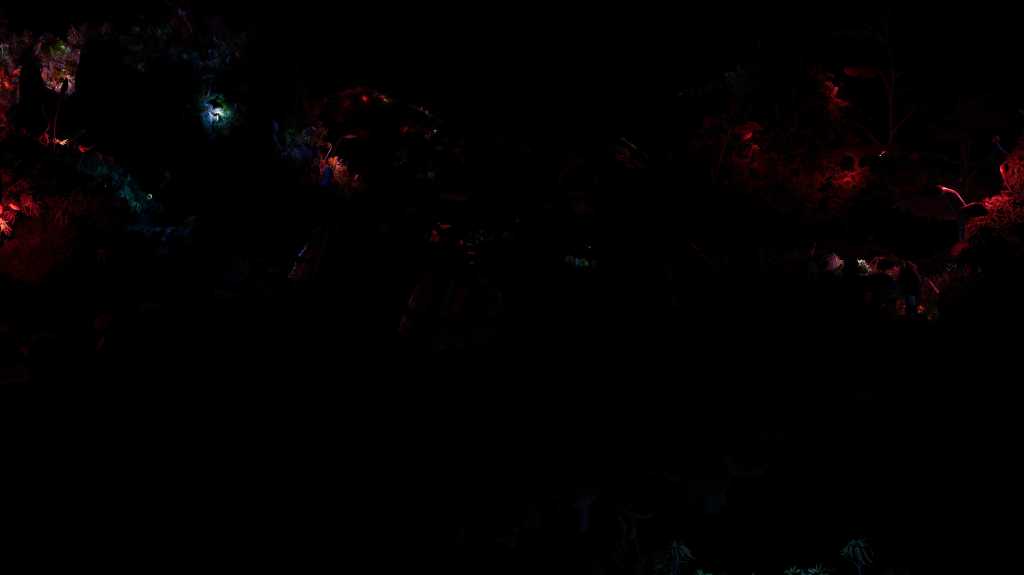
This image was my entry into the 10th annual Hum3D/3DModels automotive rendering challenge. for this entry I won first place, here I will give a fairly technical breakdown of how I created some of the assets and approached the different aspects of the shot. Here is a link to the competition page for any future participants
https://3dmodels.org/blog/car-challenge-2023-winners/
Houdini was my tool of choice for this, it’s procedural modelling capabilities are unparalleled and it’s open-book style UI made automating the repetitive tasks a breeze, there is no way I could have created this image in this time span with any other program. The shell of the car along with the springs, webs, moss, spores and mushrooms were all created procedurally within Houdini. For those interested in the technical details there can be detailed breakdowns and some files found in my blog posts below. A note on this project is that in order to get these really rich and vibrant colours I utilized an ACES workflow throughout my pipeline, starting from texturing in Substance all the way through to compositing in Nuke.
Procedural Twigs and HDA download
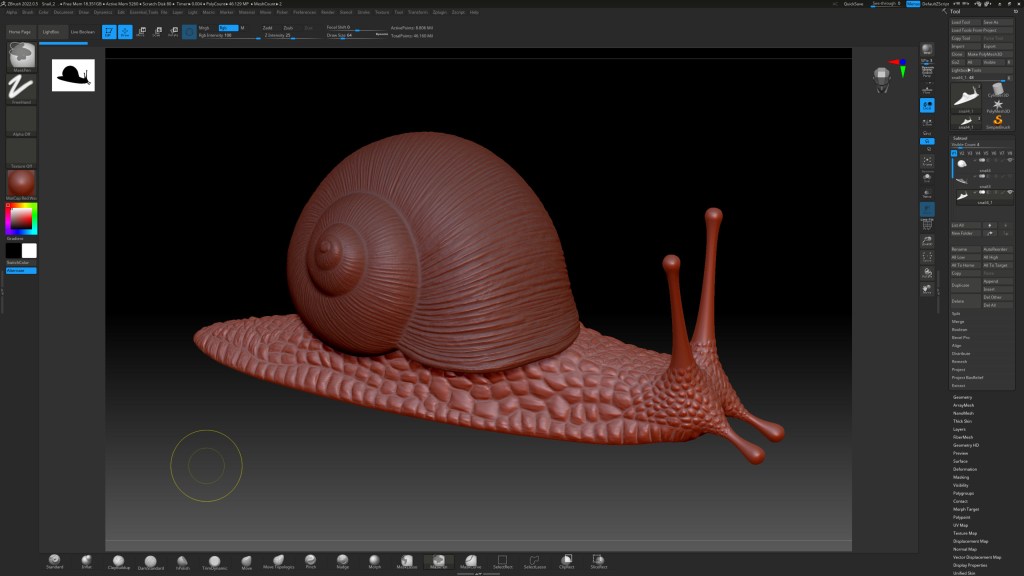
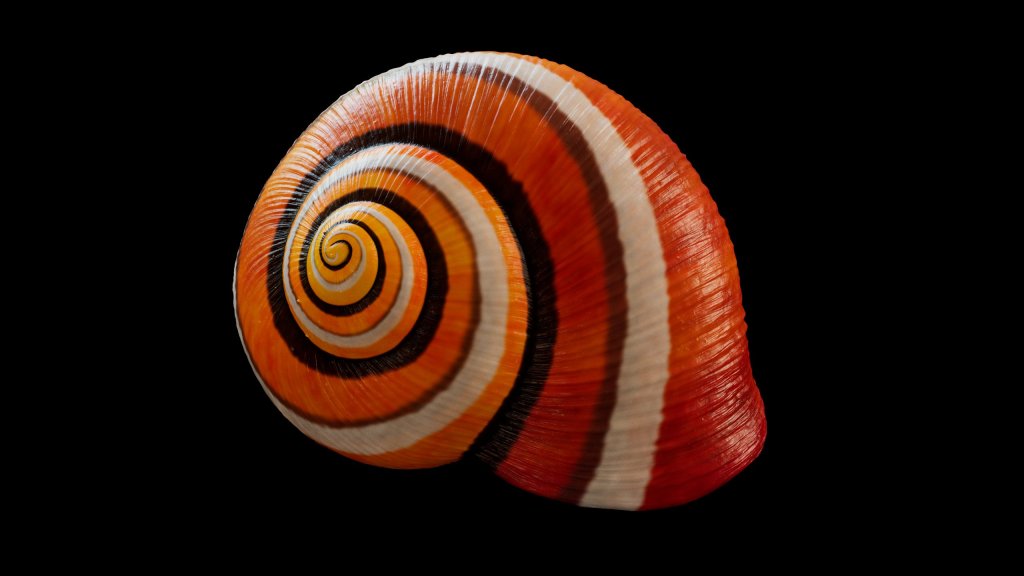
Of course not everything can be created procedurally, the spider and snails were created using some traditional poly modelling techniques. The snail was first modelled in 3DS Max with the usual subdivision modelling techniques, the body was rough at this point as I knew that would change fairly drastically later in ZBrush. The shell had a little more finesse and I knew that sculpting all the details would take ages, even with alphas, so I UV unwrapped it in a way that I could create a height map in substance designer and use that for the initial displacement and work on top of that in ZBrush
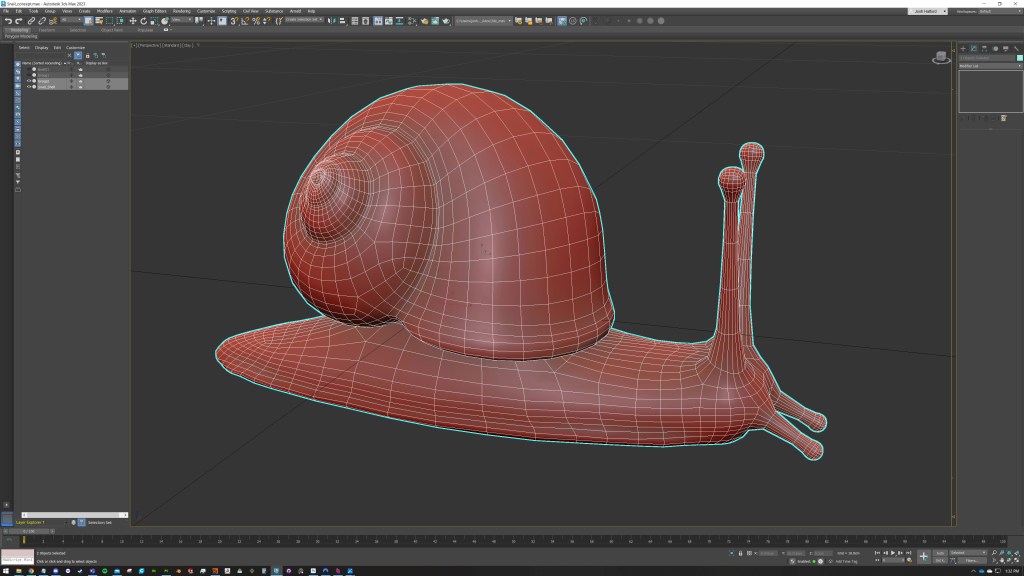
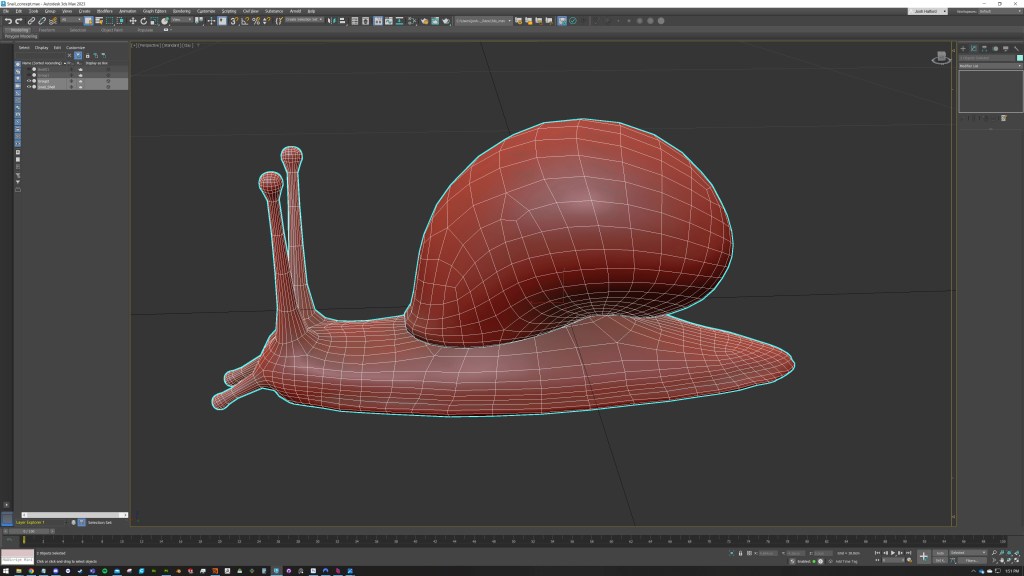


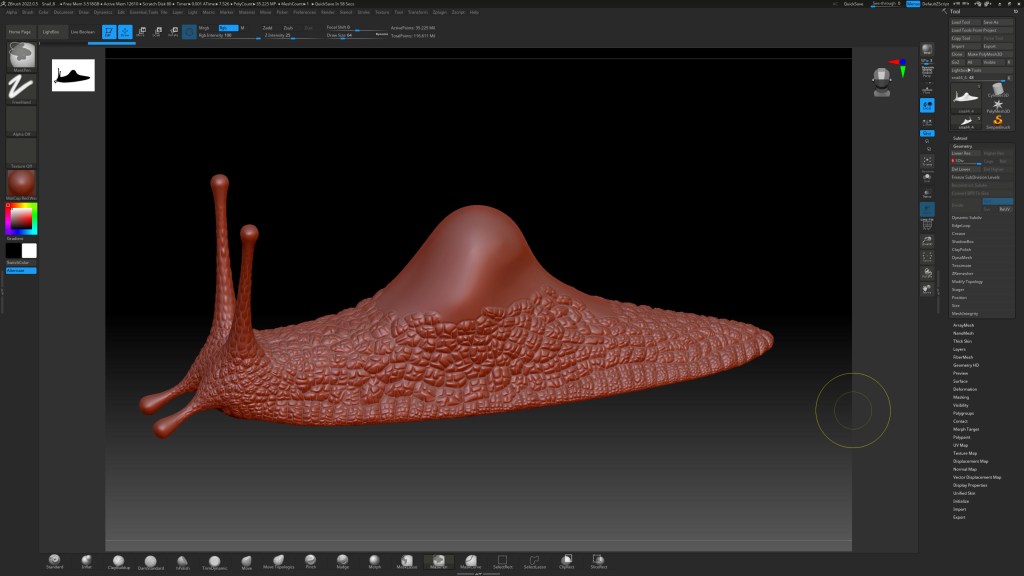
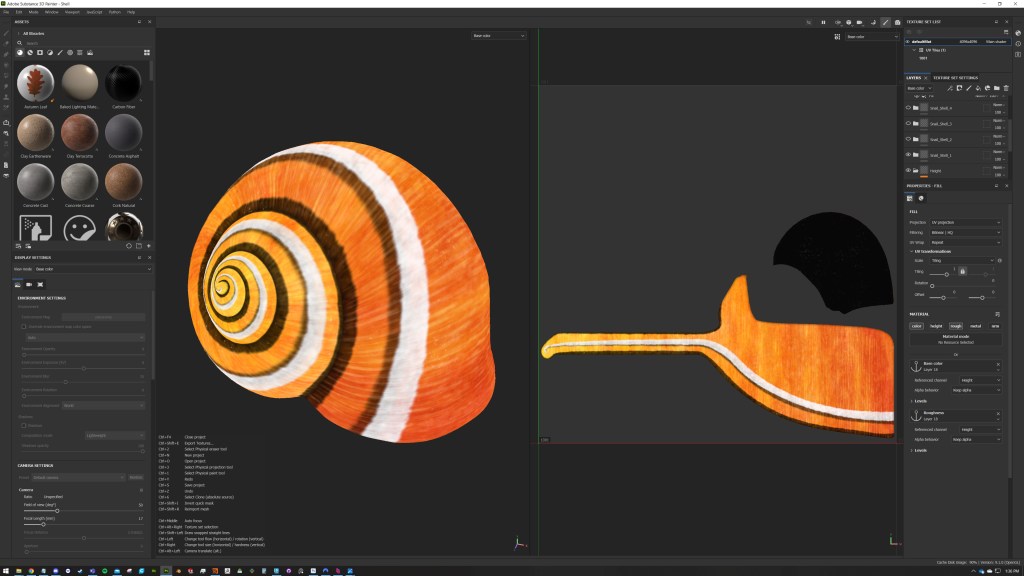
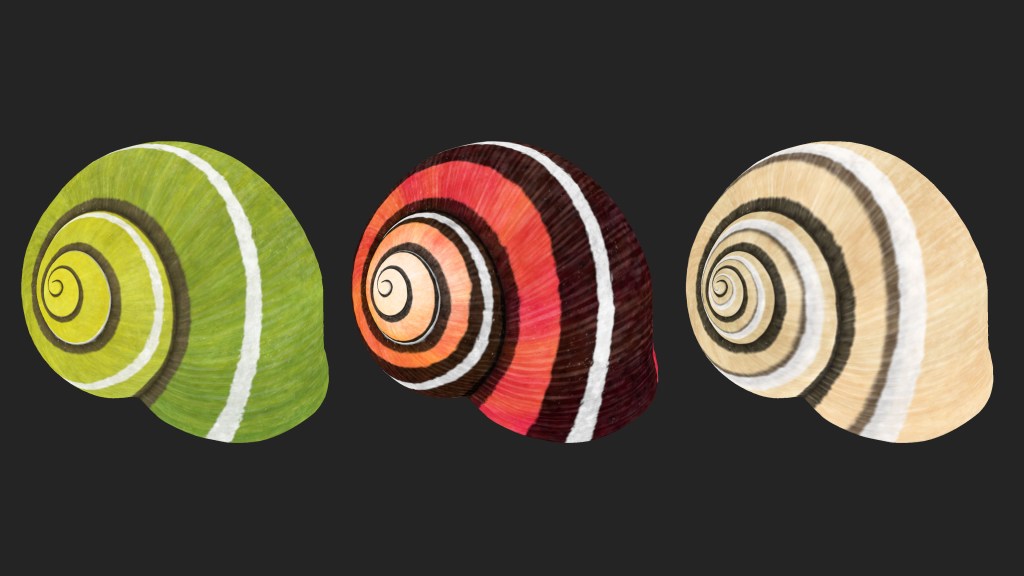
This gave a really good base in very little time and I just cleaned up the seams and added a few additional details. I also sculpted the scales on the snail body all ready to bake in Substance Painter. I had to create a few different colours for the shells after baking the height and the body was coloured up using a variety of procedural textures and a lot of data from the curvature map to really bring out the details

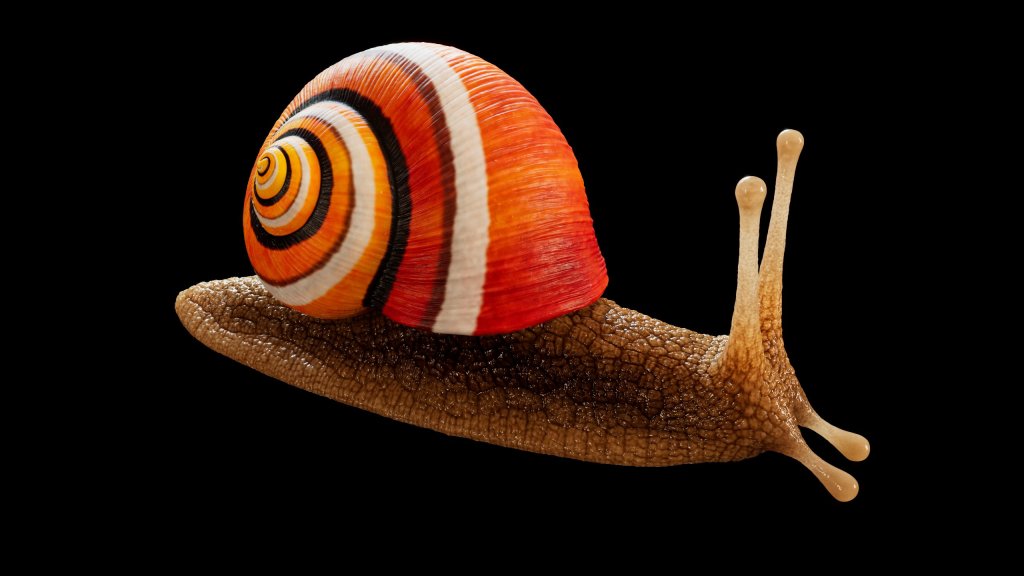
The SSS translucency model on the latest V-Ray material is doing a lot of the heavy lifting here. It too some time to get this material set up but I was pleased with how these simple test renders were looking straight from the frame buffer. Chaos did a fantastic job adding an SSS model to the V-Ray Material, this would have been a lot more difficult without it.
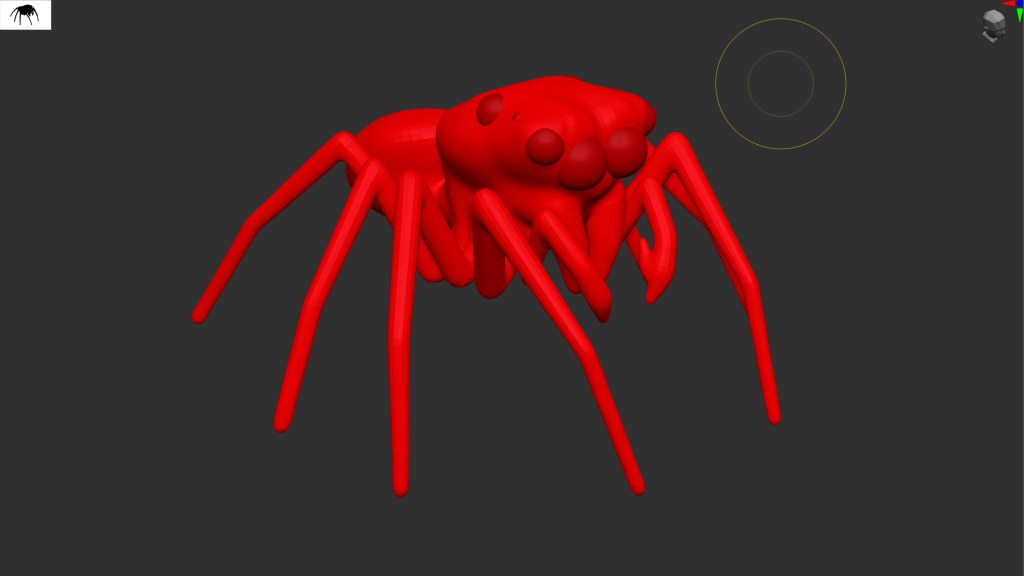
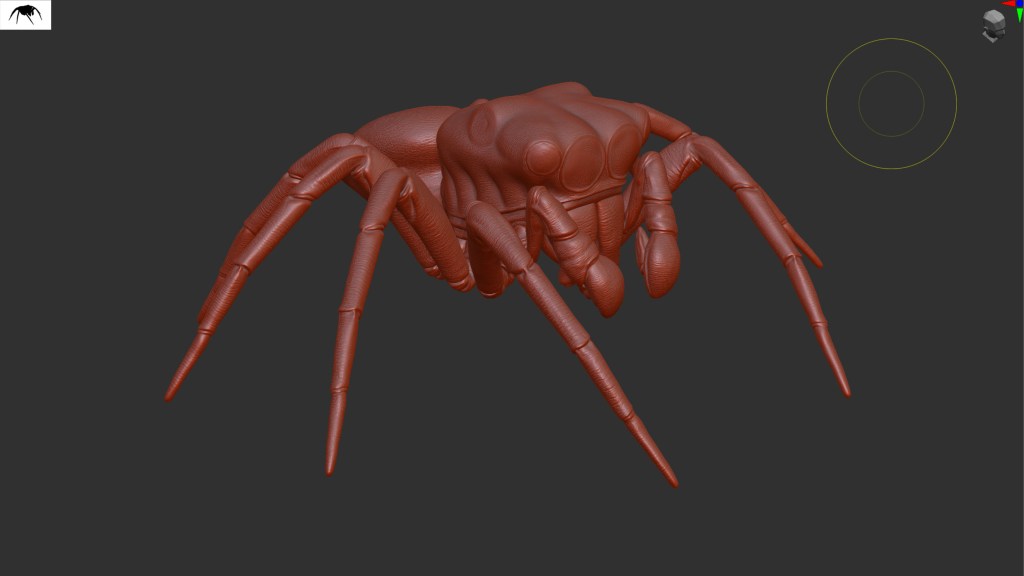
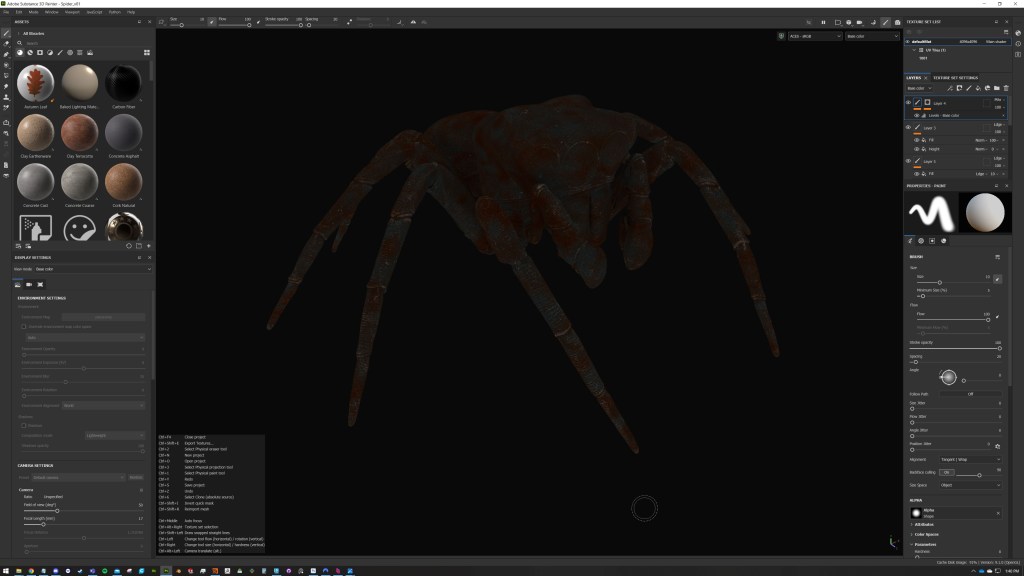
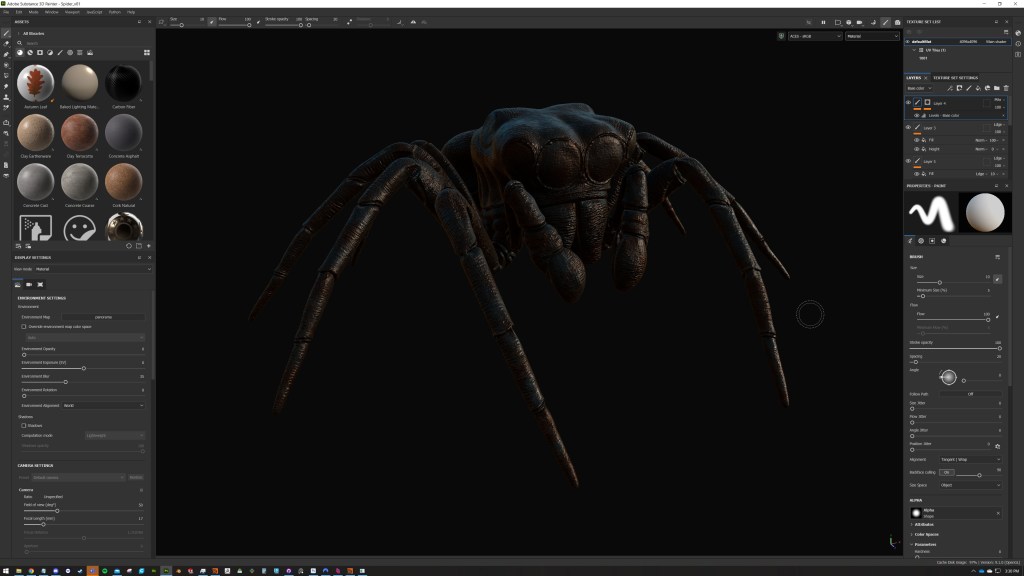
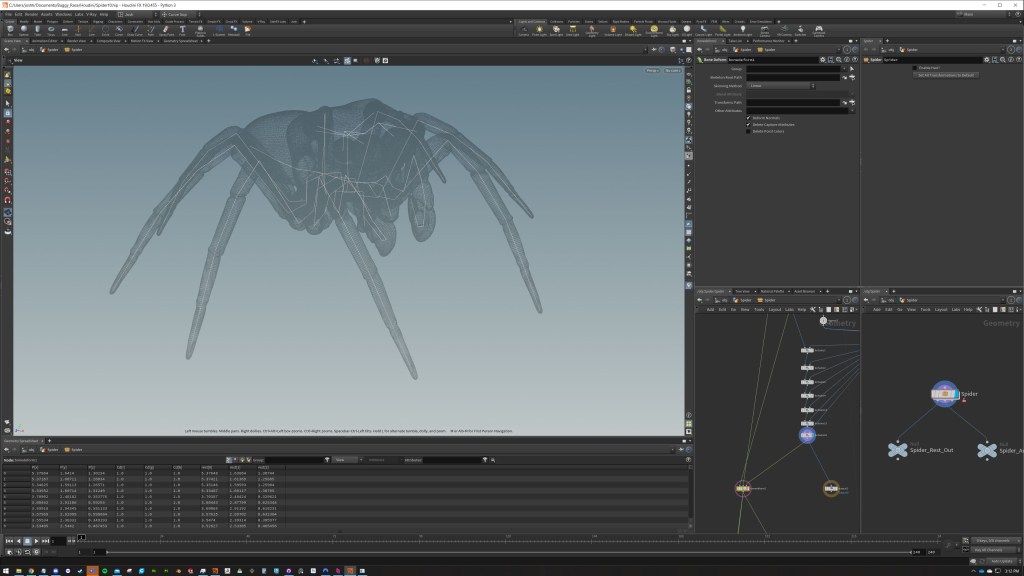
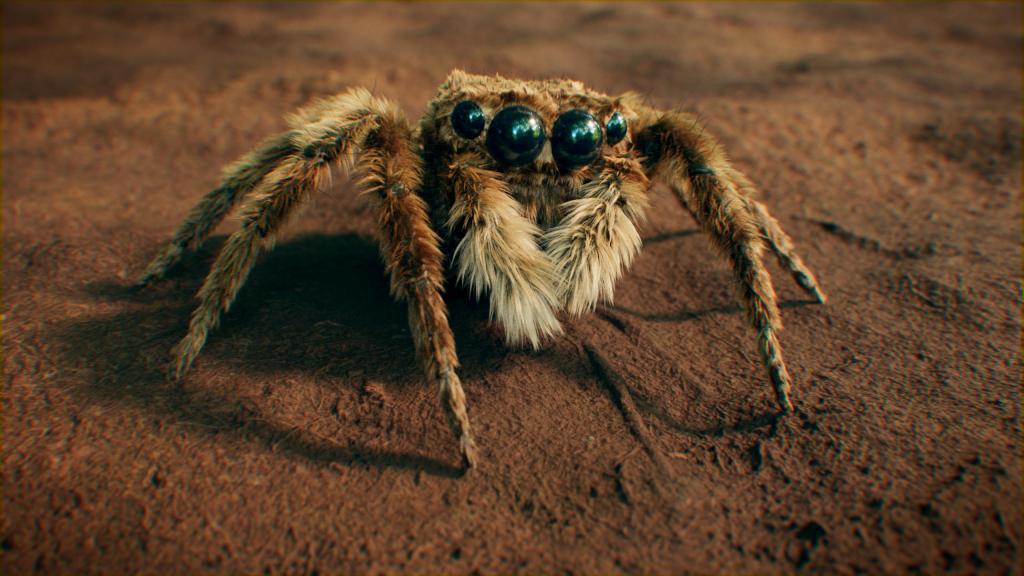
The spider was done in a similar way, but no need to open 3DS Max for this one, I started with ZSpheres and went from there, remeshing whilst getting the anatomy correct, then retopping with ZRemesher as that was perfectly fine for this scenario before sculpting the final alphas for baking. I took a LOT of inspiration from the Samsung advert for this guy, the artists at The Mill did an incredible job of that and I wanted to see if I could get anywhere near that level of quality.
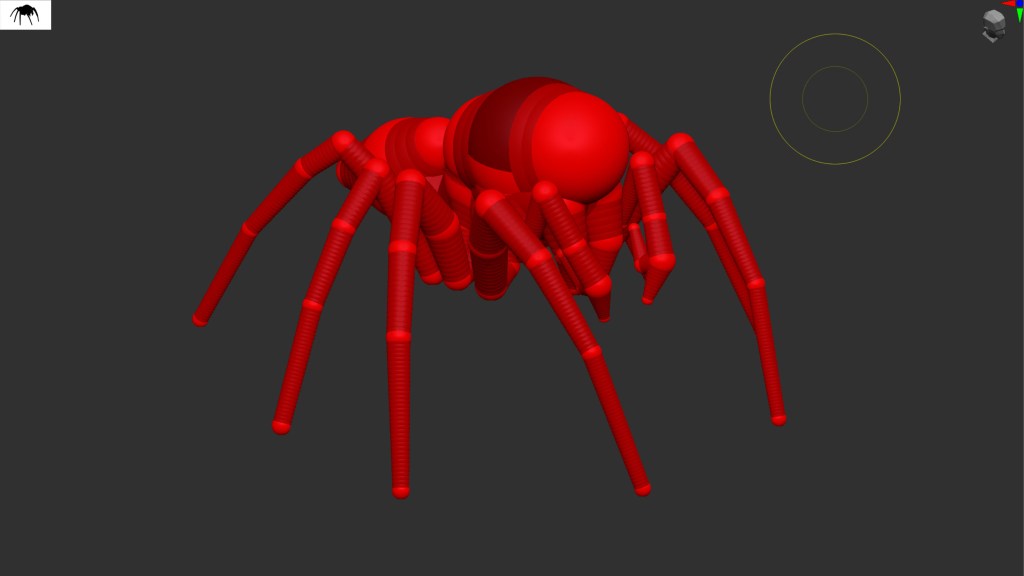
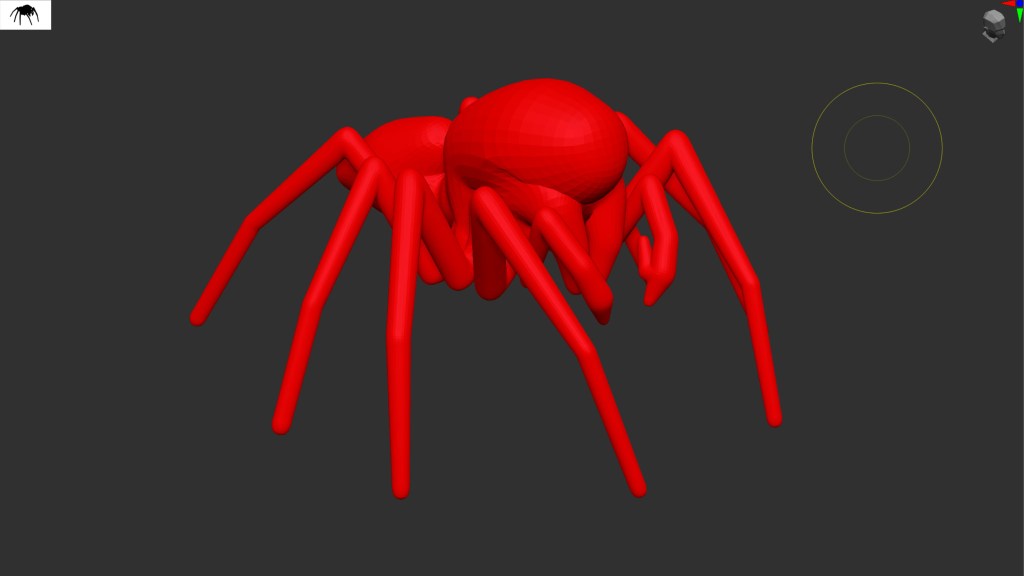

I made a quick and dirty IK rig in Houdini so I could pose him and then started on the groom. The groom I will cover in detail in a separate post as the default workflow in Houdini is really quite bad and I have some techniques I found with this project that might be helpful to other artists
WIP – Creature Grooming
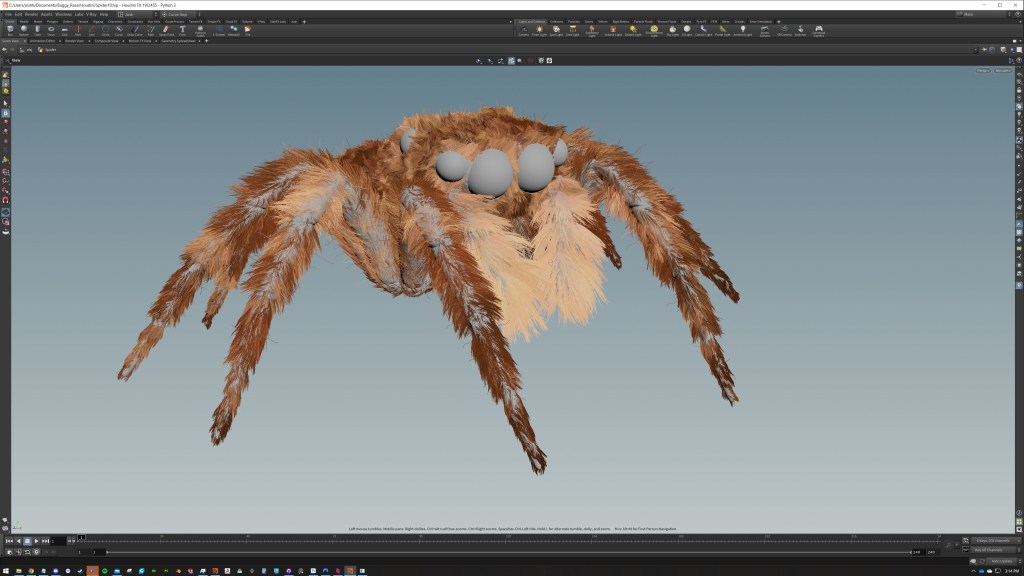
The material on this is just a V-Ray Hair shader with the hair sampler node reading the attributes from the groom primitives. This was my first time doing a groom of any sort, so it took some time to figure out the techniques that worked for me, nevertheless I am very happy with how he came out
I added a procedural rig to the buggy and snails to eliminate the need for me posing them when concepting angles and terrain, the rig for the buggy was almost exclusively done in VEX, and the snails were a little unconventional and were deformed using cloth capture nodes and deformers. I will cover the techniques I used in this post
WIP – Procedural rigging, the hard way

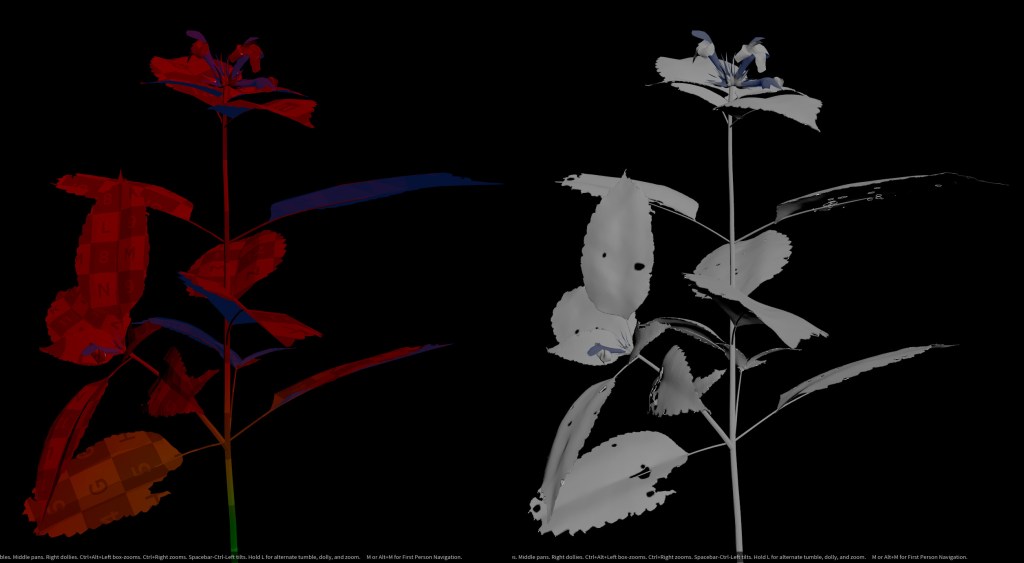
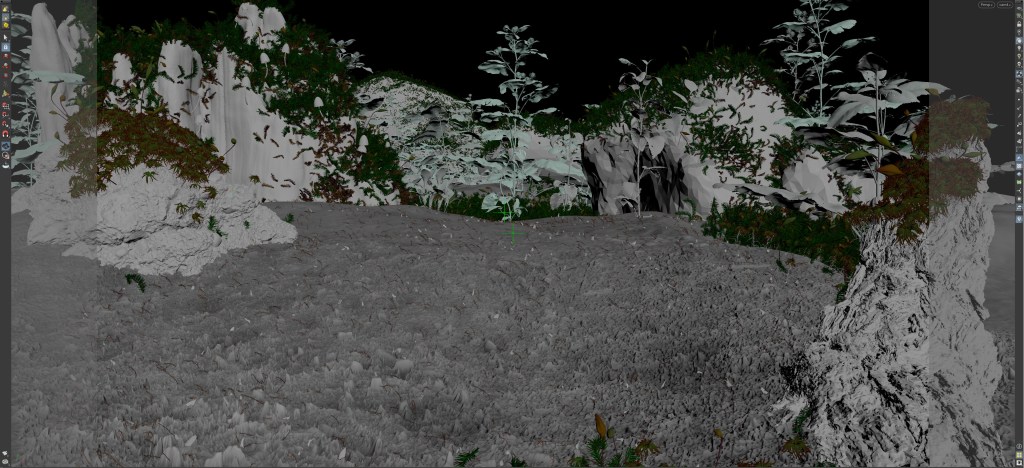
As the timeline was becoming quite tight I decided to grab some assets from the megascans collection to pad out the background a bit. these did require some work in order to get the best possible results from them, they are game assets at the end of the day so to get them to work properly with Sub Surface Scattering they needed to be water-tight. since the megascan collections are meant to be used in unreal it makes perfect sense that they are single sided. To fix this I threw all the leaves through a loop in Houdini to bake the opacity and displacement maps back into geometry and add thickness to all the leaves and stems where needed. For the rocks and logs something similar was done by baking the displacement into a heavily subdivided model then transferring the UV’s to an optimized version. An easy way of doing this would have been to use v-ray displacement but I wanted to scatter moss and spores on the logs and rocks so I needed the geometry available to me in Houdini
Next I played around with the composition until I settled on something I liked. I had a lot of assets to use in the background, both procedural and from megascans so I wanted to ensure it wasn’t going to be cluttered and take any attention away from the car, this is what I settled on.

When it came to scattering points for moss I used the surface normal to restrict point generation so it looks as if the moss is only growing on the horizontal surfaces available, also I added an attribute that would switch the colour to make the moss look dead, this would work by randomly selecting points but also favor points that were not close to neighboring points, so the dead moss was more isolated in parts of the environment not densely packed with moss
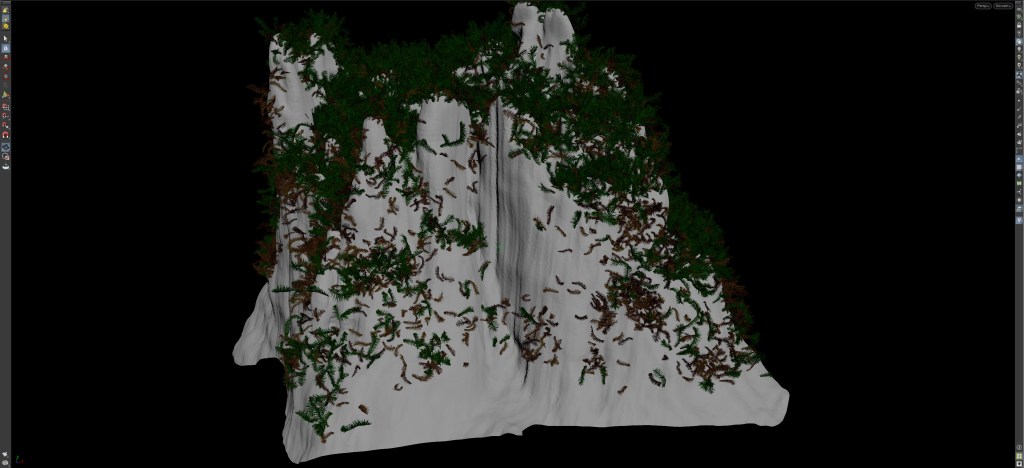
The rest of the foliage didn’t really need this so that was simply scattered points instancing the geometry
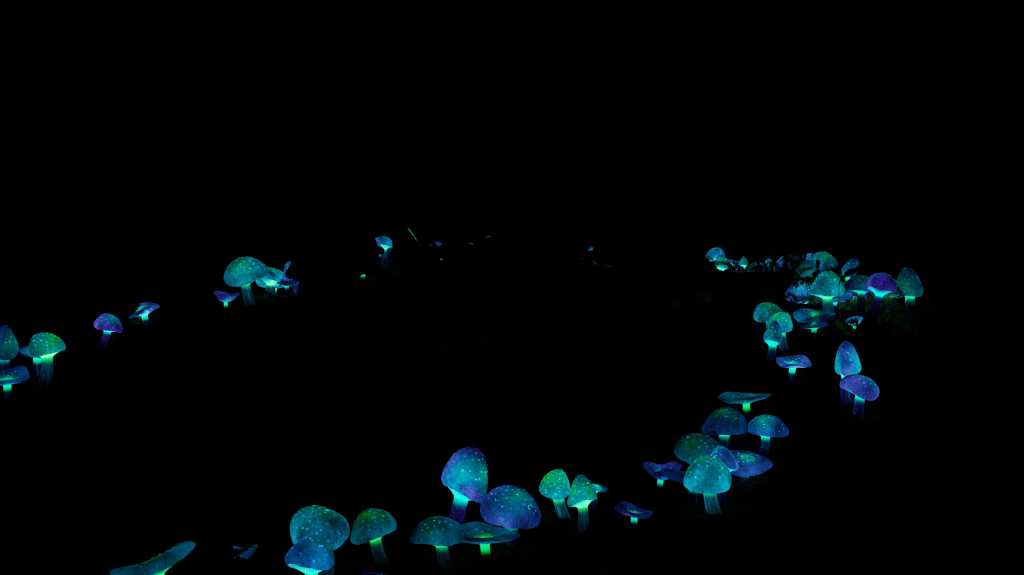
The (basic) lighting in this scene is pretty straightforward, just a v-ray sun, a HDRI of a forest and a warm sphere light to the right of the shot to fill in some of the dead spots and give some nice highlights on the snail shells. A lot of work was done in Nuke to get this looking how I wanted that just wouldn’t have been possible in one shot. the additional takes included rendering the illuminated spores separately and copying lights to points so I could get the lightselect passes from these into Nuke to help with compositing. Some of this gets more complex so again I have a post dedicated to it
WIP – copying lights to points with python


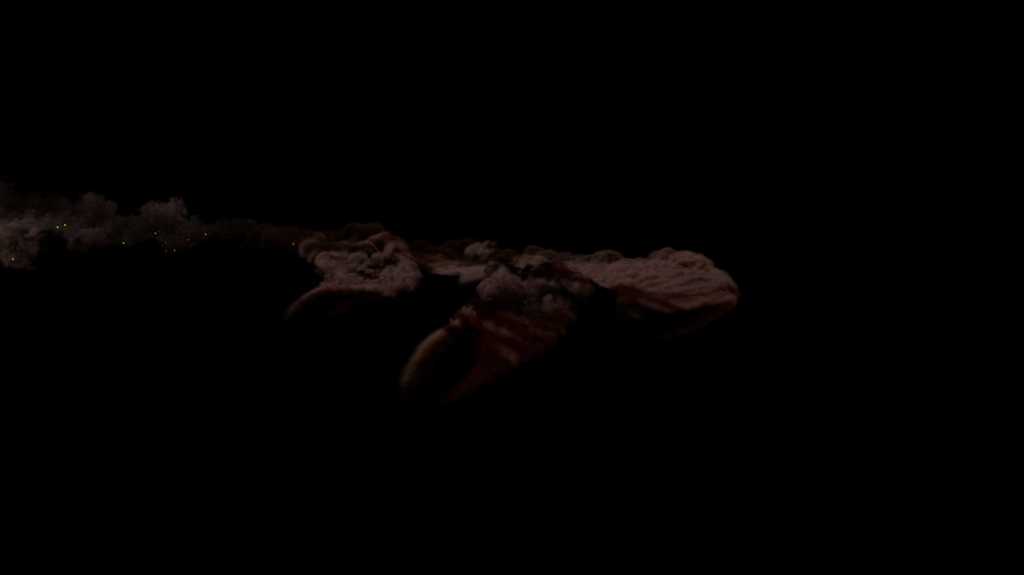


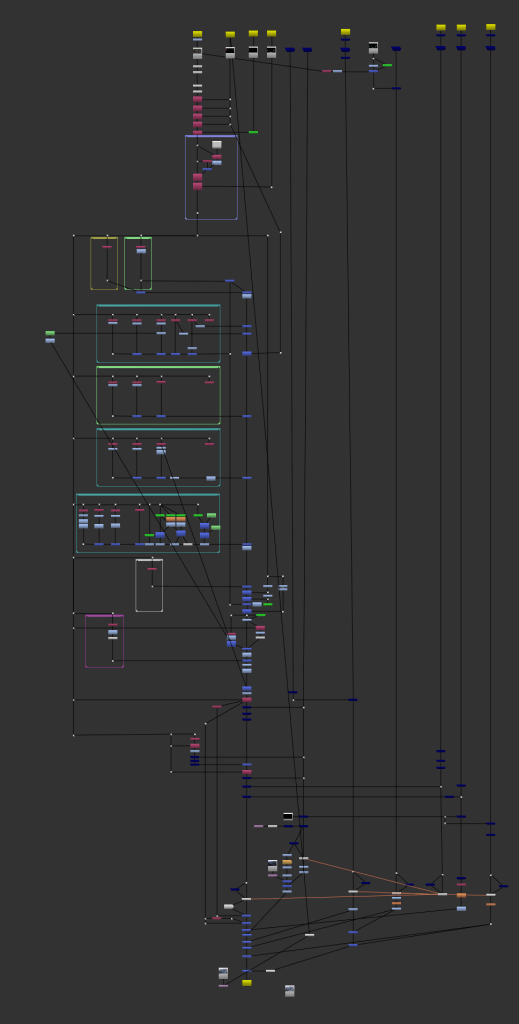
Everything was rendered as deep data, this makes things easier in Nuke as it means I don’t have to render holdouts to merge the images. Also when dealing with volumetrics, deep compositing really is the way to work, especially since you can do things like generate and even defocus the fog, super cool. Here is a glimpse of the Nuke script. I won’t post a proper breakdown of this as even though I am pretty handy with Nuke I don’t consider myself a compositor and I don’t want to misguide anyone with some of my questionable techniques, maybe in the future!
I hope someone found this interesting 🙂
